Digital Label Press 3 User’s Manual
Cutting Pressure
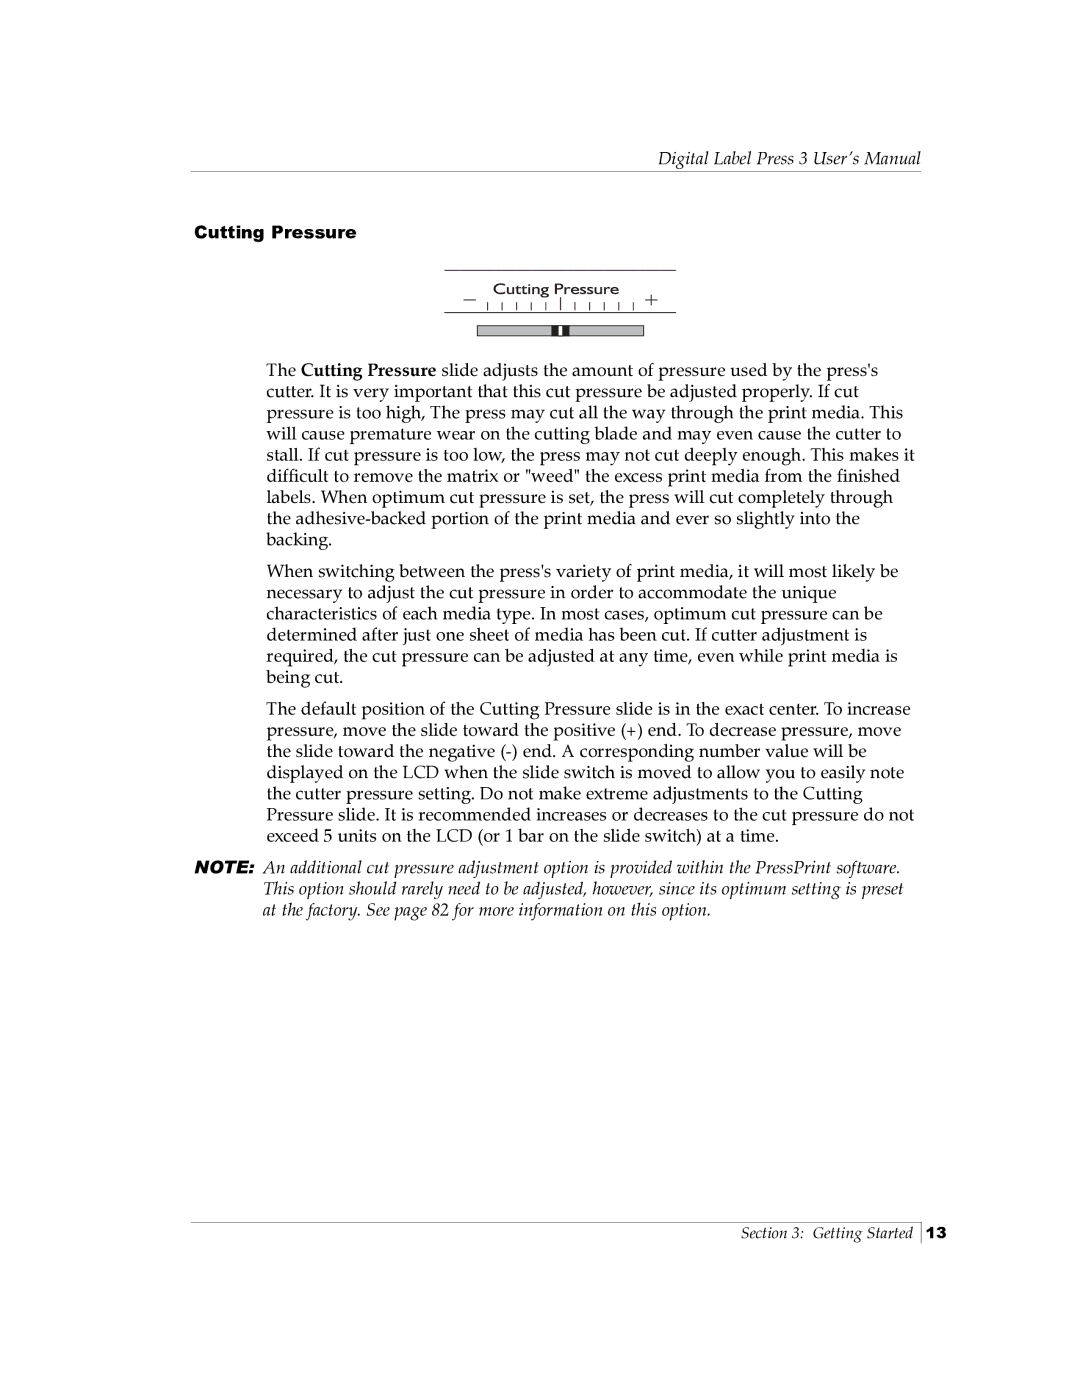
The Cutting Pressure slide adjusts the amount of pressure used by the press's cutter. It is very important that this cut pressure be adjusted properly. If cut pressure is too high, The press may cut all the way through the print media. This will cause premature wear on the cutting blade and may even cause the cutter to stall. If cut pressure is too low, the press may not cut deeply enough. This makes it difficult to remove the matrix or "weed" the excess print media from the finished labels. When optimum cut pressure is set, the press will cut completely through the
When switching between the press's variety of print media, it will most likely be necessary to adjust the cut pressure in order to accommodate the unique characteristics of each media type. In most cases, optimum cut pressure can be determined after just one sheet of media has been cut. If cutter adjustment is required, the cut pressure can be adjusted at any time, even while print media is being cut.
The default position of the Cutting Pressure slide is in the exact center. To increase pressure, move the slide toward the positive (+) end. To decrease pressure, move the slide toward the negative
NOTE: An additional cut pressure adjustment option is provided within the PressPrint software. This option should rarely need to be adjusted, however, since its optimum setting is preset at the factory. See page 82 for more information on this option.
Section 3: Getting Started
13
