Digital Label Press 3 User’s Manual
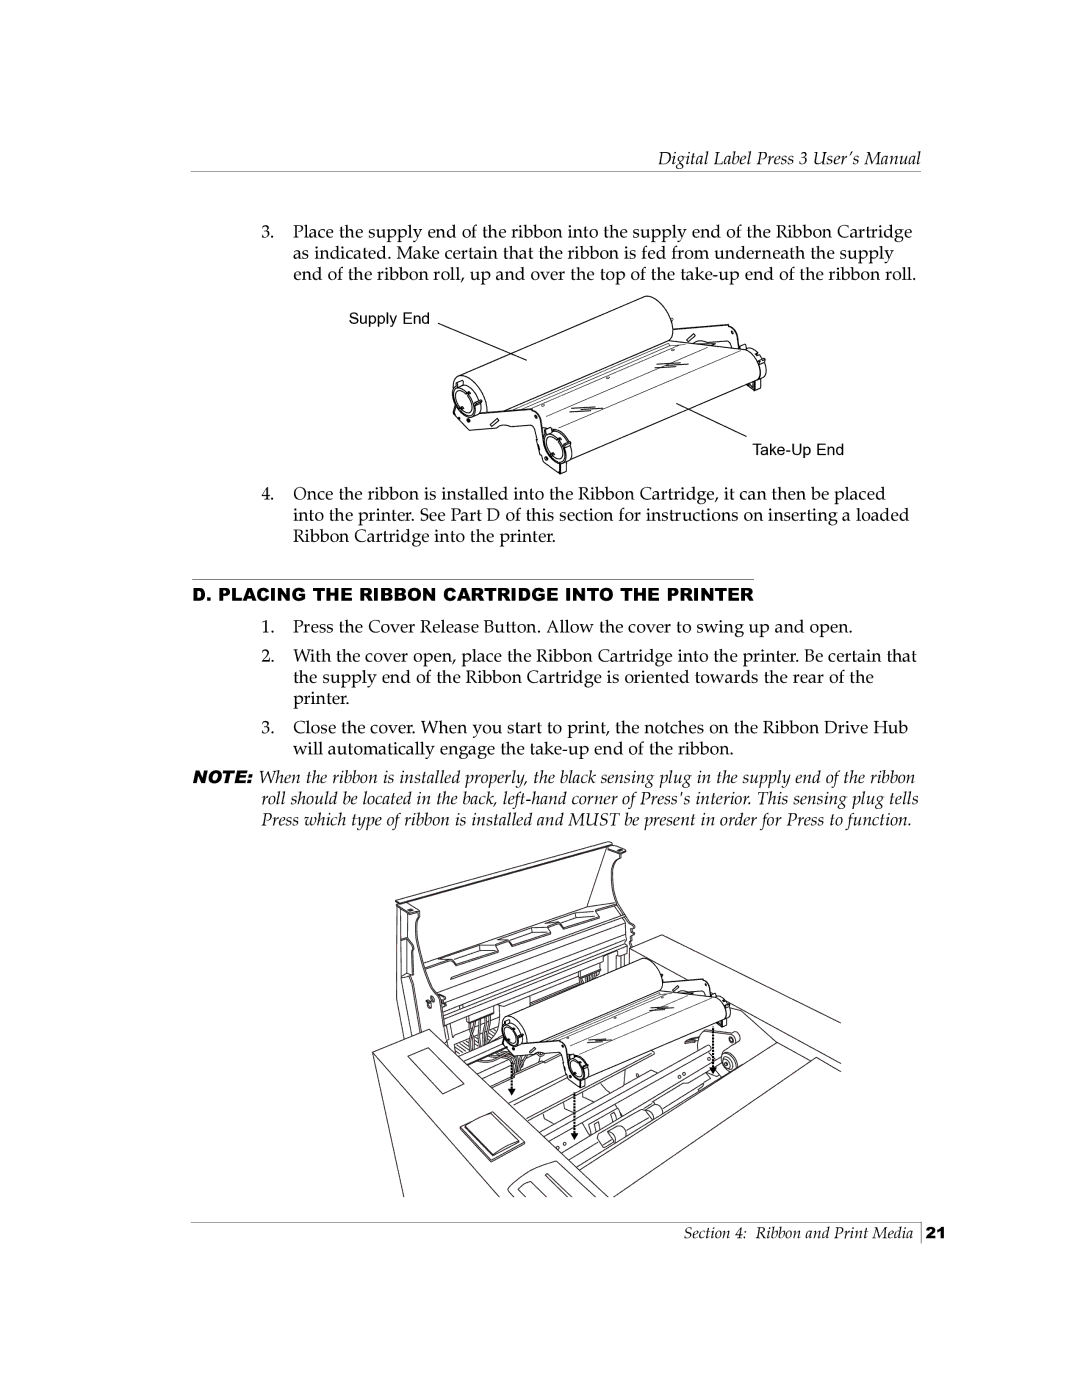
3.Place the supply end of the ribbon into the supply end of the Ribbon Cartridge as indicated. Make certain that the ribbon is fed from underneath the supply end of the ribbon roll, up and over the top of the
Supply End
4.Once the ribbon is installed into the Ribbon Cartridge, it can then be placed into the printer. See Part D of this section for instructions on inserting a loaded Ribbon Cartridge into the printer.
D.PLACING THE RIBBON CARTRIDGE INTO THE PRINTER
1.Press the Cover Release Button. Allow the cover to swing up and open.
2.With the cover open, place the Ribbon Cartridge into the printer. Be certain that the supply end of the Ribbon Cartridge is oriented towards the rear of the printer.
3.Close the cover. When you start to print, the notches on the Ribbon Drive Hub will automatically engage the
NOTE: When the ribbon is installed properly, the black sensing plug in the supply end of the ribbon roll should be located in the back,
Section 4: Ribbon and Print Media
21