Digital Label Press 3 User’s Manual
15.Once the Print Pressure Bracket is in the proper position, firmly push each Securing Lever all the way down until each is in its locked position. Some force is required to latch these Securing Levers.
16.Reconnect the Sensor Connector by sliding it toward the
IMPORTANT: The Sensor Connector must be in place for your press to function properly.
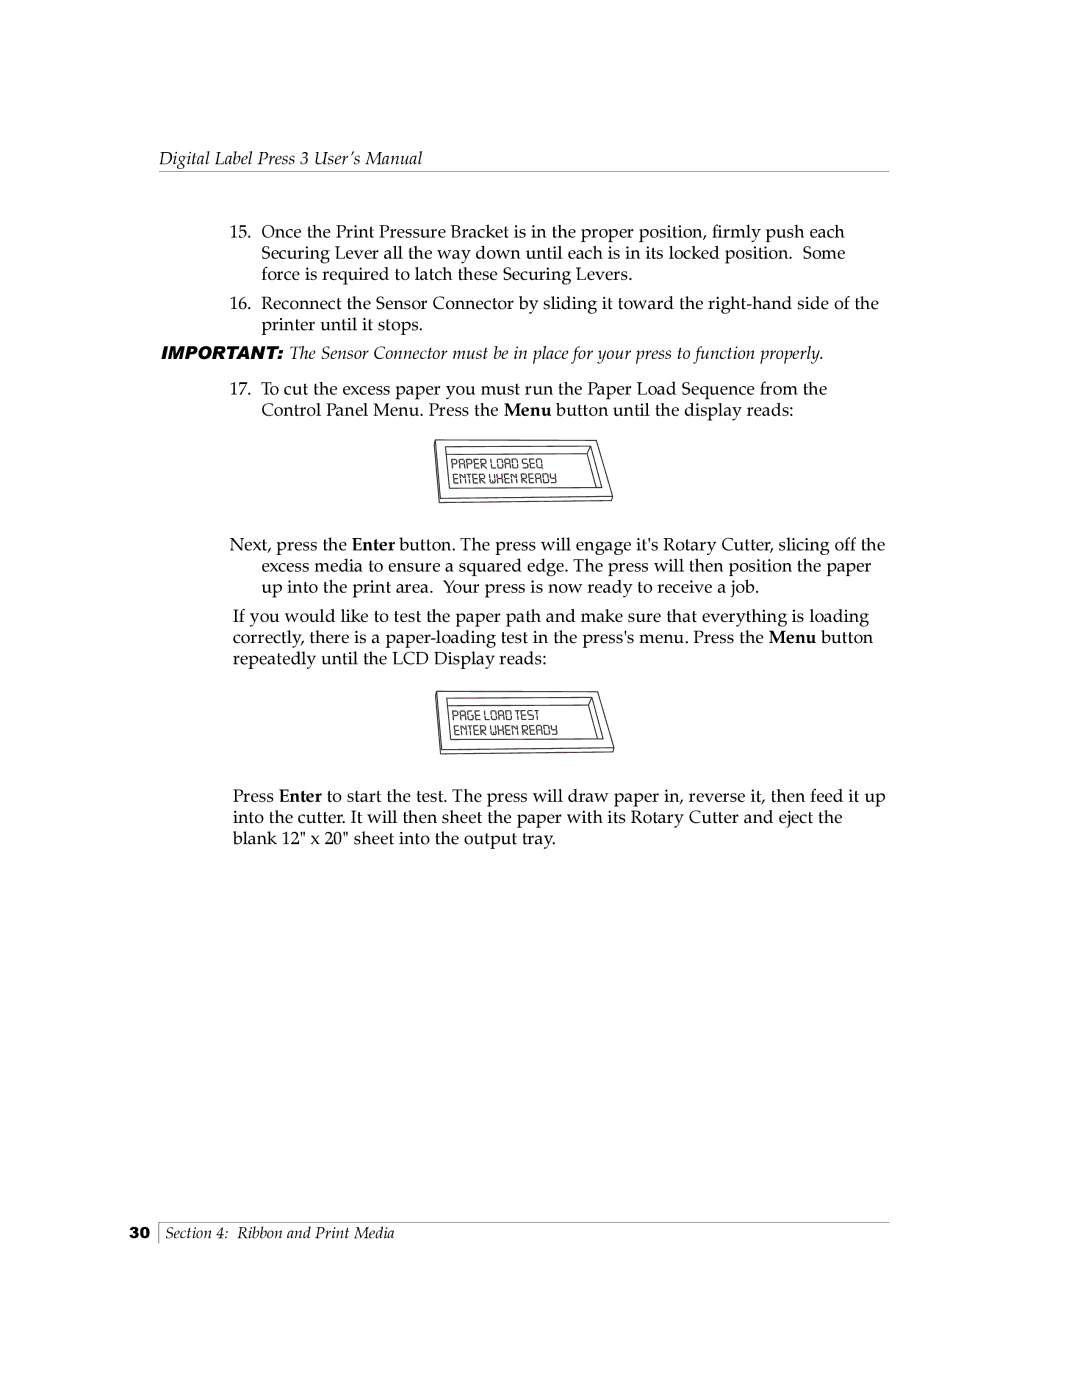
17.To cut the excess paper you must run the Paper Load Sequence from the Control Panel Menu. Press the Menu button until the display reads:
Next, press the Enter button. The press will engage it's Rotary Cutter, slicing off the excess media to ensure a squared edge. The press will then position the paper up into the print area. Your press is now ready to receive a job.
If you would like to test the paper path and make sure that everything is loading correctly, there is a
Press Enter to start the test. The press will draw paper in, reverse it, then feed it up into the cutter. It will then sheet the paper with its Rotary Cutter and eject the blank 12" x 20" sheet into the output tray.
30
Section 4: Ribbon and Print Media
