Digital Label Press 3 User’s Manual
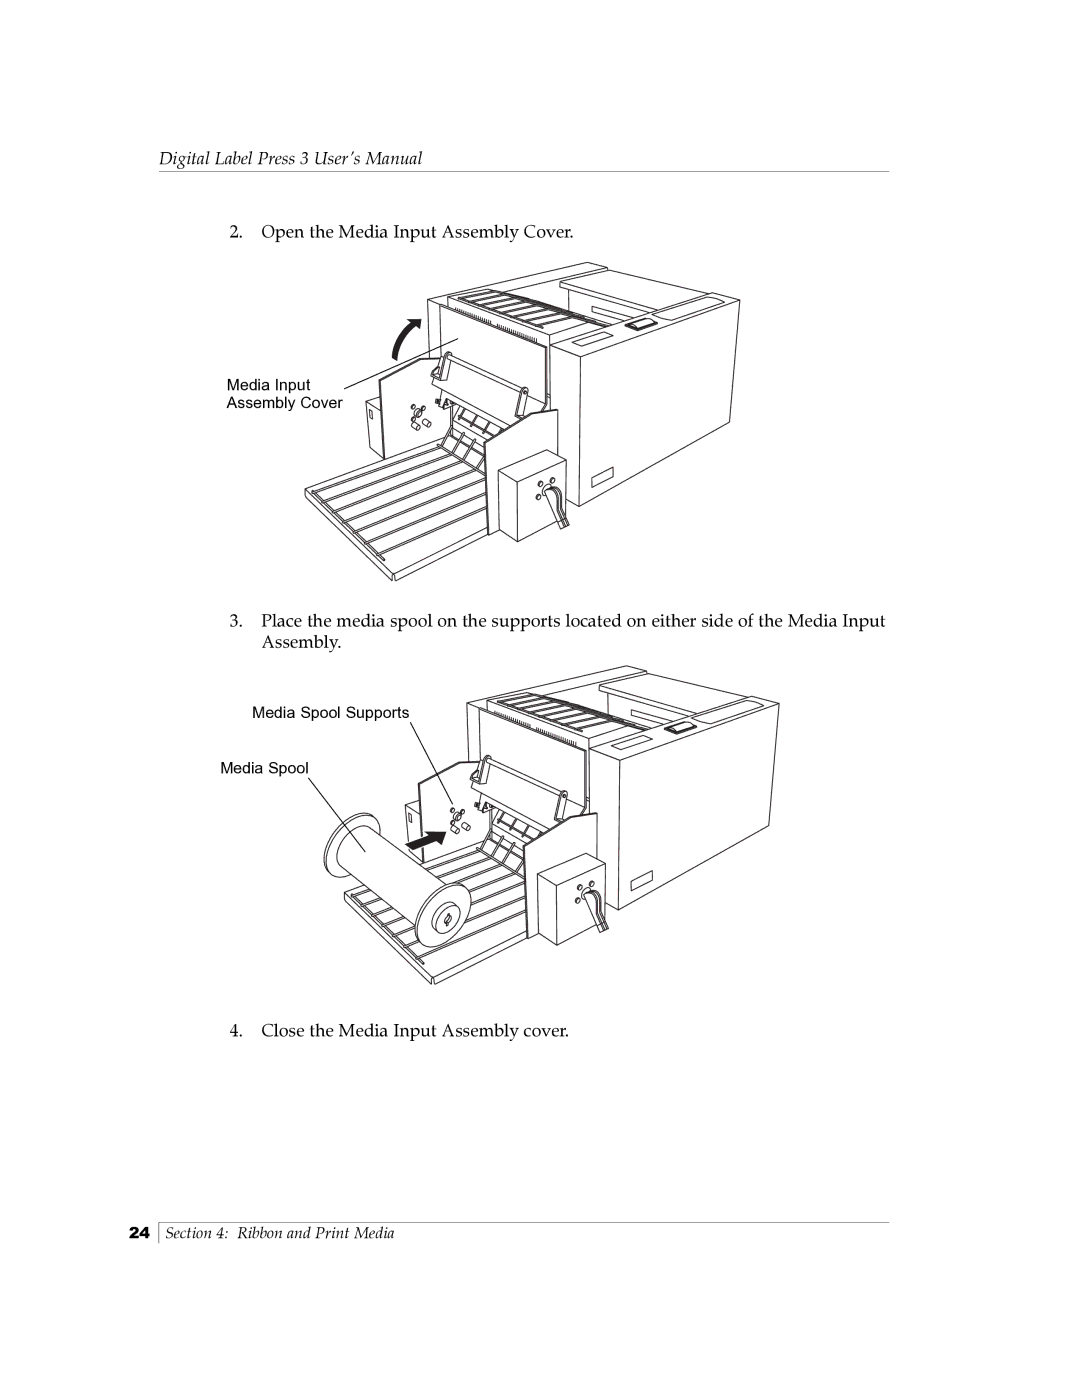
2.Open the Media Input Assembly Cover.
Media Input
Assembly Cover
3.Place the media spool on the supports located on either side of the Media Input Assembly.
Media Spool Supports
Media Spool
4.Close the Media Input Assembly cover.
24
Section 4: Ribbon and Print Media