Digital Label Press 3 User’s Manual
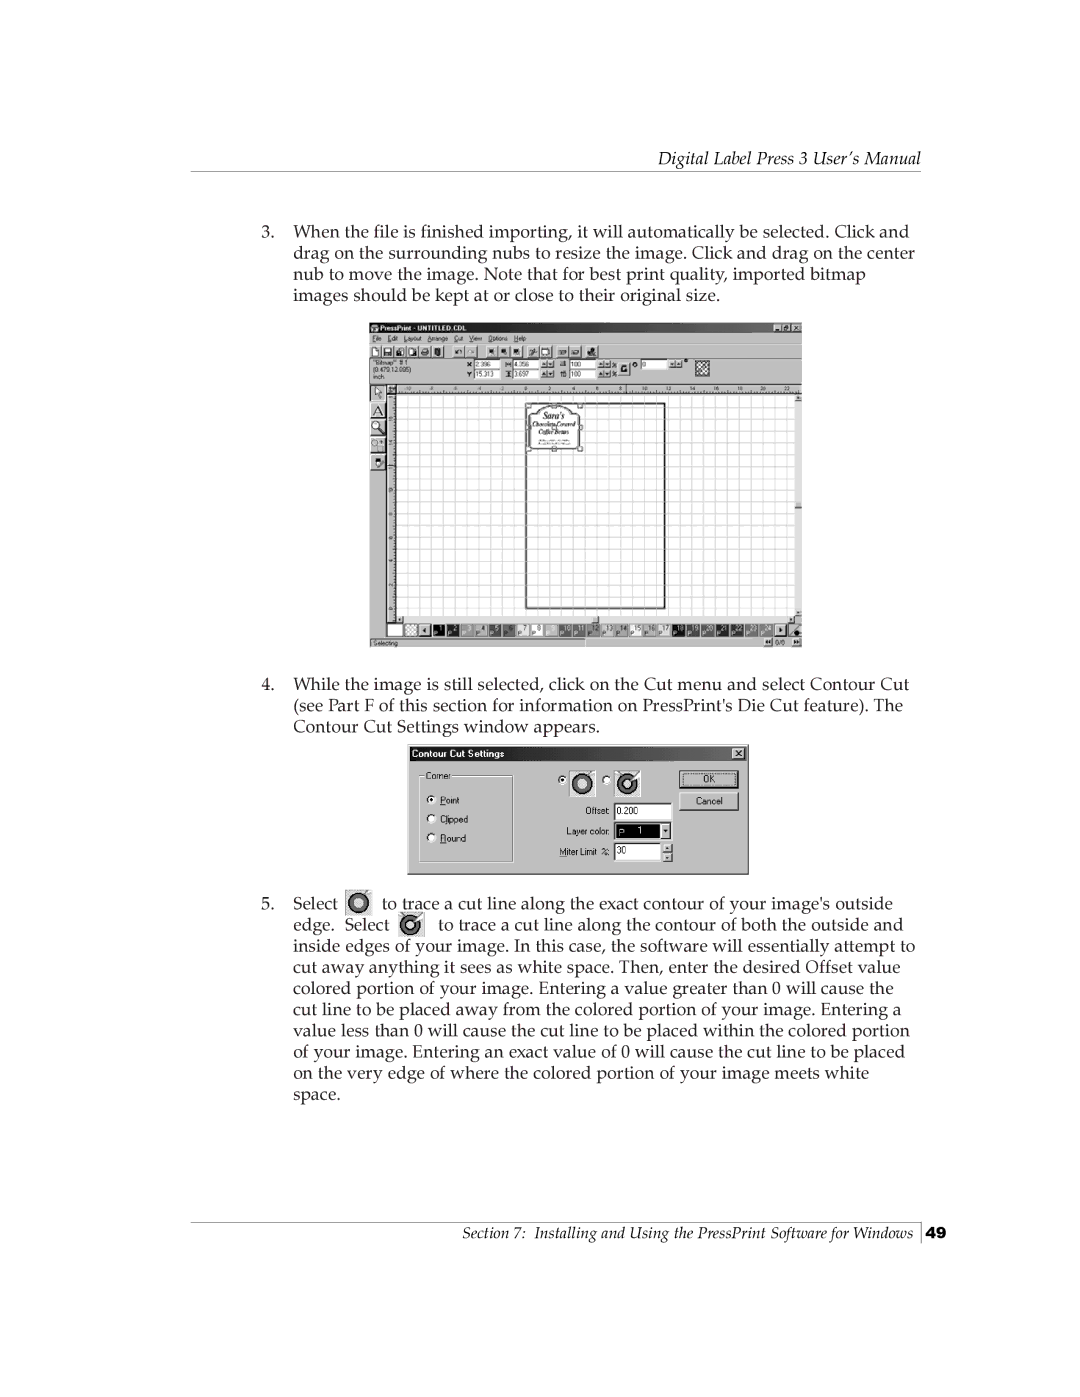
3.When the file is finished importing, it will automatically be selected. Click and drag on the surrounding nubs to resize the image. Click and drag on the center nub to move the image. Note that for best print quality, imported bitmap images should be kept at or close to their original size.
4.While the image is still selected, click on the Cut menu and select Contour Cut (see Part F of this section for information on PressPrint's Die Cut feature). The Contour Cut Settings window appears.
5. Select | to trace a cut line along the exact contour of your image's outside | |
edge. | Select | to trace a cut line along the contour of both the outside and |
inside edges of your image. In this case, the software will essentially attempt to cut away anything it sees as white space. Then, enter the desired Offset value colored portion of your image. Entering a value greater than 0 will cause the cut line to be placed away from the colored portion of your image. Entering a value less than 0 will cause the cut line to be placed within the colored portion of your image. Entering an exact value of 0 will cause the cut line to be placed on the very edge of where the colored portion of your image meets white space.
Section 7: Installing and Using the PressPrint Software for Windows
49
