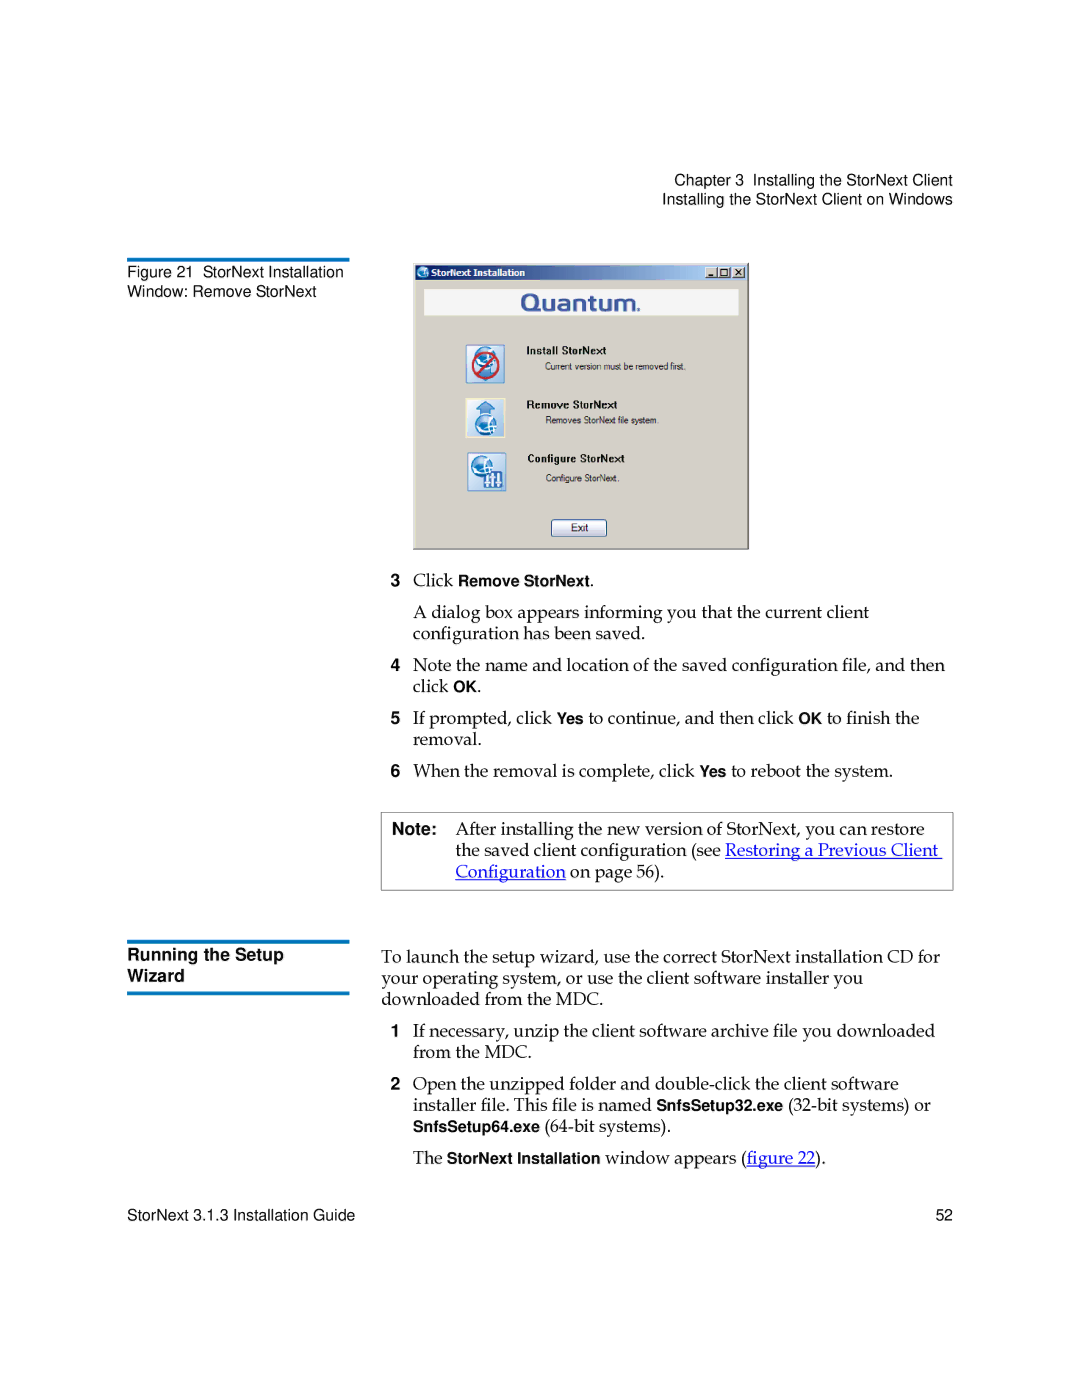
Figure 21 StorNext Installation Window: Remove StorNext
Running the Setup
Wizard
Chapter 3 Installing the StorNext Client
Installing the StorNext Client on Windows
3Click Remove StorNext.
A dialog box appears informing you that the current client configuration has been saved.
4Note the name and location of the saved configuration file, and then click OK.
5If prompted, click Yes to continue, and then click OK to finish the removal.
6When the removal is complete, click Yes to reboot the system.
Note: After installing the new version of StorNext, you can restore the saved client configuration (see Restoring a Previous Client Configuration on page 56).
To launch the setup wizard, use the correct StorNext installation CD for your operating system, or use the client software installer you downloaded from the MDC.
1If necessary, unzip the client software archive file you downloaded from the MDC.
2Open the unzipped folder and
The StorNext Installation window appears (figure 22).
StorNext 3.1.3 Installation Guide | 52 |
