Chapter 4 Configuring StorNext
Windows Configuration Utilities
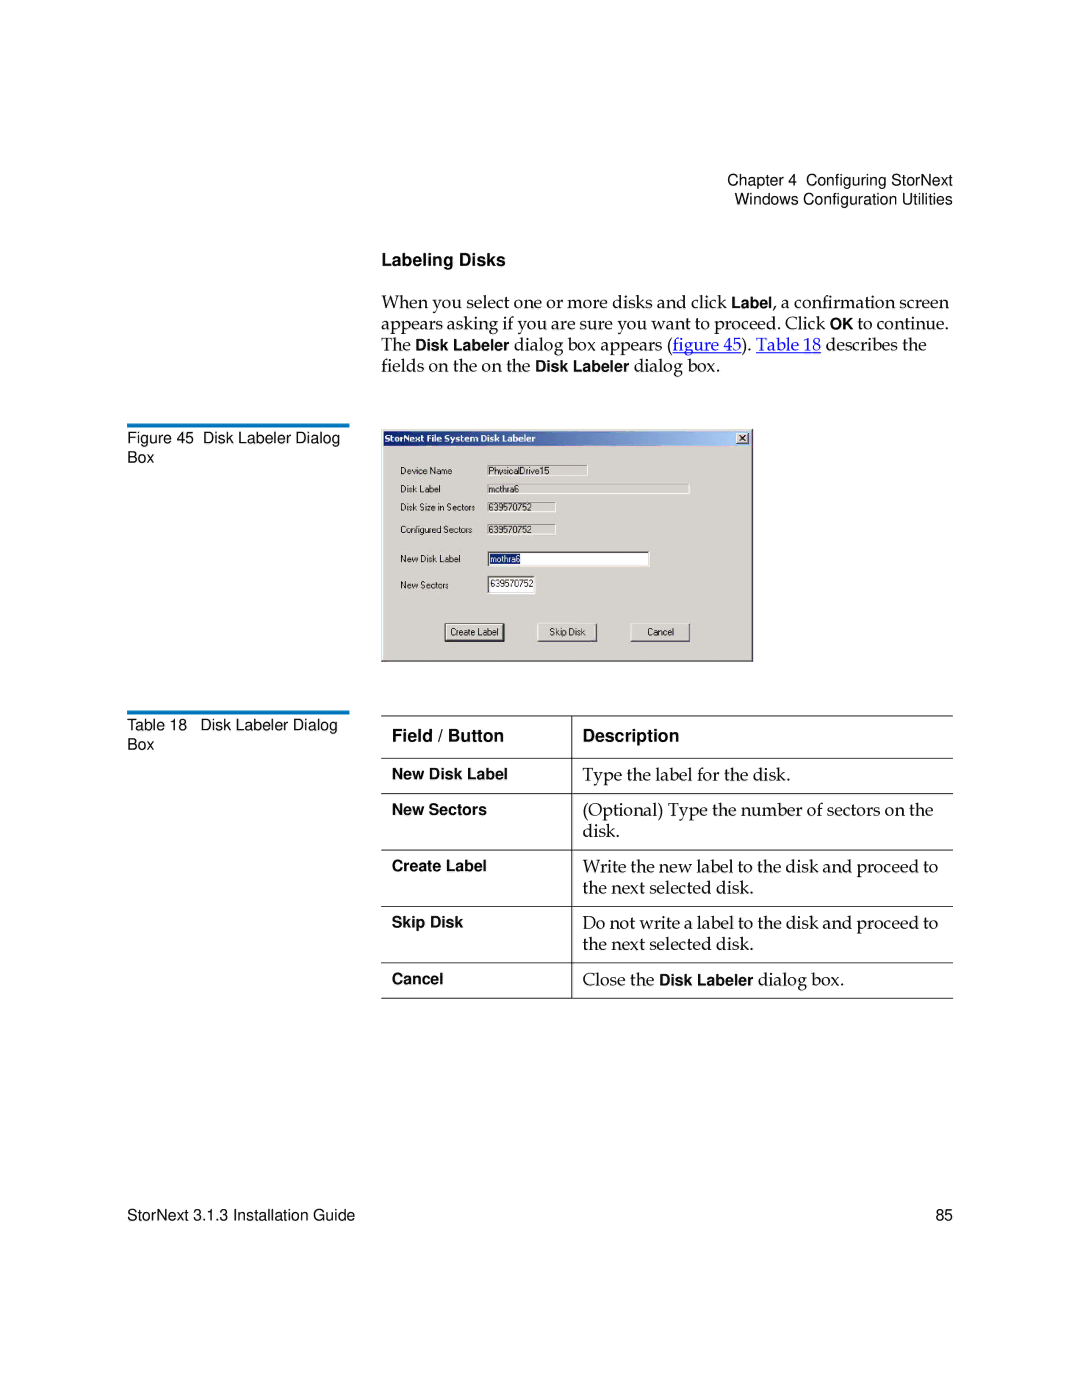
Labeling Disks
When you select one or more disks and click Label, a confirmation screen appears asking if you are sure you want to proceed. Click OK to continue. The Disk Labeler dialog box appears (figure 45). Table 18 describes the fields on the on the Disk Labeler dialog box.
Figure 45 Disk Labeler Dialog
Box
Table 18 Disk Labeler Dialog |
| Field / Button | Description |
Box |
| ||
|
|
| |
|
|
|
|
|
| New Disk Label | Type the label for the disk. |
|
|
|
|
|
| New Sectors | (Optional) Type the number of sectors on the |
|
|
| disk. |
|
|
|
|
|
| Create Label | Write the new label to the disk and proceed to |
|
|
| the next selected disk. |
|
|
|
|
|
| Skip Disk | Do not write a label to the disk and proceed to |
|
|
| the next selected disk. |
|
|
|
|
|
| Cancel | Close the Disk Labeler dialog box. |
|
|
|
|
StorNext 3.1.3 Installation Guide | 85 |