Appendix B StorNext Administration Tasks
Connecting to a StorNext Network Using Xsan 2
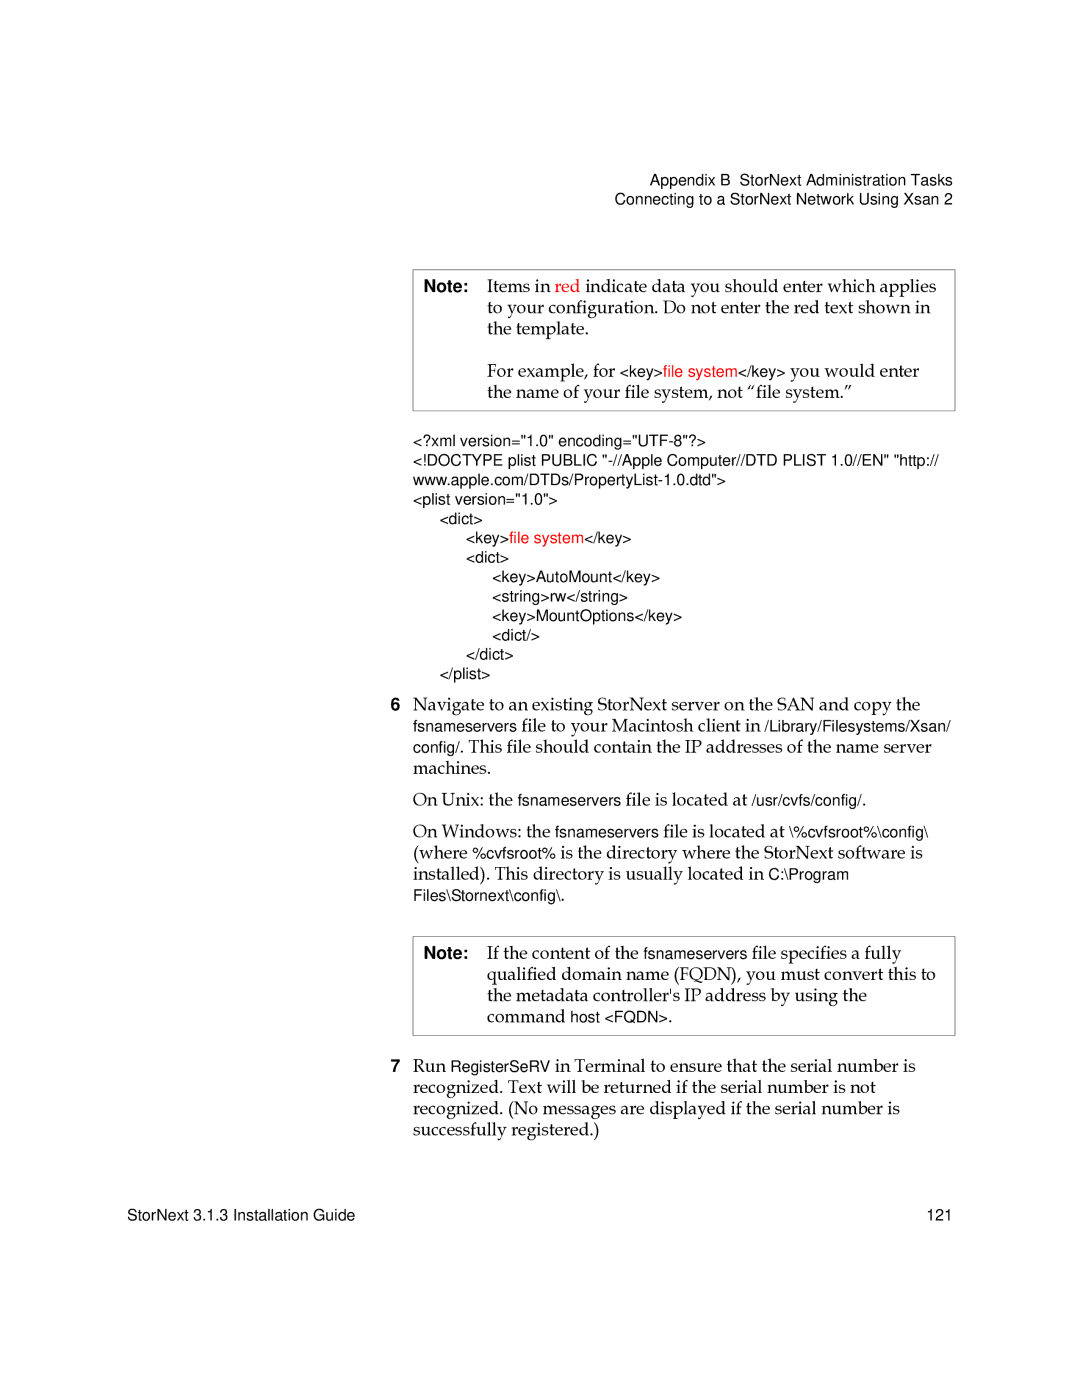
Note: Items in red indicate data you should enter which applies to your configuration. Do not enter the red text shown in the template.
For example, for <key>file system</key> you would enter the name of your file system, not “file system.”
<?xml version="1.0"
<!DOCTYPE plist PUBLIC
<plist version="1.0"> <dict>
<key>file system</key> <dict>
<key>AutoMount</key>
<string>rw</string>
<key>MountOptions</key>
<dict/>
</dict>
</plist>
6Navigate to an existing StorNext server on the SAN and copy the fsnameservers file to your Macintosh client in /Library/Filesystems/Xsan/ config/. This file should contain the IP addresses of the name server machines.
On Unix: the fsnameservers file is located at /usr/cvfs/config/.
On Windows: the fsnameservers file is located at \%cvfsroot%\config\
(where %cvfsroot% is the directory where the StorNext software is installed). This directory is usually located in C:\Program Files\Stornext\config\.
Note: If the content of the fsnameservers file specifies a fully qualified domain name (FQDN), you must convert this to the metadata controller's IP address by using the command host <FQDN>.
7Run RegisterSeRV in Terminal to ensure that the serial number is recognized. Text will be returned if the serial number is not recognized. (No messages are displayed if the serial number is successfully registered.)
StorNext 3.1.3 Installation Guide | 121 |
