Connecting Peripheral Devices
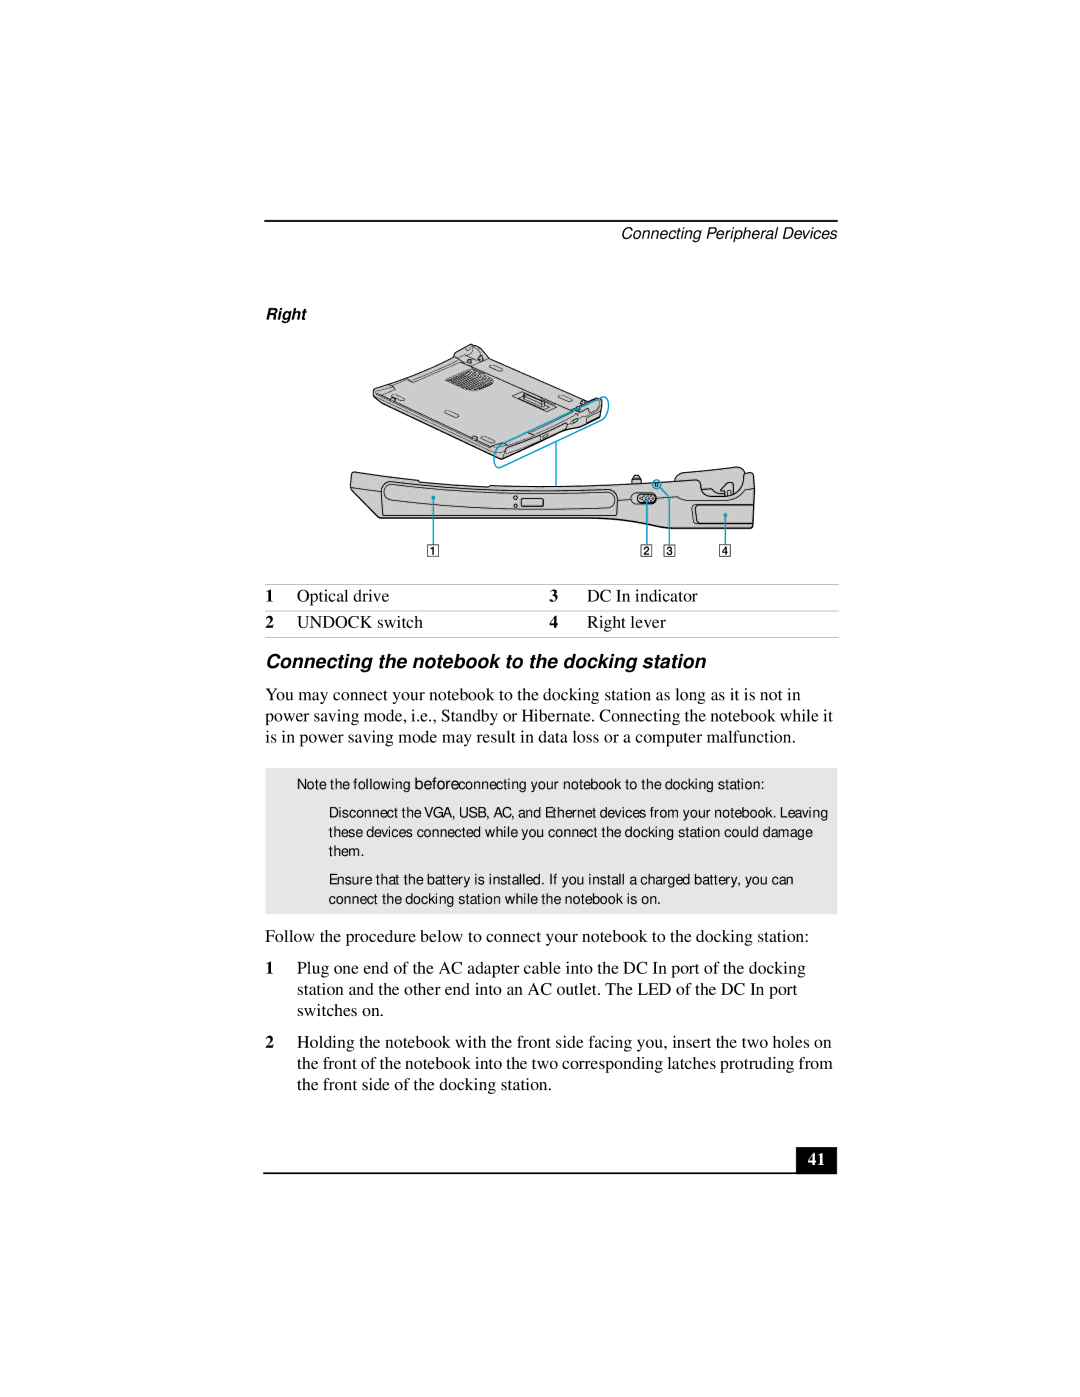
Right
1 | Optical drive | 3 | DC In indicator |
2 | UNDOCK switch | 4 | Right lever |
|
|
|
|
Connecting the notebook to the docking station
You may connect your notebook to the docking station as long as it is not in power saving mode, i.e., Standby or Hibernate. Connecting the notebook while it is in power saving mode may result in data loss or a computer malfunction.
✍Note the following before connecting your notebook to the docking station:
❑Disconnect the VGA, USB, AC, and Ethernet devices from your notebook. Leaving these devices connected while you connect the docking station could damage them.
❑Ensure that the battery is installed. If you install a charged battery, you can connect the docking station while the notebook is on.
Follow the procedure below to connect your notebook to the docking station:
1Plug one end of the AC adapter cable into the DC In port of the docking station and the other end into an AC outlet. The LED of the DC In port switches on.
2Holding the notebook with the front side facing you, insert the two holes on the front of the notebook into the two corresponding latches protruding from the front side of the docking station.
41
