Upgrading an Enterprise 3000 to CMS R3V9
Restoring non-CMS files
The customer may want specific
R3V6 and earlier
To copy specific files from an R3V6 or earlier system:
1. Insert the most recent CMSADM backup tape from the old system into the tape drive.
2. Enter the following command for each file you want to copy:
cpio
The /<path>/<file_name> is the
The X is either 0 or 1, depending on how many tape drives are connected to the system. If you have only one tape drive, use 0. If you have more than one tape drive, use the following commands to determine which tape drive you should use:
mt -f /dev/rmt/0 status mt -f /dev/rmt/1 status
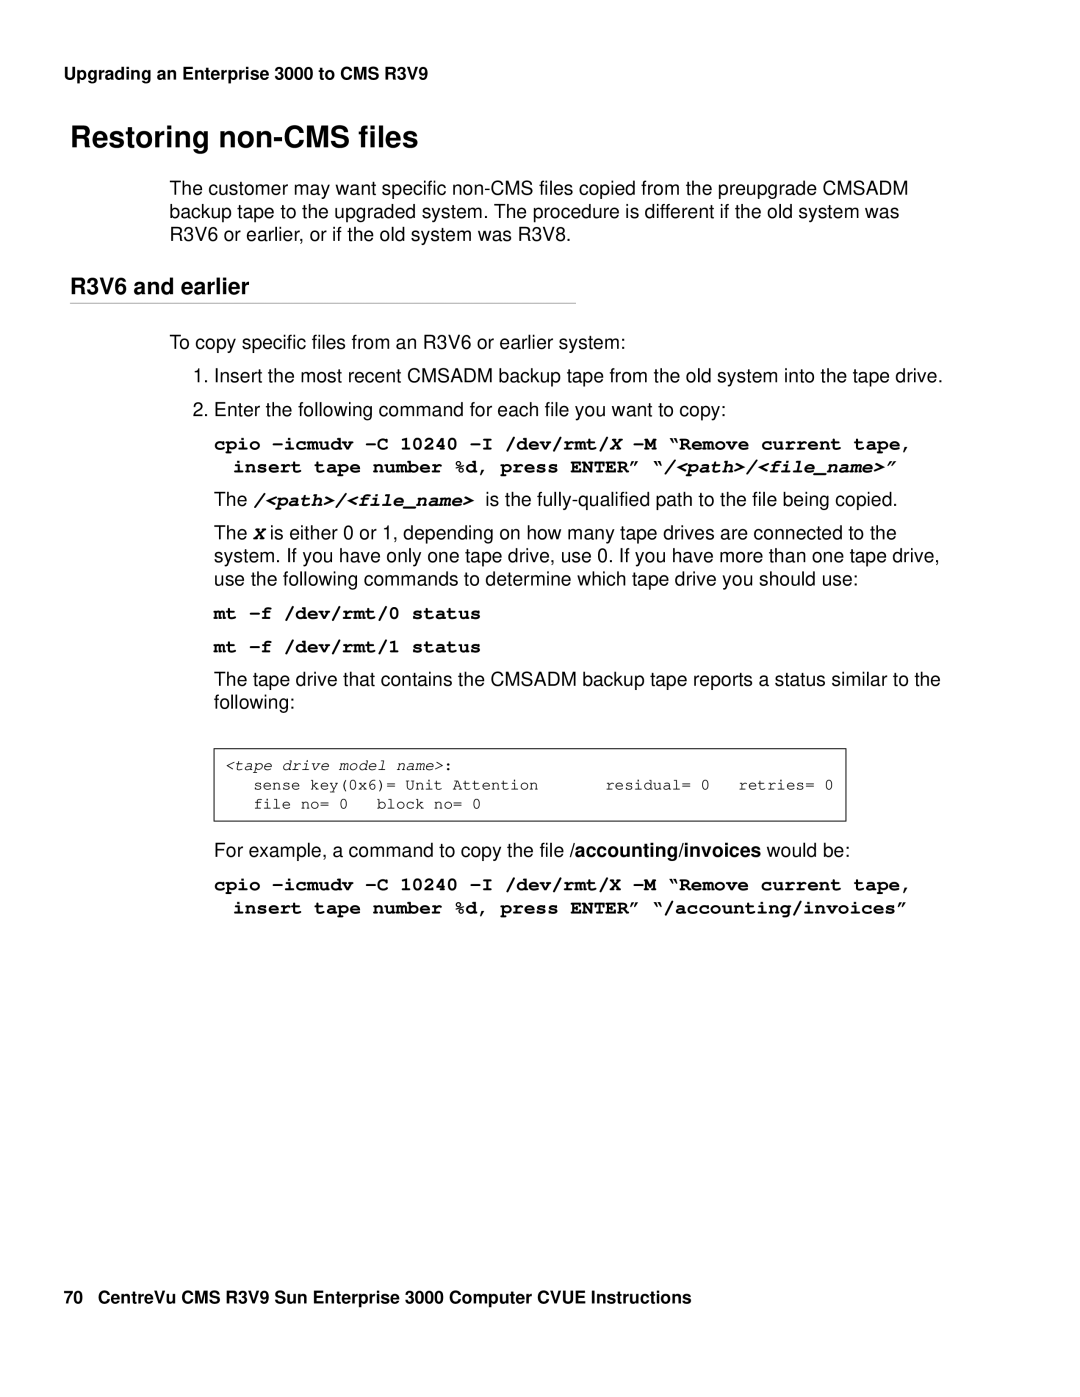
The tape drive that contains the CMSADM backup tape reports a status similar to the following:
<tape drive | model name>: |
| |
sense key(0x6)= Unit Attention | residual= 0 retries= 0 | ||
file no= | 0 | block no= 0 |
|
|
|
|
|
For example, a command to copy the file /accounting/invoices would be:
cpio
70 CentreVu CMS R3V9 Sun Enterprise 3000 Computer CVUE Instructions
