Upgrading the system
5.Log on as root.
6.Enter: cd /
7.Load the CVUE Upgrade Tool CD.
The File Manager window may open. Move and click the cursor in an XTERM window.
8.After waiting about 15 seconds, enter mount to verify that the CD is detected.
The system displays a list of devices and file systems that are currently mounted. The final line should show /cdrom/cvue.
9.Enter the following commands: cd /cdrom/cdrom0
./cvue_extract
The extract process begins. To track the progress of the extract command from a different XTERM window, or from a remote or local terminal, use the following command:
tail -f /var/tmp/new/var/log/cvuelog
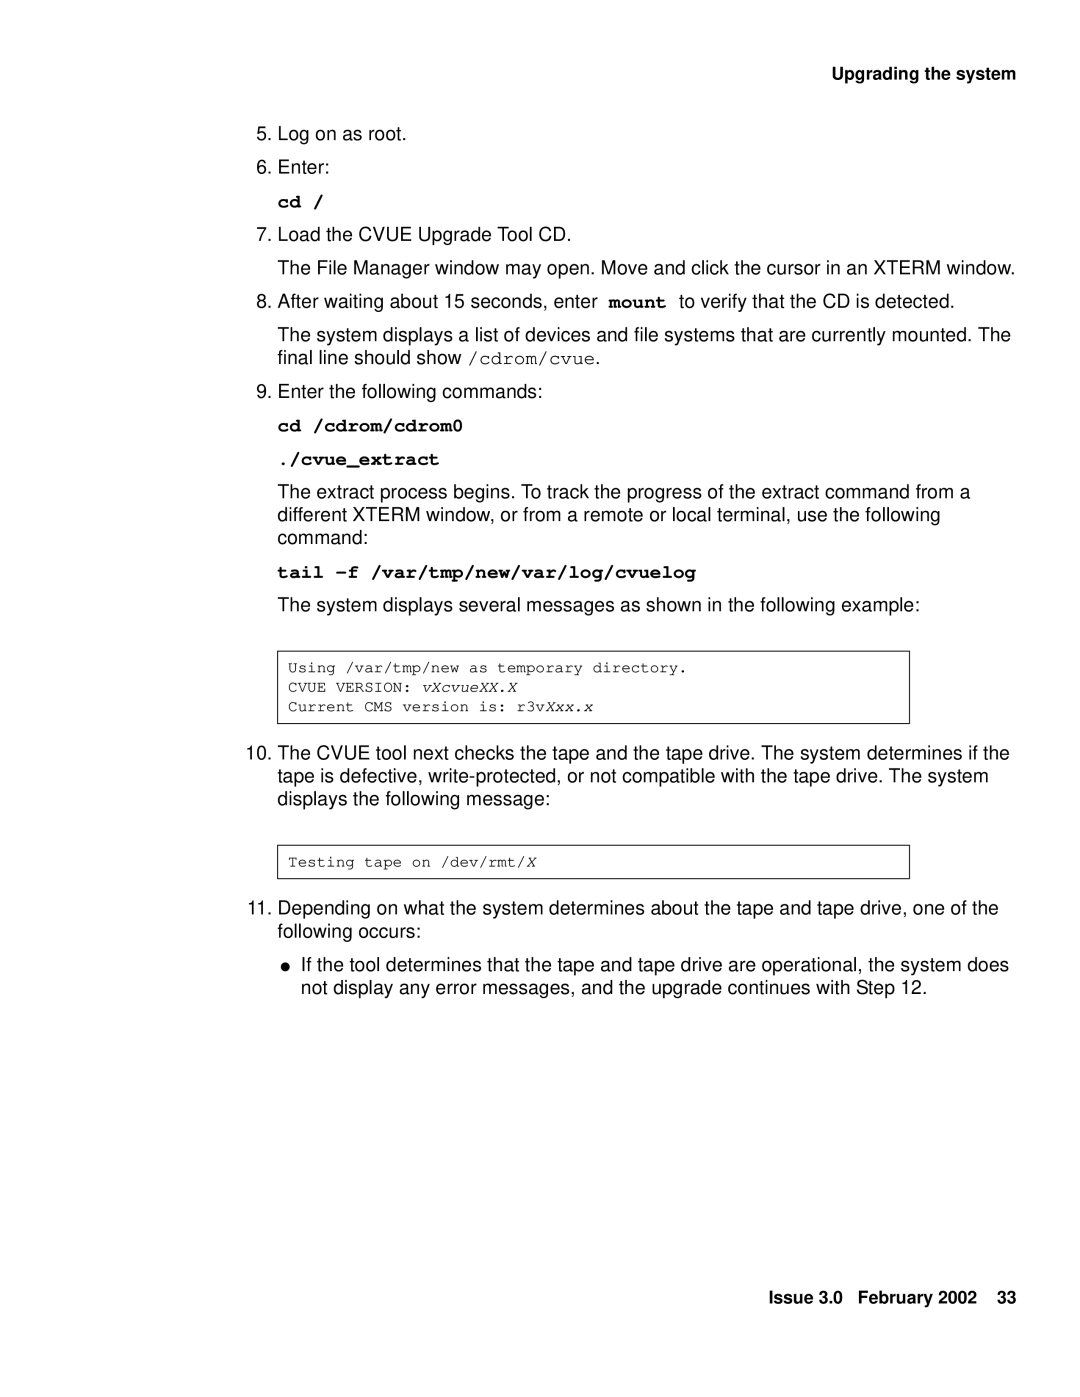
The system displays several messages as shown in the following example:
Using /var/tmp/new as temporary directory.
CVUE VERSION: vXcvueXX.X
Current CMS version is: r3vXxx.x
10.The CVUE tool next checks the tape and the tape drive. The system determines if the tape is defective,
Testing tape on /dev/rmt/X
11.Depending on what the system determines about the tape and tape drive, one of the following occurs:
●If the tool determines that the tape and tape drive are operational, the system does not display any error messages, and the upgrade continues with Step 12.
Issue 3.0 February 2002 33
