www.axxessid.com
Installation & User Guide
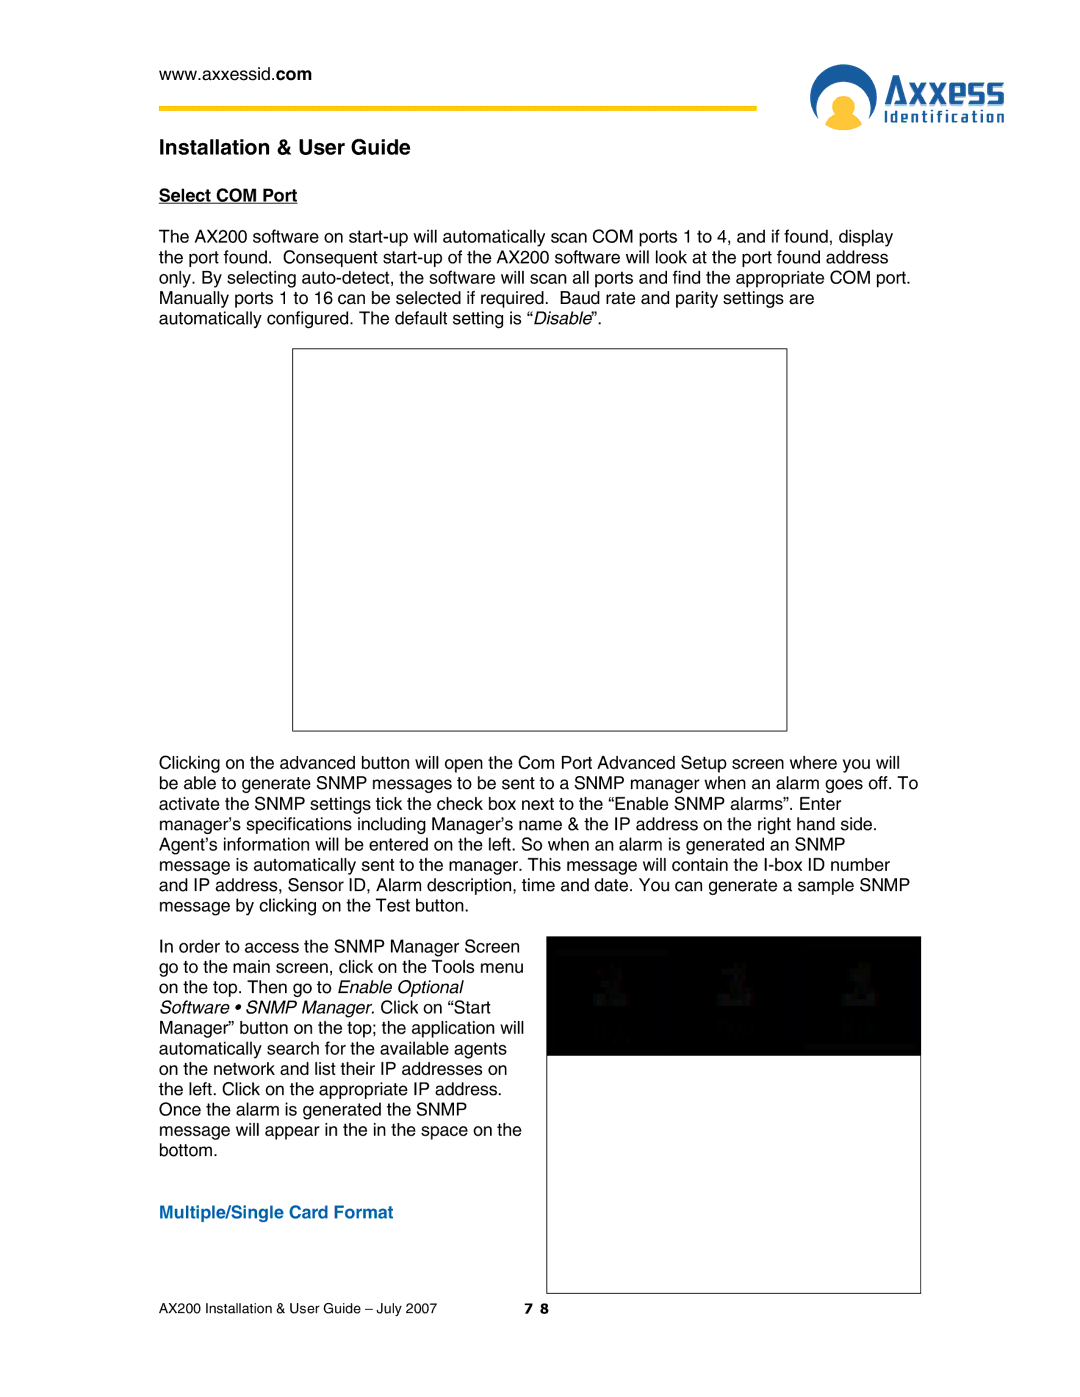
Select COM Port
The AX200 software on
Clicking on the advanced button will open the Com Port Advanced Setup screen where you will be able to generate SNMP messages to be sent to a SNMP manager when an alarm goes off. To activate the SNMP settings tick the check box next to the “Enable SNMP alarms”. Enter manager’s specifications including Manager’s name & the IP address on the right hand side. Agent’s information will be entered on the left. So when an alarm is generated an SNMP message is automatically sent to the manager. This message will contain the
In order to access the SNMP Manager Screen go to the main screen, click on the Tools menu on the top. Then go to Enable Optional Software • SNMP Manager. Click on “Start Manager” button on the top; the application will automatically search for the available agents on the network and list their IP addresses on the left. Click on the appropriate IP address. Once the alarm is generated the SNMP message will appear in the in the space on the bottom.
Multiple/Single Card Format
AX200 Installation & User Guide – July 2007 | 7 8 |