Printing Preferences
The look up table requires a file with a full set of 256 values
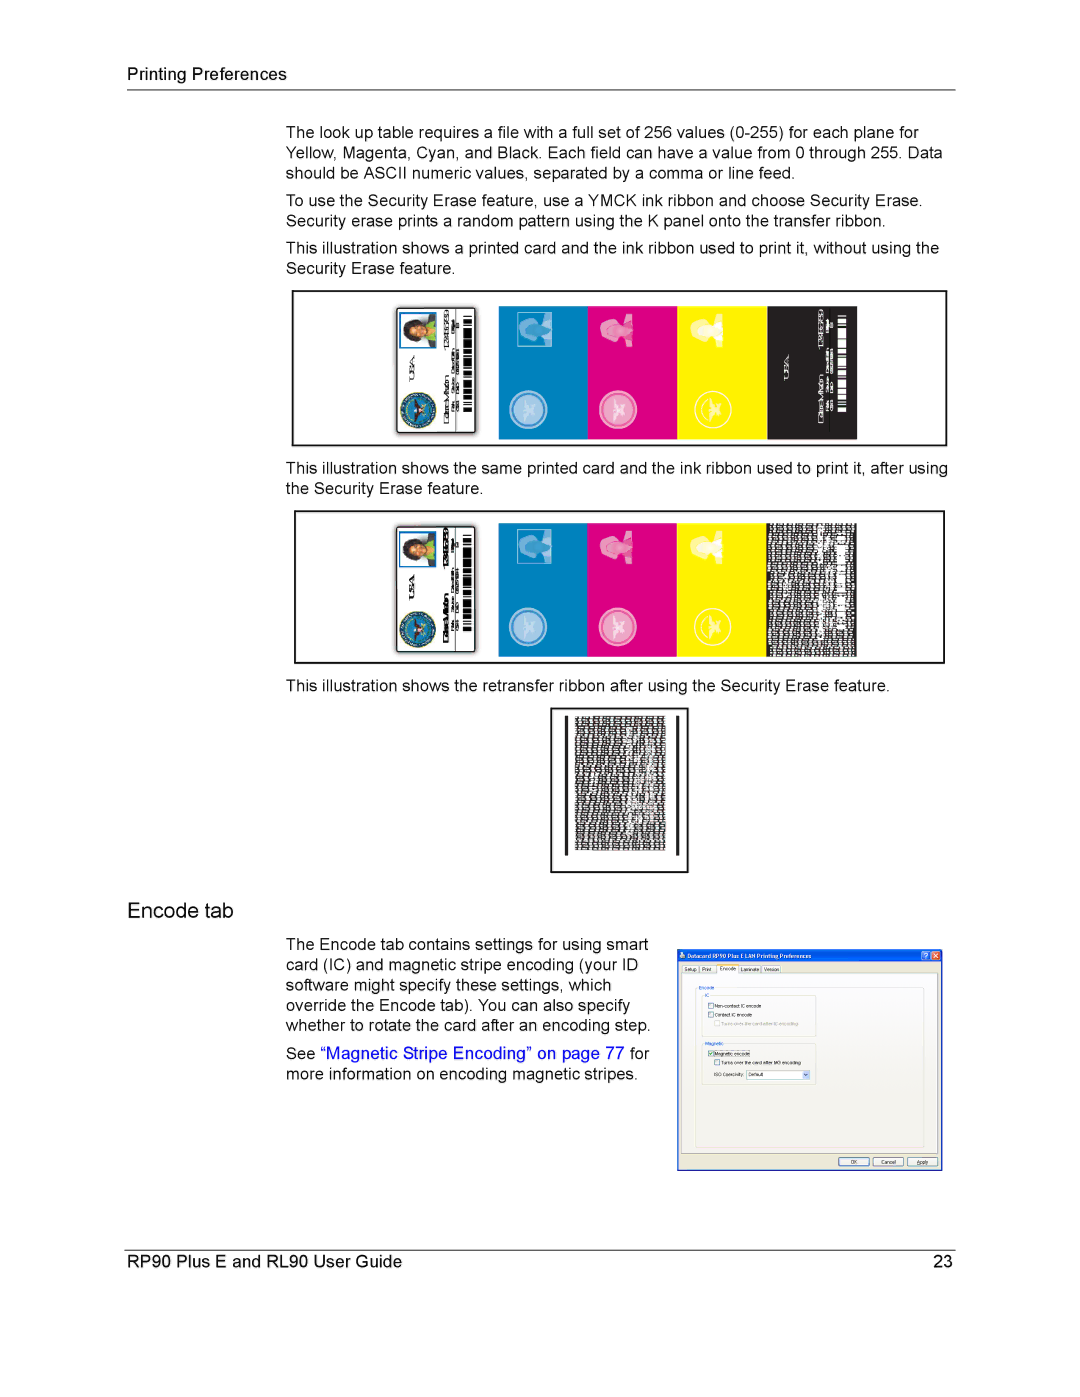
To use the Security Erase feature, use a YMCK ink ribbon and choose Security Erase. Security erase prints a random pattern using the K panel onto the transfer ribbon.
This illustration shows a printed card and the ink ribbon used to print it, without using the Security Erase feature.
|
|
|
|
|
|
|
|
|
|
|
| U.S.A. | 123456789WilsonDebra RankServiceDateofBirthBloodType | GS4DoD06 |
|
|
| U.S.A. | 123456789WilsonDebra RankServiceDateofBirthBloodType | GS4DoD06 |
|
|
|
| 123456789 |
|
|
|
|
| 123456789 |
|
|
|
|
|
|
|
|
|
| ||
|
|
|
|
|
|
|
|
|
|
|
|
|
|
|
|
|
|
|
|
|
|
|
|
|
|
|
|
|
|
|
|
|
This illustration shows the same printed card and the ink ribbon used to print it, after using the Security Erase feature.
|
|
| DebraWilson 123456789 |
|
| |
U.S.A. | DebraWilson123456789 | 123456789 | U.S.A. | RankServiceDateofBirthBloodType | 234567891 | |
RankServiceDateofBirthBloodType GS4DoD06 | GS4 |
This illustration shows the retransfer ribbon after using the Security Erase feature.
Encode tab
The Encode tab contains settings for using smart card (IC) and magnetic stripe encoding (your ID software might specify these settings, which override the Encode tab). You can also specify whether to rotate the card after an encoding step.
See “Magnetic Stripe Encoding” on page 77 for more information on encoding magnetic stripes.
RP90 Plus E and RL90 User Guide | 23 |
