Status Monitor
Property tab
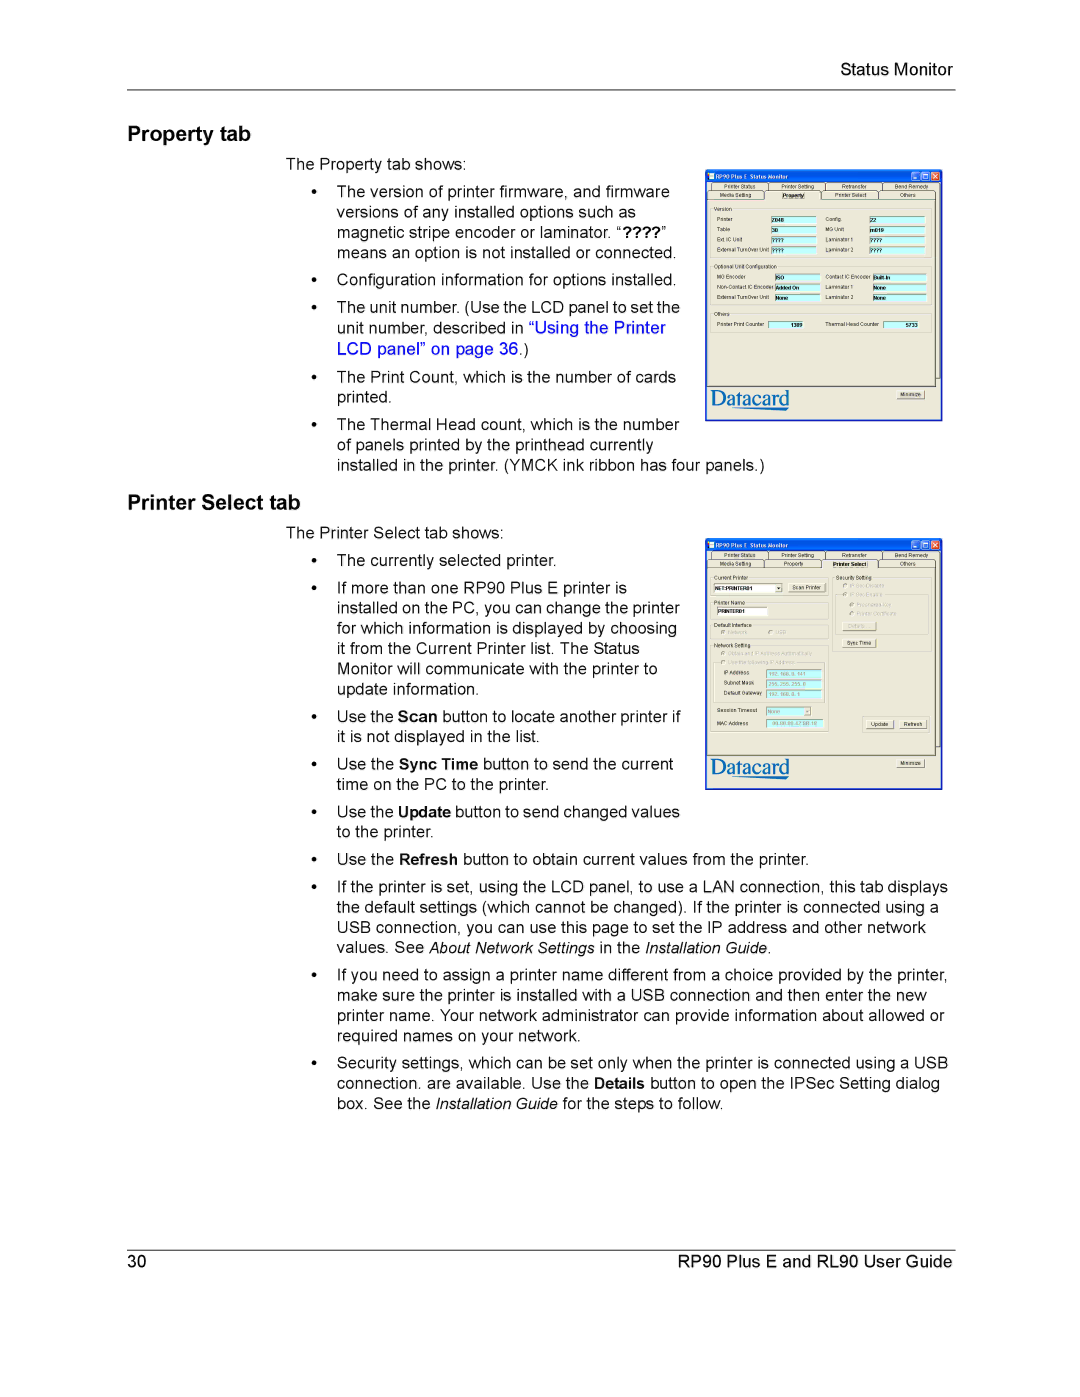
The Property tab shows:
•The version of printer firmware, and firmware versions of any installed options such as magnetic stripe encoder or laminator. “????” means an option is not installed or connected.
•Configuration information for options installed.
•The unit number. (Use the LCD panel to set the unit number, described in “Using the Printer LCD panel” on page 36.)
•The Print Count, which is the number of cards printed.
•The Thermal Head count, which is the number of panels printed by the printhead currently
installed in the printer. (YMCK ink ribbon has four panels.)
Printer Select tab
The Printer Select tab shows:
•The currently selected printer.
•If more than one RP90 Plus E printer is installed on the PC, you can change the printer for which information is displayed by choosing it from the Current Printer list. The Status Monitor will communicate with the printer to update information.
•Use the Scan button to locate another printer if it is not displayed in the list.
•Use the Sync Time button to send the current time on the PC to the printer.
•Use the Update button to send changed values to the printer.
•Use the Refresh button to obtain current values from the printer.
•If the printer is set, using the LCD panel, to use a LAN connection, this tab displays the default settings (which cannot be changed). If the printer is connected using a USB connection, you can use this page to set the IP address and other network values. See About Network Settings in the Installation Guide.
•If you need to assign a printer name different from a choice provided by the printer, make sure the printer is installed with a USB connection and then enter the new printer name. Your network administrator can provide information about allowed or required names on your network.
•Security settings, which can be set only when the printer is connected using a USB connection. are available. Use the Details button to open the IPSec Setting dialog box. See the Installation Guide for the steps to follow.
30 | RP90 Plus E and RL90 User Guide |