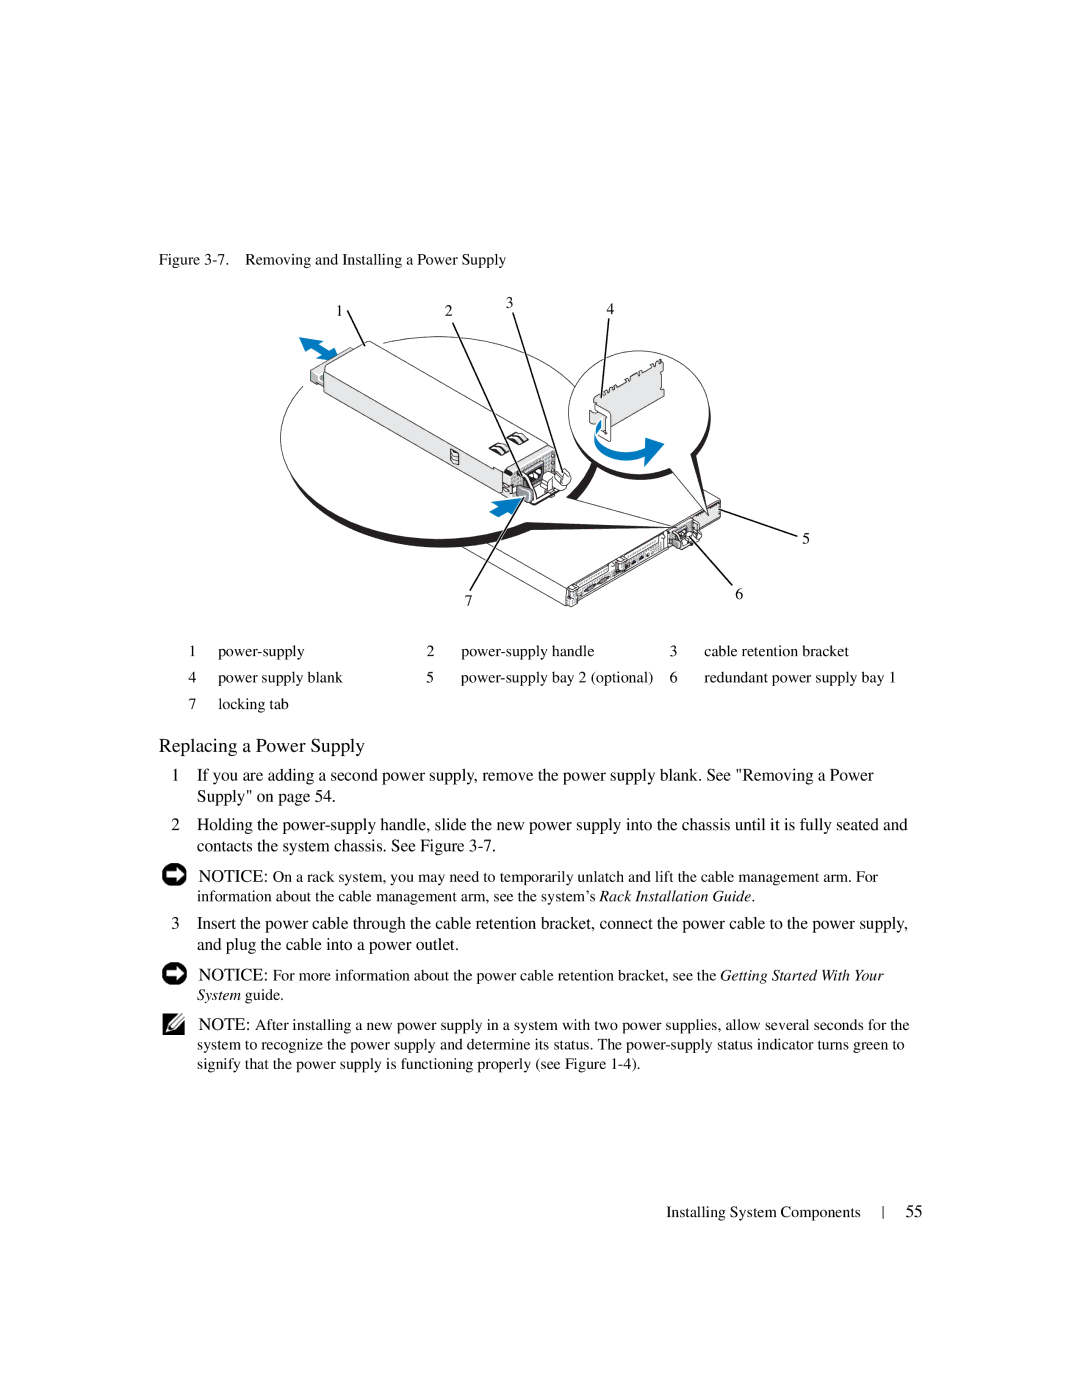
Figure 3-7. Removing and Installing a Power Supply
1 | 2 | 3 | 4 |
|
|
|
|
|
| 5 |
|
|
| 7 |
| 6 |
|
|
|
|
| |
1 |
| 2 |
| 3 | cable retention bracket |
4 | power supply blank | 5 |
| 6 | redundant power supply bay 1 |
7 | locking tab |
|
|
|
|
Replacing a Power Supply
1If you are adding a second power supply, remove the power supply blank. See "Removing a Power Supply" on page 54.
2Holding the
NOTICE: On a rack system, you may need to temporarily unlatch and lift the cable management arm. For information about the cable management arm, see the system’s Rack Installation Guide.
3Insert the power cable through the cable retention bracket, connect the power cable to the power supply, and plug the cable into a power outlet.
NOTICE: For more information about the power cable retention bracket, see the Getting Started With Your System guide.
NOTE: After installing a new power supply in a system with two power supplies, allow several seconds for the system to recognize the power supply and determine its status. The
Installing System Components
55