Printing Capabilities
The Concept
We are going to construct a
As you know, the memory in your computer functions in terms of bits, which are represented as being either “0”or “1”. We’ll use each bit that’s part of our map to either be a dot (“1”) or a blank space (“0”).Our picture will be 360 dots wide (at 60 dots per linear inch) and 270 dots in height.
We are going to hold 6 bits in each character to avoid prob- lems that you might have with the
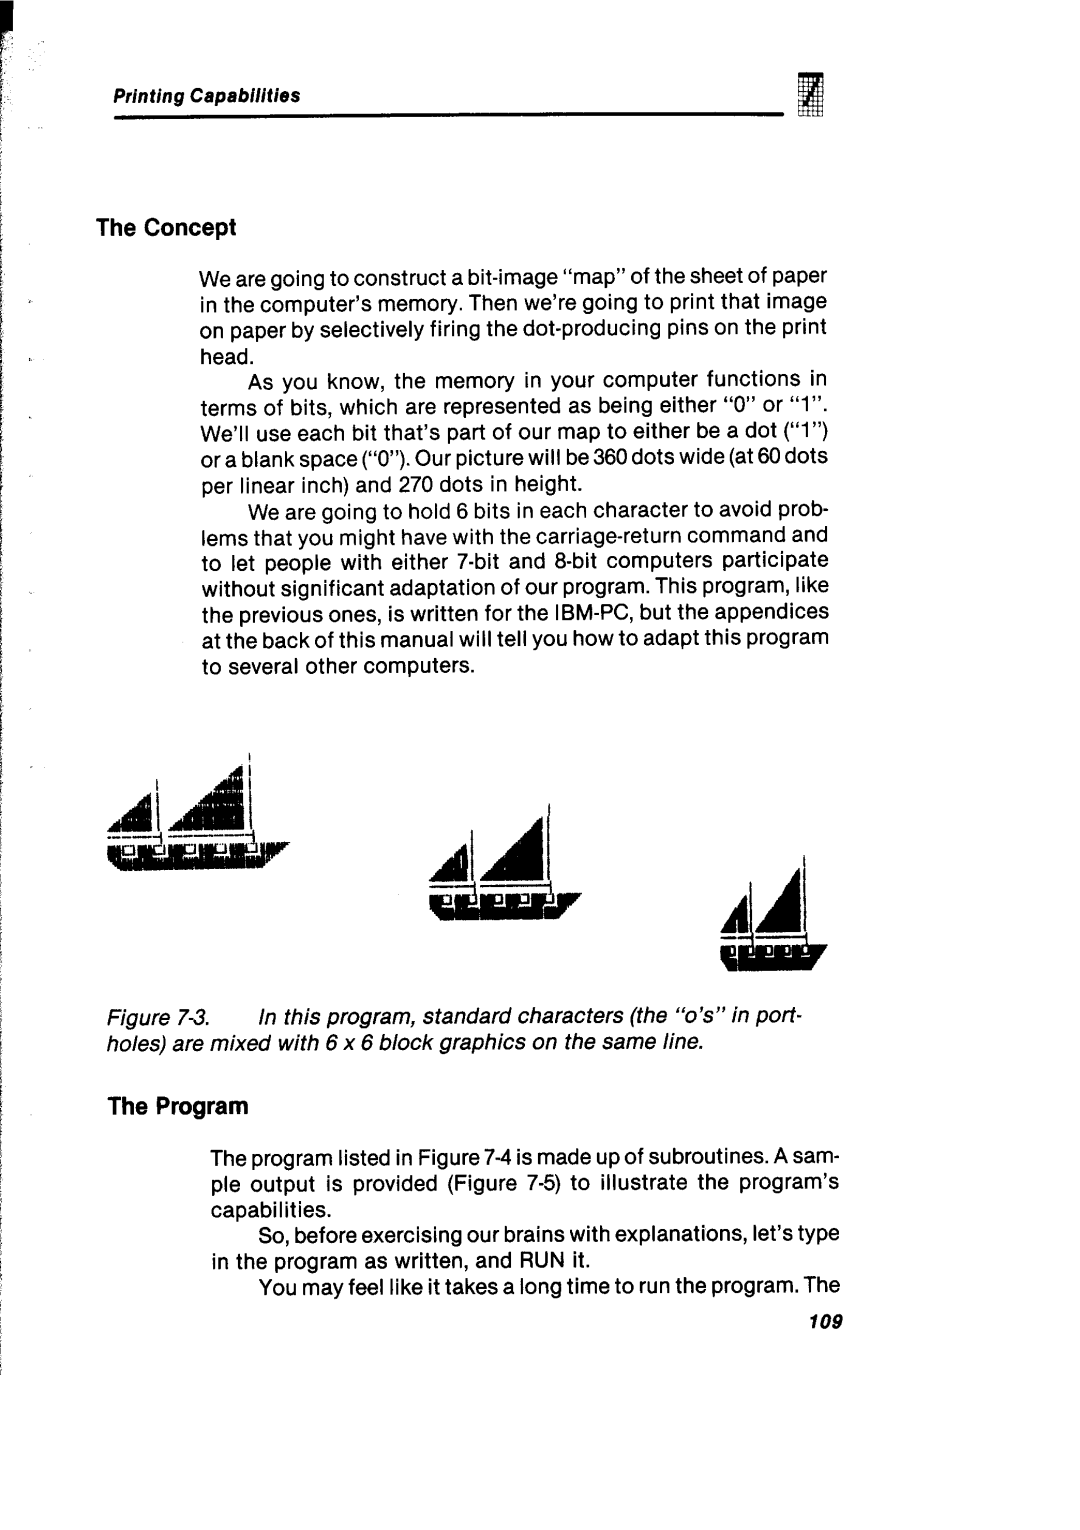
Figure 7-3. In this program, standard characters (the “o’s” in port- holes) are mixed with 6 x 6 block graphics on the same line.
The Program
The program listed in Figure
So, before exercising our brains with explanations, let’s type in the program as written, and RUN it.
You may feel like it takes a long time to run the program. The
109