Max Model Setup
Setting the Real Time Clock
DMS™ Equipped Models Only
NOTE: Set the real time clock prior to plugging the USB flash drive into the pump.
Enter the Year:
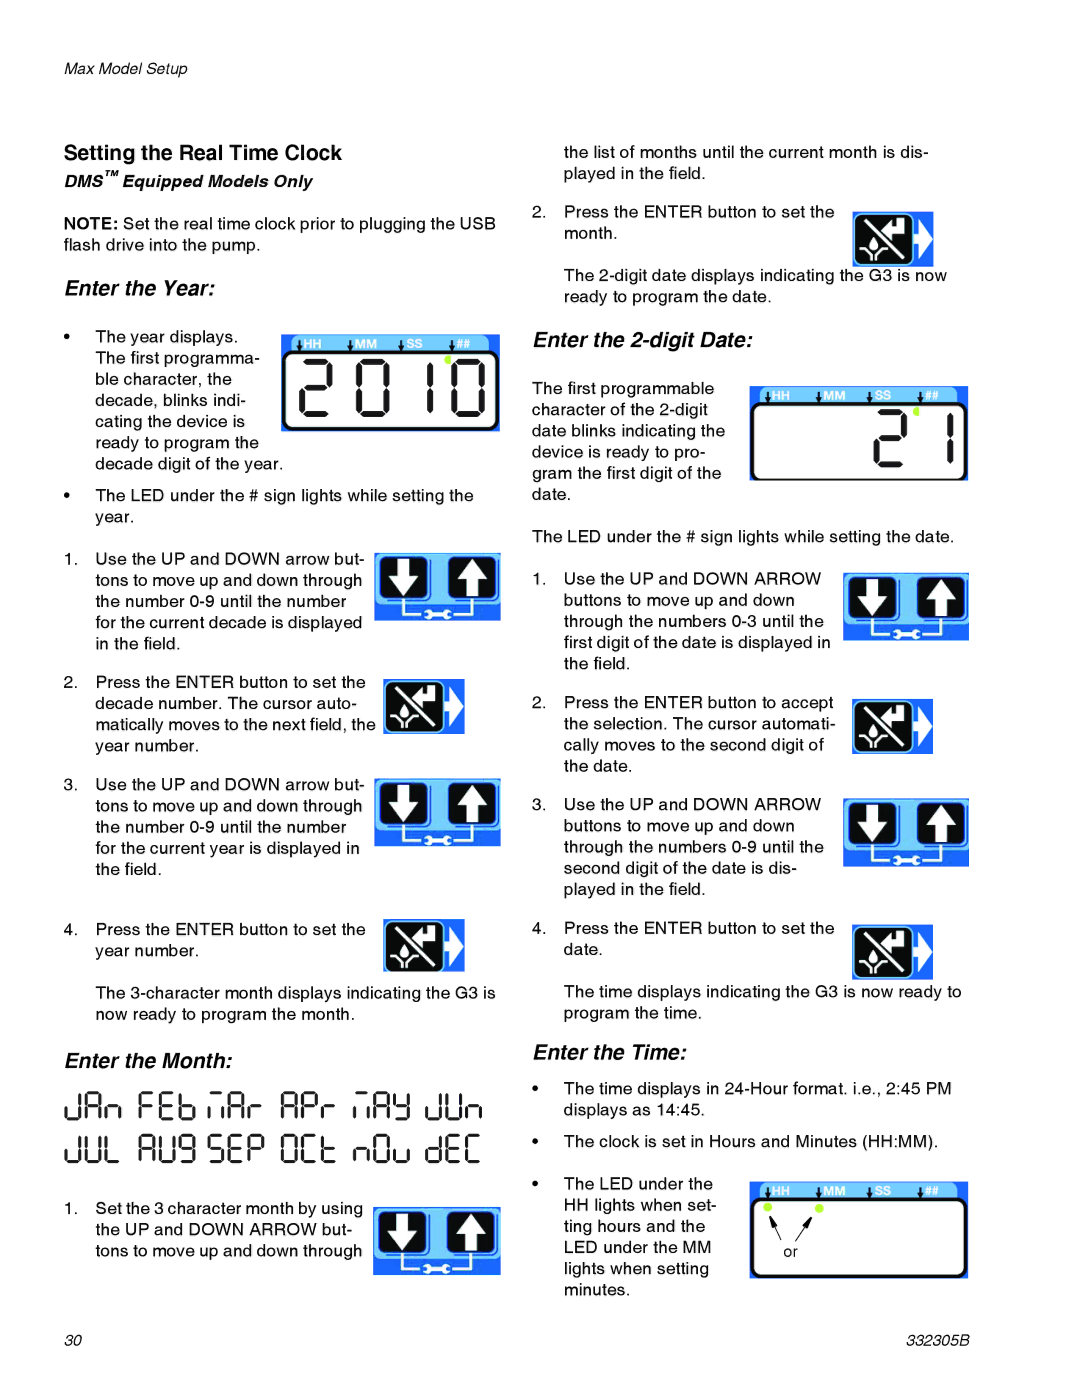
•The year displays.
The first programma- ble character, the decade, blinks indi- cating the device is ready to program the decade digit of the year.
•The LED under the # sign lights while setting the year.
1.Use the UP and DOWN arrow but- tons to move up and down through the number
2.Press the ENTER button to set the decade number. The cursor auto- matically moves to the next field, the year number.
3.Use the UP and DOWN arrow but- tons to move up and down through the number
4.Press the ENTER button to set the year number.
The
Enter the Month:
1.Set the 3 character month by using the UP and DOWN ARROW but- tons to move up and down through
the list of months until the current month is dis- played in the field.
2.Press the ENTER button to set the month.
The
Enter the 2-digit Date:
The first programmable character of the
The LED under the # sign lights while setting the date.
1.Use the UP and DOWN ARROW buttons to move up and down through the numbers
2.Press the ENTER button to accept the selection. The cursor automati- cally moves to the second digit of the date.
3.Use the UP and DOWN ARROW buttons to move up and down through the numbers
4.Press the ENTER button to set the date.
The time displays indicating the G3 is now ready to program the time.
Enter the Time:
•The time displays in
•The clock is set in Hours and Minutes (HH:MM).
•The LED under the
HH lights when set- |
|
ting hours and the |
|
LED under the MM | or |
lights when setting |
|
minutes. |
|
30 | 332305B |