Installing HyperFabric
Installing HyperFabric Switches
|
| With the Rail Kit |
|
| As mentioned earlier, HP strongly recommends installing the HF2 |
|
| switch using the rail kit. |
|
| When you install the HF2 switch, you will be putting the front of the |
|
| |
|
| steps for installing the HF2 switch using the rail kit are as follows: |
Step | 1. | Prepare the rack for rail and switch installation. |
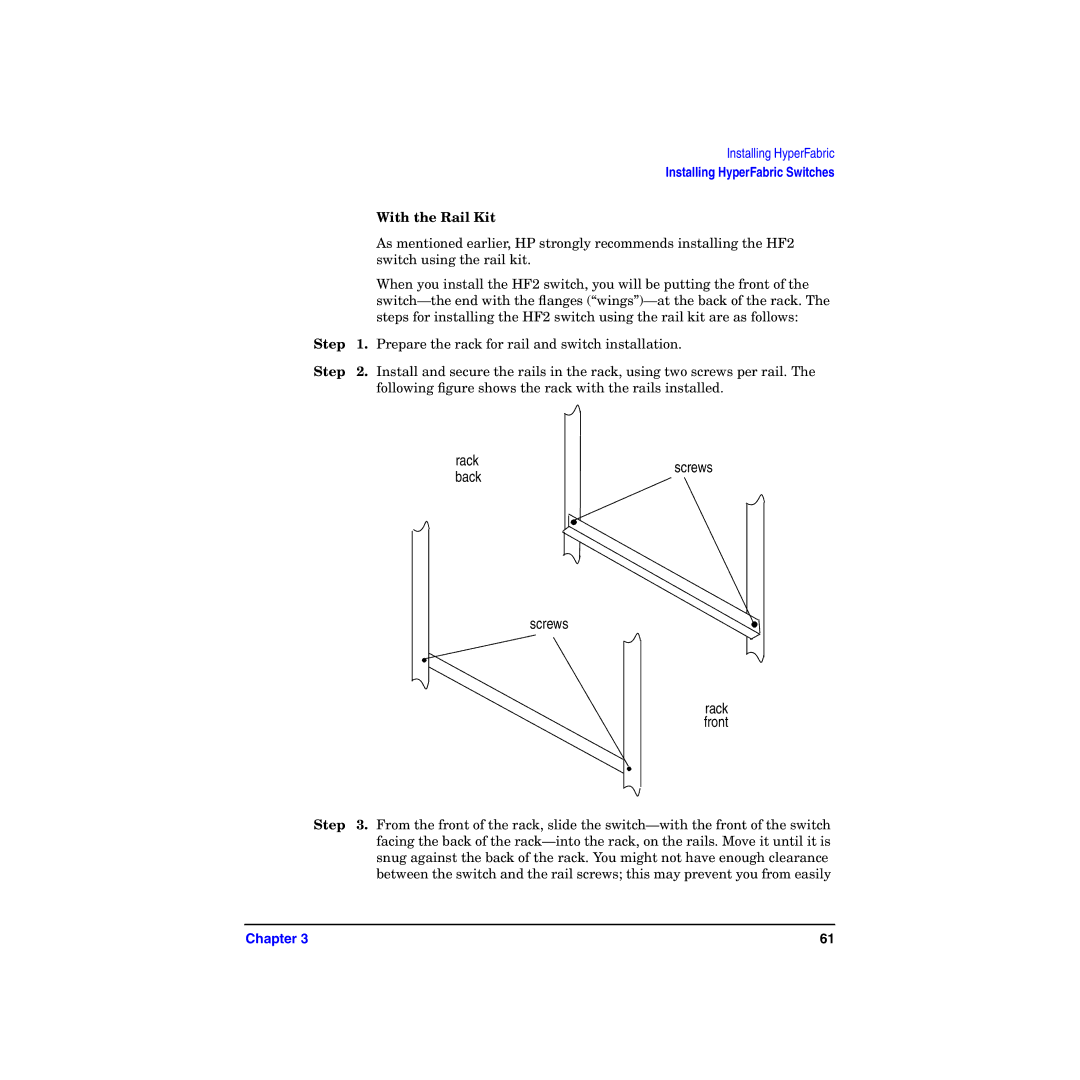
Step | 2. | Install and secure the rails in the rack, using two screws per rail. The |
|
| following figure shows the rack with the rails installed. |
rack | screws | |
back | ||
|
screws
rack front
Step 3. From the front of the rack, slide the
Chapter 3 | 61 |
