4.Connect to wireless network.
▲ Select your network from the list of detected networks.
5.Follow prompts.
6.Install software.
7.View the animation for this topic.
Related topics
“Install the software for a network connection” on page 88
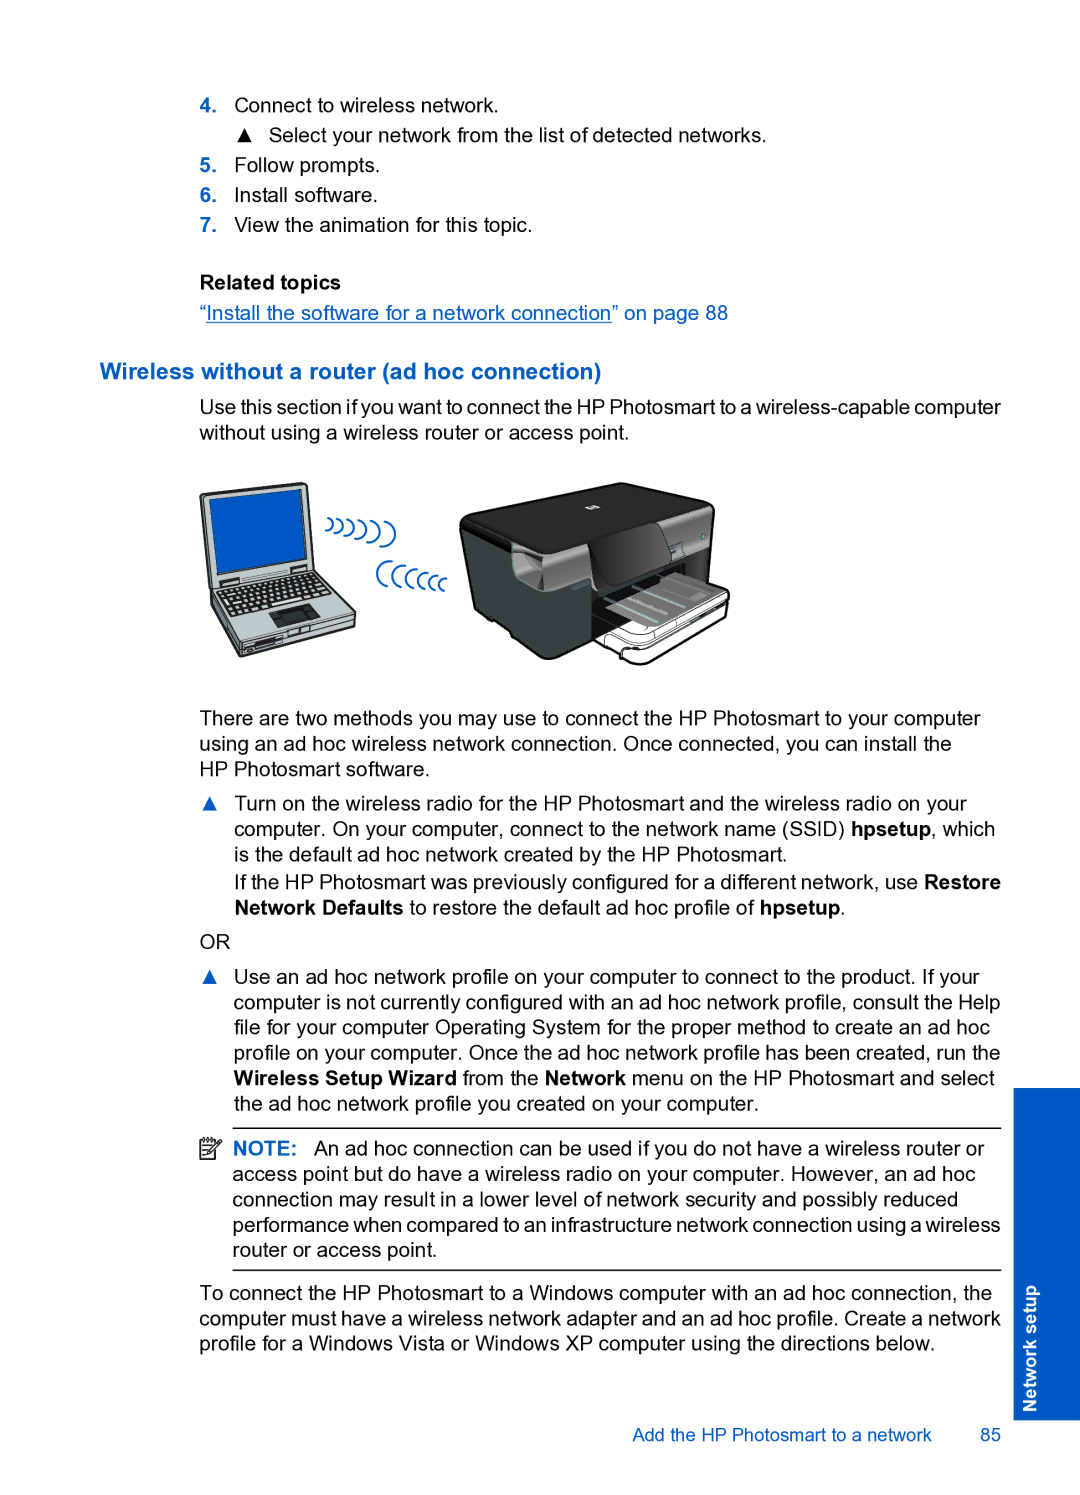
Wireless without a router (ad hoc connection)
Use this section if you want to connect the HP Photosmart to a
There are two methods you may use to connect the HP Photosmart to your computer using an ad hoc wireless network connection. Once connected, you can install the HP Photosmart software.
▲Turn on the wireless radio for the HP Photosmart and the wireless radio on your computer. On your computer, connect to the network name (SSID) hpsetup, which is the default ad hoc network created by the HP Photosmart.
If the HP Photosmart was previously configured for a different network, use Restore Network Defaults to restore the default ad hoc profile of hpsetup.
OR
▲Use an ad hoc network profile on your computer to connect to the product. If your computer is not currently configured with an ad hoc network profile, consult the Help file for your computer Operating System for the proper method to create an ad hoc profile on your computer. Once the ad hoc network profile has been created, run the Wireless Setup Wizard from the Network menu on the HP Photosmart and select the ad hoc network profile you created on your computer.
![]() NOTE: An ad hoc connection can be used if you do not have a wireless router or access point but do have a wireless radio on your computer. However, an ad hoc connection may result in a lower level of network security and possibly reduced performance when compared to an infrastructure network connection using a wireless router or access point.
NOTE: An ad hoc connection can be used if you do not have a wireless router or access point but do have a wireless radio on your computer. However, an ad hoc connection may result in a lower level of network security and possibly reduced performance when compared to an infrastructure network connection using a wireless router or access point.
To connect the HP Photosmart to a Windows computer with an ad hoc connection, the computer must have a wireless network adapter and an ad hoc profile. Create a network profile for a Windows Vista or Windows XP computer using the directions below.
Add the HP Photosmart to a network | 85 |
Network setup