Chapter 5
![]() NOTE: The ink levels shown are an estimate only. Actual ink volumes may vary.
NOTE: The ink levels shown are an estimate only. Actual ink volumes may vary.
After removing a cartridge from its package, install it right away. Do not remove a cartridge from the device for long periods of time.
To find out which ink cartridges work with your device, see Supplies.
To replace the ink cartridges
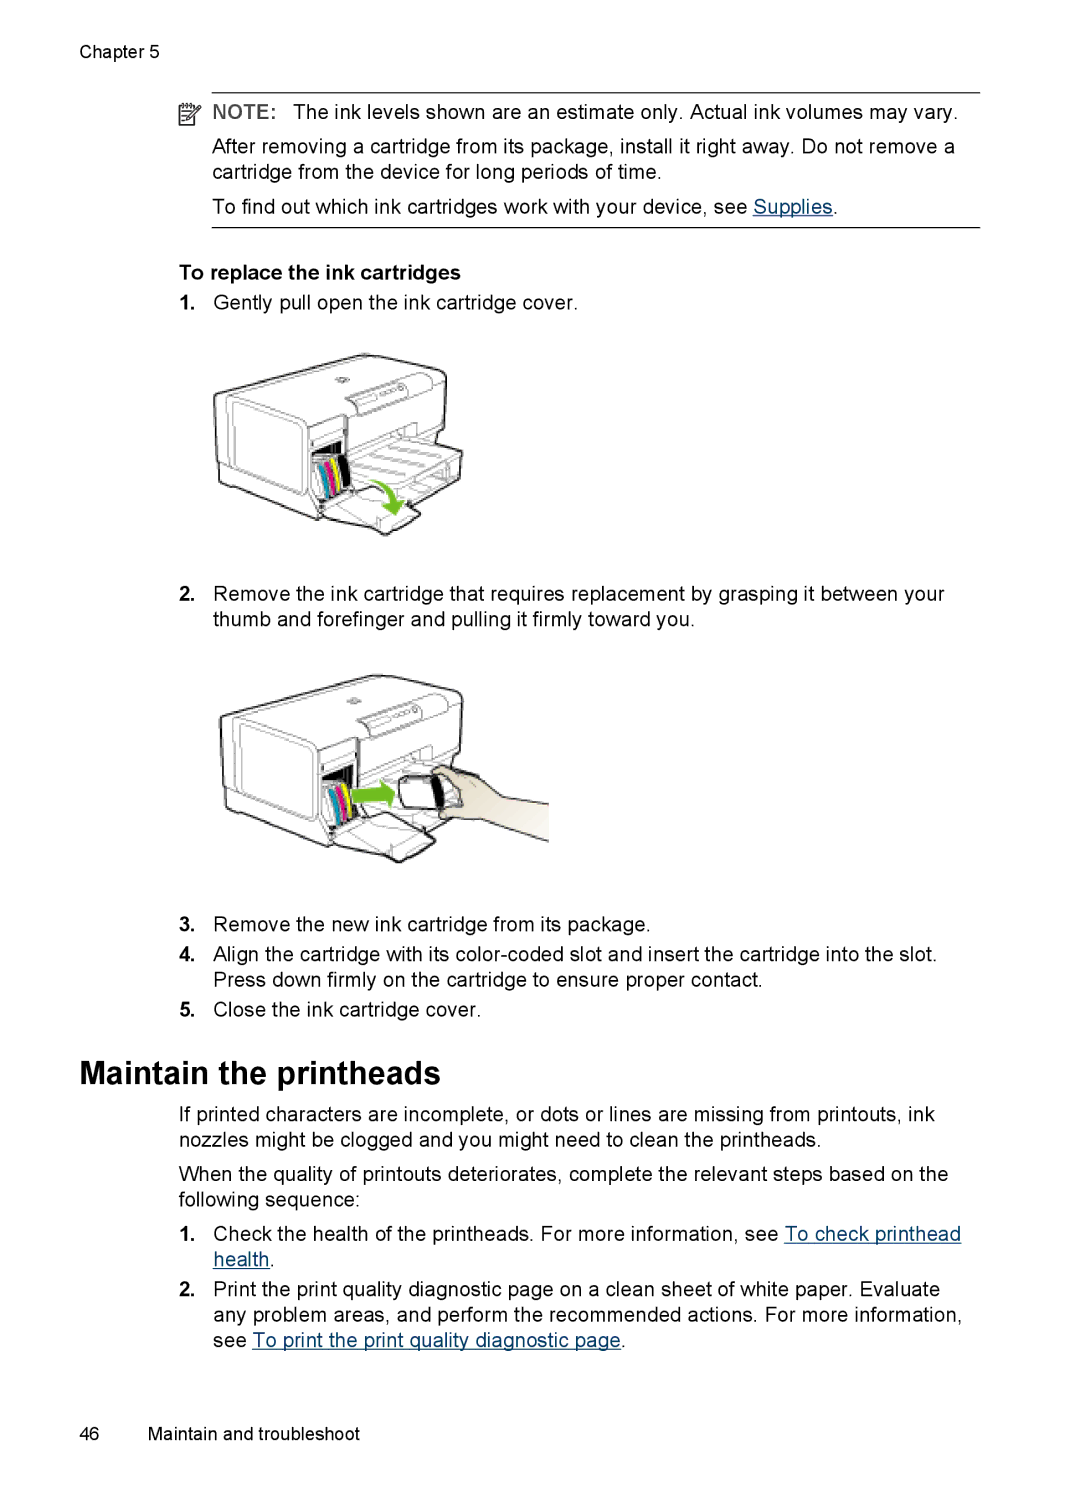
1.Gently pull open the ink cartridge cover.
2.Remove the ink cartridge that requires replacement by grasping it between your thumb and forefinger and pulling it firmly toward you.
3.Remove the new ink cartridge from its package.
4.Align the cartridge with its
5.Close the ink cartridge cover.
Maintain the printheads
If printed characters are incomplete, or dots or lines are missing from printouts, ink nozzles might be clogged and you might need to clean the printheads.
When the quality of printouts deteriorates, complete the relevant steps based on the following sequence:
1.Check the health of the printheads. For more information, see To check printhead health.
2.Print the print quality diagnostic page on a clean sheet of white paper. Evaluate any problem areas, and perform the recommended actions. For more information, see To print the print quality diagnostic page.
46 Maintain and troubleshoot
