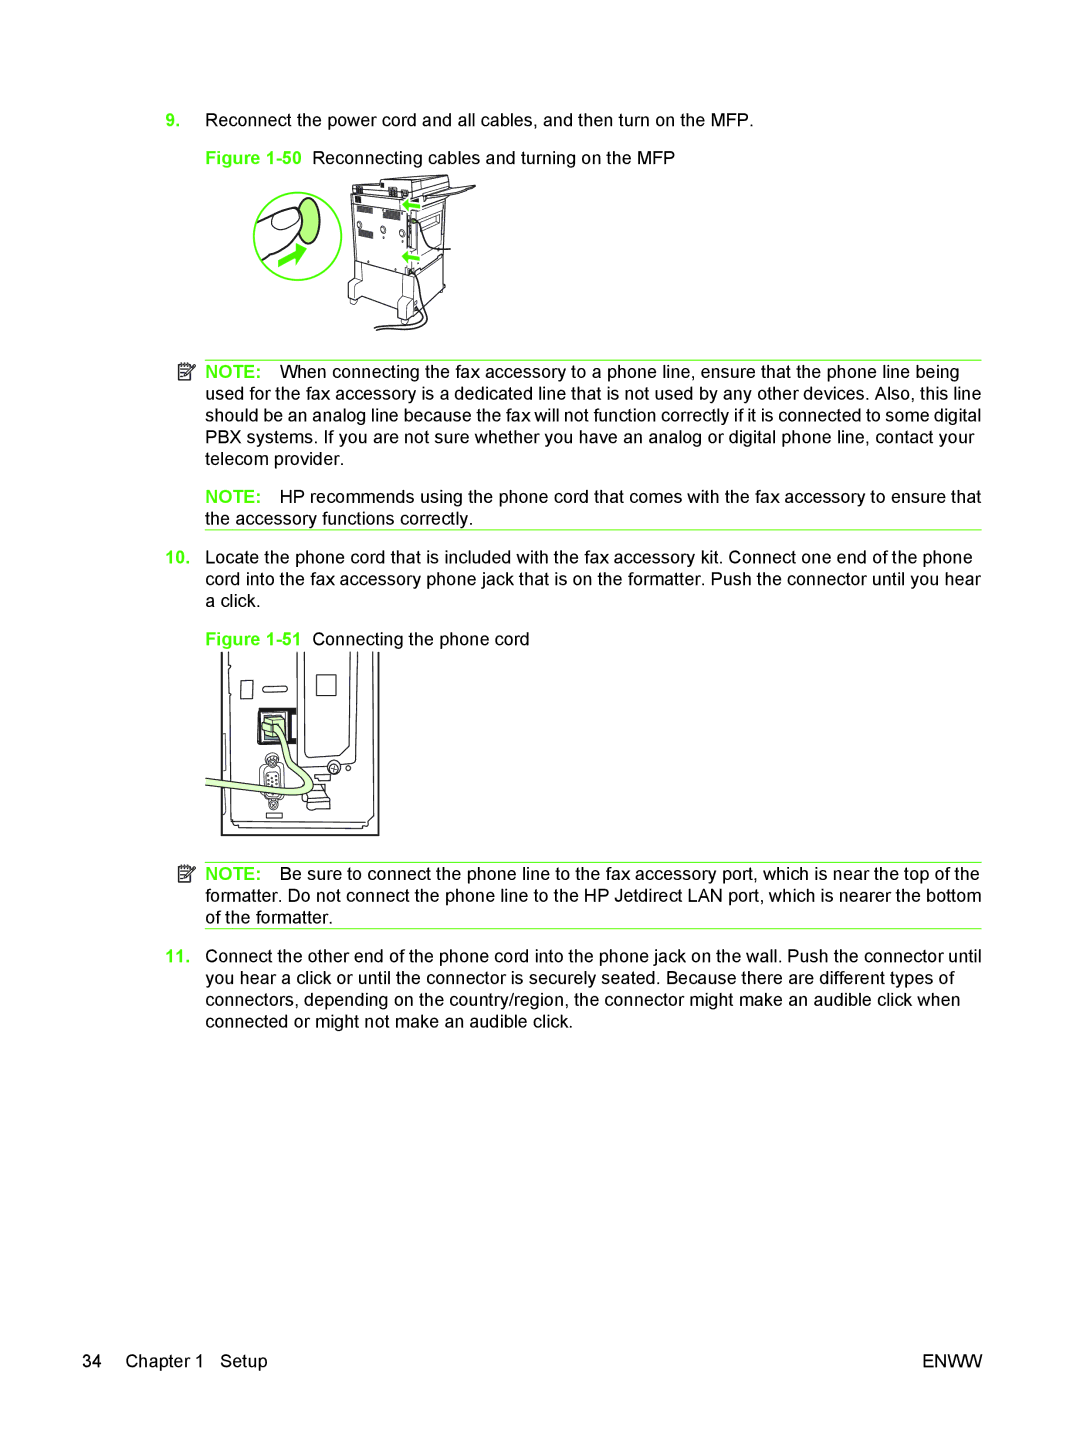
9.Reconnect the power cord and all cables, and then turn on the MFP. Figure
![]() NOTE: When connecting the fax accessory to a phone line, ensure that the phone line being used for the fax accessory is a dedicated line that is not used by any other devices. Also, this line should be an analog line because the fax will not function correctly if it is connected to some digital PBX systems. If you are not sure whether you have an analog or digital phone line, contact your telecom provider.
NOTE: When connecting the fax accessory to a phone line, ensure that the phone line being used for the fax accessory is a dedicated line that is not used by any other devices. Also, this line should be an analog line because the fax will not function correctly if it is connected to some digital PBX systems. If you are not sure whether you have an analog or digital phone line, contact your telecom provider.
NOTE: HP recommends using the phone cord that comes with the fax accessory to ensure that the accessory functions correctly.
10.Locate the phone cord that is included with the fax accessory kit. Connect one end of the phone cord into the fax accessory phone jack that is on the formatter. Push the connector until you hear a click.
Figure | Connecting the phone cord |
![]() NOTE: Be sure to connect the phone line to the fax accessory port, which is near the top of the formatter. Do not connect the phone line to the HP Jetdirect LAN port, which is nearer the bottom of the formatter.
NOTE: Be sure to connect the phone line to the fax accessory port, which is near the top of the formatter. Do not connect the phone line to the HP Jetdirect LAN port, which is nearer the bottom of the formatter.
11.Connect the other end of the phone cord into the phone jack on the wall. Push the connector until you hear a click or until the connector is securely seated. Because there are different types of connectors, depending on the country/region, the connector might make an audible click when connected or might not make an audible click.
34 Chapter 1 Setup | ENWW |