Installing the fax accessory
●Installing/replacing the fax accessory in the HP LaserJet 9040/9050mfp
●Installing/replacing the fax accessory in the HP LaserJet 4345mfp
●Installing/replacing the fax accessory in the HP LaserJet M4345 MFP
●Installing/replacing the fax accessory in the HP Color LaserJet 4730mfp and HP Color LaserJet CM4730 MFP
●Installing/replacing the fax accessory in the HP LaserJet M5025 MFP and M5035 MFP
●Installing/replacing the fax accessory in the HP Color LaserJet CM6040 MFP Series
●Installing/replacing the fax accessory in the HP LaserJet M9040 MFP / M9050 MFP
Installing/replacing the fax accessory in the HP LaserJet 9040/9050mfp
This procedure provides information on how to install or replace the fax card in the HP LaserJet 9040/9050mfp.
![]() NOTE: If you purchased the MFP with the fax accessory installed, you do not need to perform this hardware installation; however, you will need to connect the phone cord as described in steps 10 and 11 of this procedure and you will also need to make the required configuration settings. See Required fax settings on page 36.
NOTE: If you purchased the MFP with the fax accessory installed, you do not need to perform this hardware installation; however, you will need to connect the phone cord as described in steps 10 and 11 of this procedure and you will also need to make the required configuration settings. See Required fax settings on page 36.
The fax accessory card is installed on the MFP formatter board which must be removed to install the fax card. To install or to replace an existing fax card, complete the following steps.
![]() NOTE: The Fax Accessory is also supported on the M3035xs MFP and the M3027x MFP, and it is factory installed. This also applies to the Color LaserJet 9500mfp.
NOTE: The Fax Accessory is also supported on the M3035xs MFP and the M3027x MFP, and it is factory installed. This also applies to the Color LaserJet 9500mfp.
1.Unpack the fax card from the box. Do not remove the fax card from its antistatic pouch.
2.Set the MFP's power switch to off and disconnect the AC power cord.
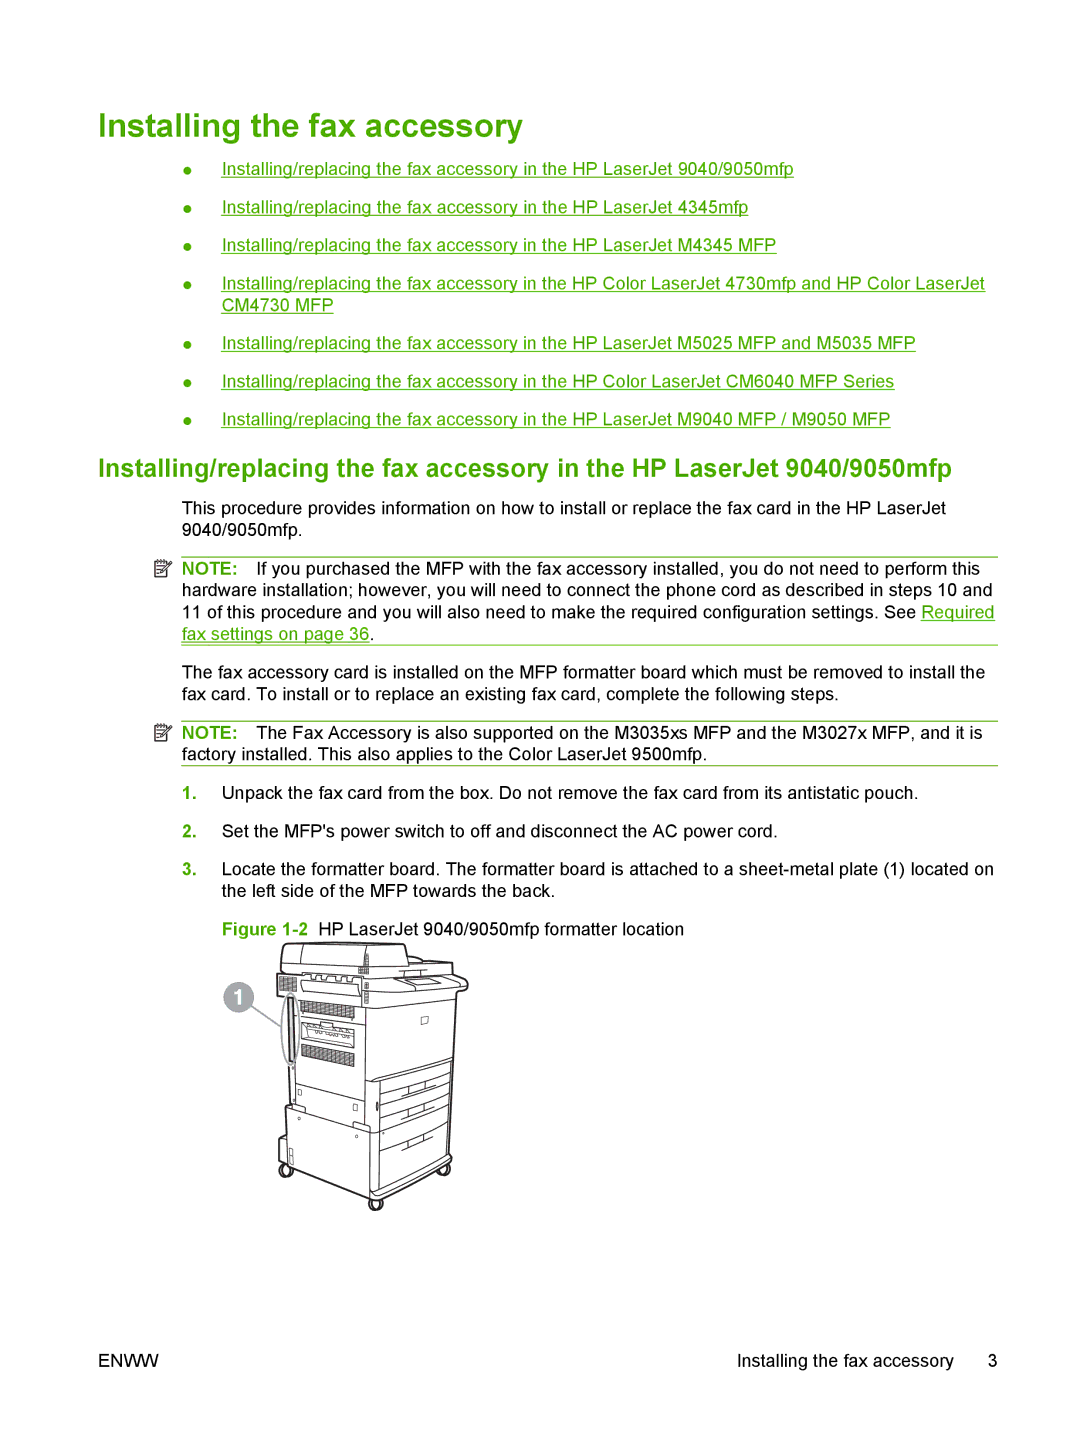
3.Locate the formatter board. The formatter board is attached to a
Figure 1-2 HP LaserJet 9040/9050mfp formatter location
ENWW | Installing the fax accessory 3 |