User’s Reference
IBM TotalStorage Network Attached Storage
Models 201 and
Release
First Edition November
Contents
Chapter 2. Configuration and administration tools
Chapter 4. Storage configuration
Chapter 5. Completing setup
Chapter 6. Additional administrative functions
Chapter 8. Using the Recovery and Supplementary CDs
Appendix B. Getting help, service, and information
Appendix C. Engine POST messages
IBM Glossary of Storage Networking Terms
Contents
vi NAS 200 User’s Reference
Figures
Diagnostics panel LEDs
Boot block jumper location
Battery removal
viii NAS 200 User’s Reference
Tables
x NAS 200 User’s Reference
About this book
Who should read this book
Frequently used terms
Publications
Web sites
Hardcopy publications shipped with the NAS
Related publications
Chapter 1. Introduction
Roadmap for setting up and configuring the NAS
Microsoft Windows Terminal Services
Microsoft Services for UNIX
IBM Advanced Appliance Configuration Utility agent
Step 3 - Completing setup “Chapter 5. Completing setup” on page
Step 1 - Initial network setup “Chapter 3. Getting started” on page
Step 2 - Define storage “Chapter 4. Storage configuration” on page
4 NAS 200 User’s Reference
Chapter 2. Configuration and administration tools
Using a keyboard, monitor, and mouse for setup and configuration
Main functions
Terminal Services Client
Administration Tool
IBM Advanced Appliance Configuration Utility IAACU
Universal Manageability Services
Windows 2000 for Network Attached Storage
Chapter 2. Configuration and administration tools
2. Click Start → Run
Terminal Services and the IBM NAS Administration Console
Connecting to the desktop through Terminal Services
IBM Advanced Appliance Configuration Utility
IBM NAS Administration console
Determining who is using the network-attached storage
IAACU Agent
IAACU Console
v The Information Pane
Discovering NAS 200 Appliances
v The Tree View Pane
v Families
Using Families and Groups in the Tree View
v All Appliances
v Orphaned Externally Configured Appliances
v Orphaned Appliances
v Conflicting Network Addresses
Creating a Family To create a Family
Default Gateway
Max IP Address
Subnet Mask
No Allocation
Universal Manageability Services
System requirements
Starting UM Services
2. Click Start Web-Based Management
Launching UM Services from the configuration utility
Windows 2000 for Network Attached Storage
Telnet Server support
SNMP support
Chapter 3. Getting started
Methods for setting up your NAS
Installing the IBM Advanced Appliance Configuration Utility
Accessing Universal Management Services
Initial setup and configuration
Enabling National Language Support NLS
Maintenance Date and Time
Network Setup
v French v German v Japanese v Spanish
22 NAS 200 User’s Reference
Chapter 4. Storage configuration
ServeRAID configuration
Updating the ServeRAID BIOS, firmware, and device drivers
RAID technology
Solving ServeRAID problems
Initial storage configuration of the NAS
Creating arrays and logical drives
v Configuring the ServeRAID controller
Format the logical drives
26 NAS 200 User’s Reference
Chapter 5. Completing setup
Defining Windows users and groups
Defining local Windows users and groups
1. Click Local Users
v Click Identification
Giving storage access to Windows domain users and groups
Defining UNIX users and groups
Using a local UNIX name space
30 NAS 200 User’s Reference
1 Click Show user maps
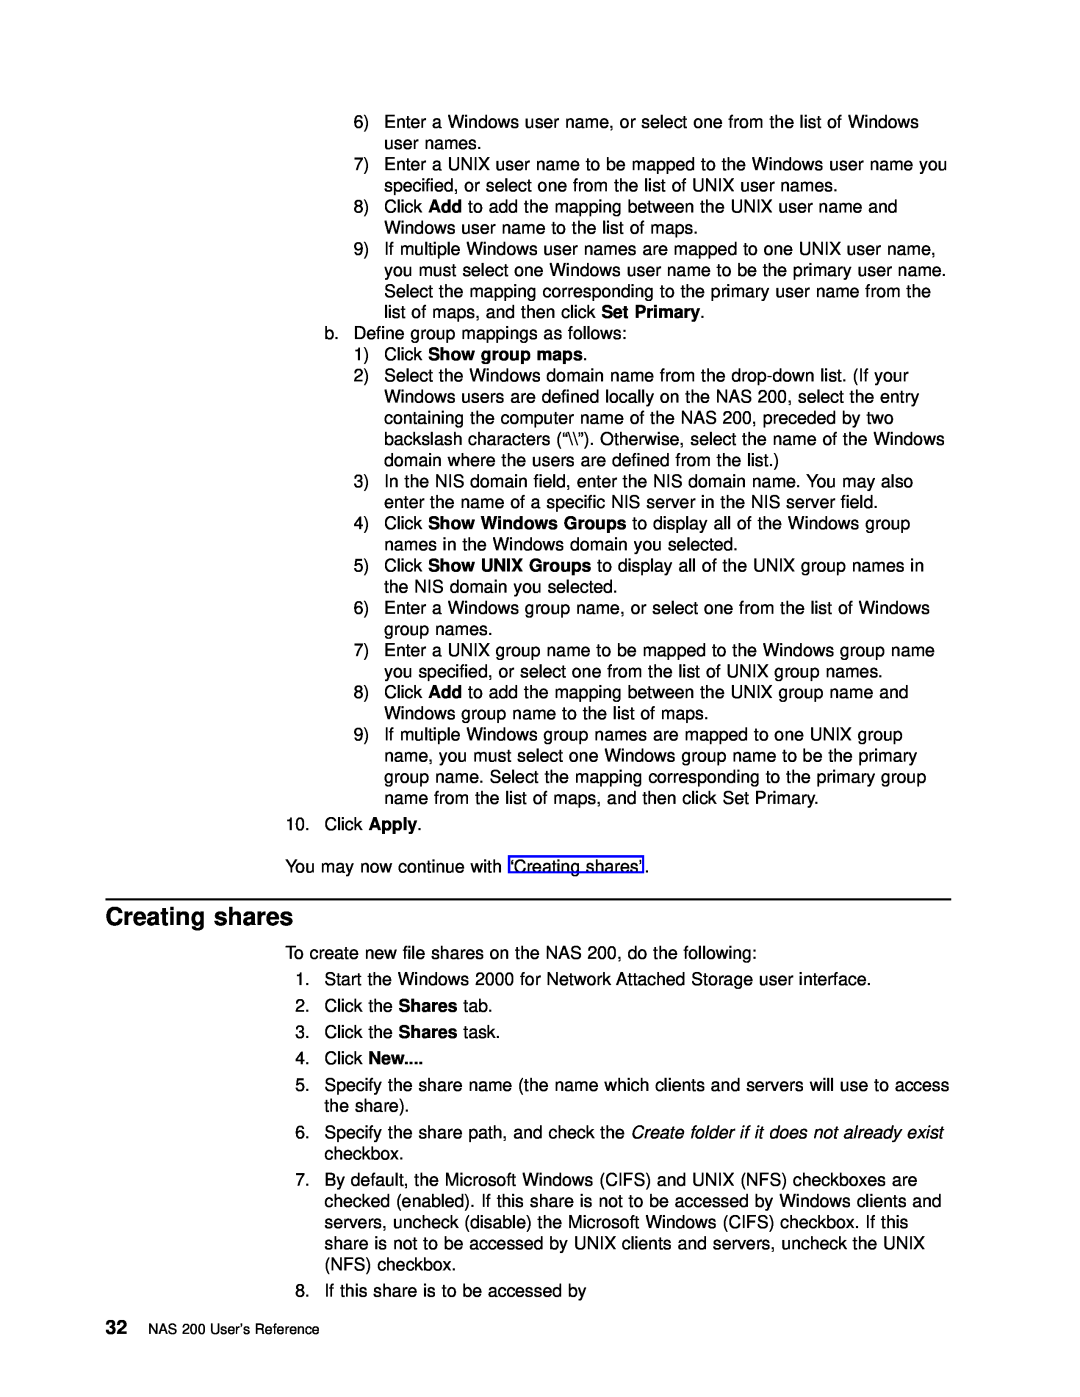
1 Click Show group maps
Using the UNIX name space on an NIS domain
32 NAS 200 User’s Reference
Creating shares
4. Click New
9. Click OK. The new share should appear in the list of shares
34 NAS 200 User’s Reference
Chapter 6. Additional administrative functions
NAS Backup Assistant
Restoring using the NT Backup panel
Backup Operations
Persistent Images
Global Settings
Volume Settings
Volumes
Name
Read-only or read-write
Retention value
Schedules
Restore Persistent Images
Disaster Recovery
Static IP addressing
Creating a recovery disk
Backing up the system drive
If you have multiple 10/100 Ethernet adapters
Restoring the system drive
Granting user access to persistent image files
42 NAS 200 User’s Reference
PSM notes
Intel Ethernet adapter teaming
Fault tolerance
Ethernet adapter teaming
Alacritech Ethernet adapter teaming
Load balancing
46 NAS 200 User’s Reference
Chapter 7. Troubleshooting
Engine troubleshooting and diagnostics
Engine diagnostic tools overview
v POST beep codes, error messages, and error logs
Identifying problems using LEDs
Power-supply LEDs
Table 3. Power-supply LEDS
Chapter 7. Troubleshooting
Light-path diagnostics
Diagnostics panel
Figure 1. Diagnostics panel LEDs
MEM PS1 CPU PS2 PCI A PS3 PCI B NON PCI C OVER VRM NMI DASD TEMP
1. All known problems are resolved 2. The system is restarted
Engine troubleshooting charts
Page
Monitor
54 NAS 200 User’s Reference
Serial port problems
Option problems
Power problems
Service processor
Software problem
USB port problems
Universal Serial Bus
Power problems
Recovering BIOS
Replacing the battery
To replace the battery
5. Reinstall the appliance cover and connect the cables
Integrated Ethernet adapter
Adapter troubleshooting and diagnostics
Network connection problems
Suggested Action
Integrated Ethernet adapter troubleshooting chart
Ethernet adapter problem
Troubleshooting the 10/100 PCI Ethernet adapter
Table 8. 10/100 PCI Ethernet adapter troubleshooting chart
Testing the Ethernet adapters with Intel PROSet
Gigabit Ethernet SX adapter
Table 9. Gigabit Ethernet SX adapter troubleshooting chart
Table 10. Intel PRO 1000 XT Server adapter troubleshooting chart
Troubleshooting the Intel PRO 1000 XT Server adapter
Table 9. Gigabit Ethernet SX adapter troubleshooting chart continued
68 NAS 200 User’s Reference
Troubleshooting the Alacritech Quad-Port 10/100 Ethernet adapter
Indicator lights
Troubleshooting the ServeRAID-4Lx and 4H
Testing the Quad-Port 10/100 Ethernet adapter
POST ISPR error procedures
ServeRAID-4x problems and actions
Do not press F5. Doing so changes the configuration
9ZXX thru BZXX
FFFF or other code not listed
Testing the ServeRAID 4x adapter
Table 12. ServeRAID-4x problems and actions
Troubleshooting the Integrated System Management Processor
2. Select Backup IPS ServeRaid Config
Enter
Run Adapter Self-tests
Troubleshooting the Remote Supervisor Adapter
Testing SCSI Adapters
76 NAS 200 User’s Reference
Chapter 8. Using the Recovery and Supplementary CDs
Using the Recovery Enablement Diskette and Recovery CD Set
78 NAS 200 User’s Reference
Directory Name
Using the Supplementary CD
Contents
Services for UNIX
Appendix A. Notices
ServeRAID ServerGuide TotalStorage
Trademarks
IBM Netfinity Netfinity Advanced System Management Netfinity Manager
Appendix B. Getting help, service, and information
Service support
Before you call for service
Getting customer support and service
Getting help by telephone
Appendix B. Getting help, service, and information
86 NAS 200 User’s Reference
Power-on self-test POST
Appendix C. Engine POST messages
POST beep code descriptions
No beeps
Two short beeps
Three short beeps
Repeating short beeps
One long and one short beep
POST beep codes
Table 15. POST beep codes
90 NAS 200 User’s Reference
boot reset. See the Hardware Installation Guide
Table 15. POST beep codes continued
Symptom
POST error messages
Table 17. POST error messages continued
94 NAS 200 User’s Reference
Error
96 NAS 200 User’s Reference
Event/error logs
POST diagnostic programs
Starting the diagnostic programs
Text messages
Passed
User Aborted
2. Power on the NAS 200 and watch the screen
Diagnostic error message tables
Viewing the test log
Error Code
102 NAS 200 User’s Reference
Error Code
104 NAS 200 User’s Reference
405-XXX-00N
Adapter in PCI slot N
415-XXX-000
Cable
106 NAS 200 User’s Reference
This glossary includes terms and definitions from
IBM Glossary of Storage Networking Terms
Numerics
ASM see advanced system management
ATM see asynchronous transfer mode
BIOS see Basic Input/Output System
AUI see attachment unit interface
bonded interface see bond group
bps see bits per second
CIFS see Windows networking
CHAP see Challenge Handshake Authorization Protocol
CDDI see Copper Distributed Data Interface
DDP see distributed data processing
DHCP see Dynamic Host Configuration Protocol
CRC see cyclic redundancy check CRU see customer-replaceable unit
DLR see dynamic link routine DMA see Direct Memory Access
distributed data processing DDP. Synonym for distributed processing
DNS see domain name system
EIA see Electronic Industries Association
ESD see electrostatic discharge ESM see environmental service monitor
fiber optic cable see optical cable
FIR see File Image Restore
FIC see File Image Capture
FRU see field-replaceable unit FTP see File Transfer Protocol
FVC see floating virtual connection
IP see Internet Protocol
HTTP see Hypertext Transfer Protocol
IETF see Internet Engineering Task Force
LBG see load-balancing group
LDAP see Lightweight Directory Access Protocol
LAN see local area network
LS0H see Low-smoke zero halogen
MES see miscellaneous equipment specification
LSFR0H see Low-smoke fire-retardant zero halogen
NIS see network information services
multicast address see LAN multicast
N see Newton
NDMP see network data management protocol
PPS see per port switching
PCI see Peripheral Component Interconnect
PCNFS see personal-computer network file system
PCNFSD see personal-computer NFS daemon
RAM see random access memory
PSM see Persistent Storage Manager
RAID see redundant array of independent disks
SCSI see small computer system interface
STP see shielded twisted pair SVN see switched virtual network
SNMP see Simple Network Management Protocol
TCP see Transmission Control Protocol
TCP/IP see Transmission Control Protocol/Internet Protocol
TSM see Tivoli Storage Manager
USB see universal serial bus
VLAN see virtual local area network
VLUN see virtual logical unit
WINS see Windows Internet Naming Service
124 NAS 200 User’s Reference
Index A
Page
Page
GA27-4263-01