Removing a hard disk drive
Complete the following steps to remove a
Note: The hard disk drive comes installed in a drive tray. Do not attempt to detach the hard disk drive from the drive tray.
1.Use Table 19 on page 119 to record the location and identify your DS4000 SATA hard disk drives. You must record this information to be able to replace the hard disk drives in their original order before they were removed.
2.Release the latch on the drive CRU by pinching together the blue line on the tray latch and the finger hole on the tray handle.
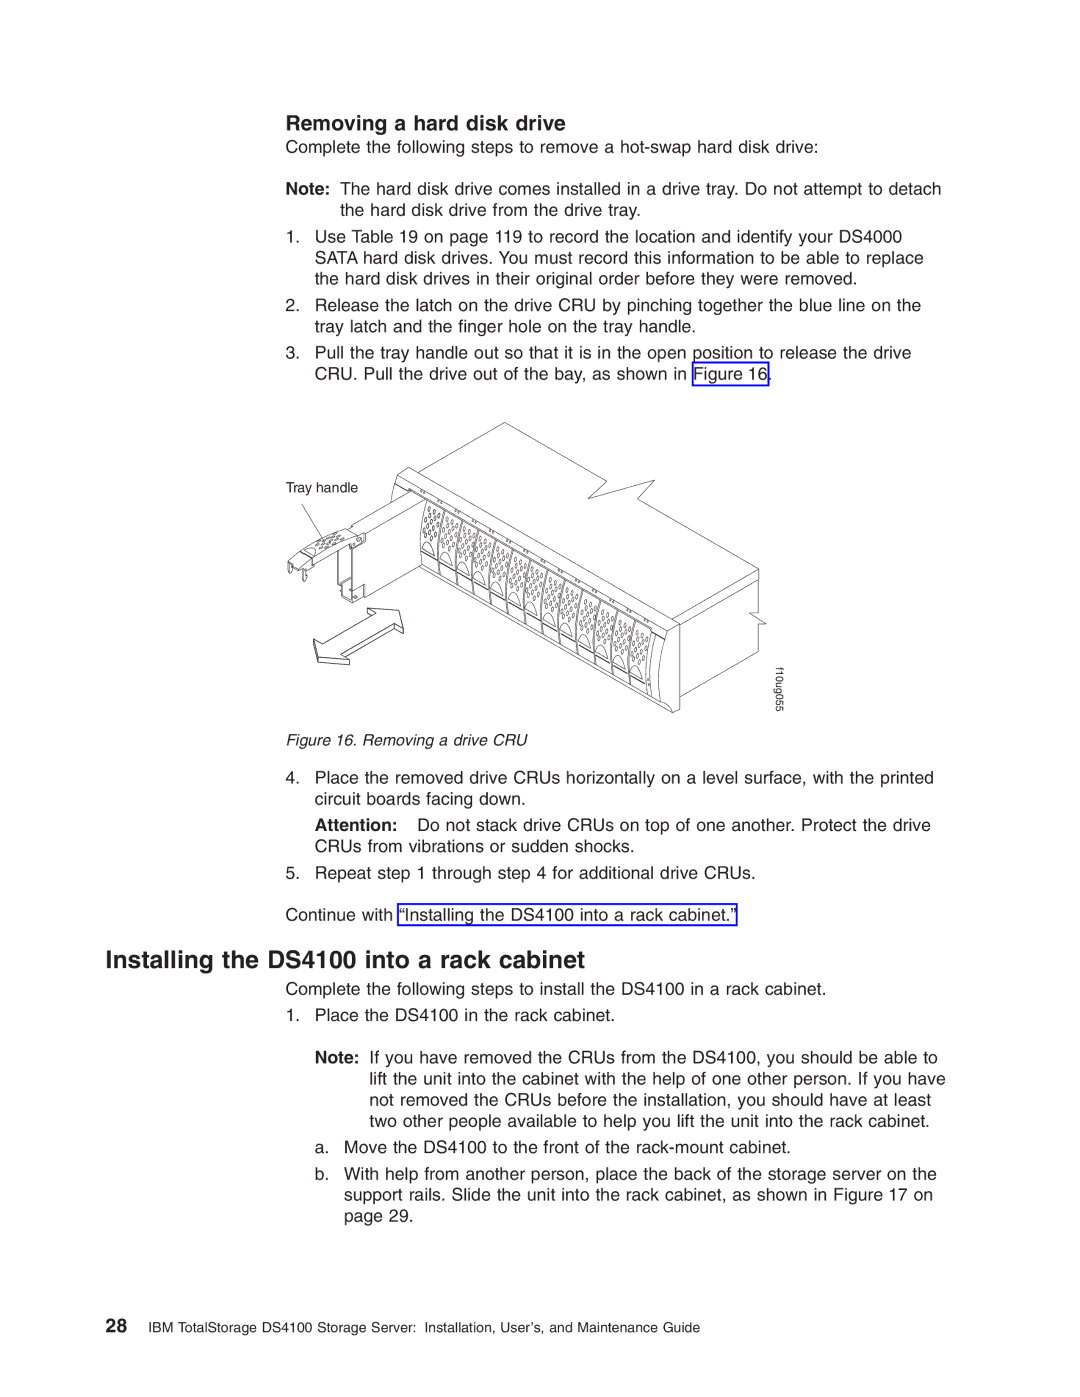
3.Pull the tray handle out so that it is in the open position to release the drive CRU. Pull the drive out of the bay, as shown in Figure 16.
Tray handle
f10ug055
Figure 16. Removing a drive CRU
4.Place the removed drive CRUs horizontally on a level surface, with the printed circuit boards facing down.
Attention: Do not stack drive CRUs on top of one another. Protect the drive CRUs from vibrations or sudden shocks.
5.Repeat step 1 through step 4 for additional drive CRUs.
Continue with “Installing the DS4100 into a rack cabinet.”
Installing the DS4100 into a rack cabinet
Complete the following steps to install the DS4100 in a rack cabinet.
1.Place the DS4100 in the rack cabinet.
Note: If you have removed the CRUs from the DS4100, you should be able to lift the unit into the cabinet with the help of one other person. If you have not removed the CRUs before the installation, you should have at least two other people available to help you lift the unit into the rack cabinet.
a.Move the DS4100 to the front of the
b.With help from another person, place the back of the storage server on the support rails. Slide the unit into the rack cabinet, as shown in Figure 17 on page 29.
28IBM TotalStorage DS4100 Storage Server: Installation, User’s, and Maintenance Guide