Adjusting the Tone
You can adjust the bass level (low frequency range) and the treble level (high frequency range) within a range of
•This function only affects the playback sound, and does not affect your recording.
•This function also affects the sound from headphones.
•There is a time limit in doing the following steps. If the setting is canceled before you finish, start from step 1 again.
1 Press BASS/TREBLE on the remote control to adjust the bass or treble level.
•Each time you press the button, the adjustable item changes as
follows:
![]() BASS
BASS ![]() TREBLE
TREBLE
OFF
(Canceled)
Current setting
Ex.: When you select “BASS.”
2 On the remote control:
Press AUDIO VOL + to increase the level or press AUDIO VOL – to decrease the level.
On the unit:
VOLUME +
Turn VOLUME + / – control clockwise to increase the level or counterclockwise to decrease the level.
–
Changing the Display Brightness
You can change the display brightness only while the unit is turned on.
On the remote control ONLY:
Press DIMMER while the unit is turned on.
•Each time you press the button, the display brightness changes as follows:
 DIMMER 1
  DIMMER 2
DIMMER OFF 
DIMMER 1: The display illumination and the blue illumination dim.
DIMMER 2: The display illumination dims and the blue illumination on the display disappears.
DIMMER OFF: The display and blue illumination resume.
English
When you turn off (on standby) the unit
The display brightness sets back to “DIMMER OFF.”
Changing the Scanning Mode
This unit supports the NTSC progressive scanning system (525p*) as well as the conventional interlaced scanning system (480i*).
If your TV has component video jacks and supports progressive scanning system, you can enjoy a high quality picture from the built- in DVD player.
•Refer also to the instruction manuals supplied with your TV.
•You can change the scanning mode only when “NTSC ” is selected for the color system of this unit. (See page 9.)
•You cannot select the progressive scanning mode for the PAL system TVs.
Do not change the progressive scanning mode in the following cases:
–When your TV does not support the progressive video input.
–When you have not connected your TV to the unit using a component video cord.
You can change the scanning mode only when “DISC” is selected as the source to play.
On the remote control ONLY:
Press and hold PROGRESSIVE more than 2 seconds.
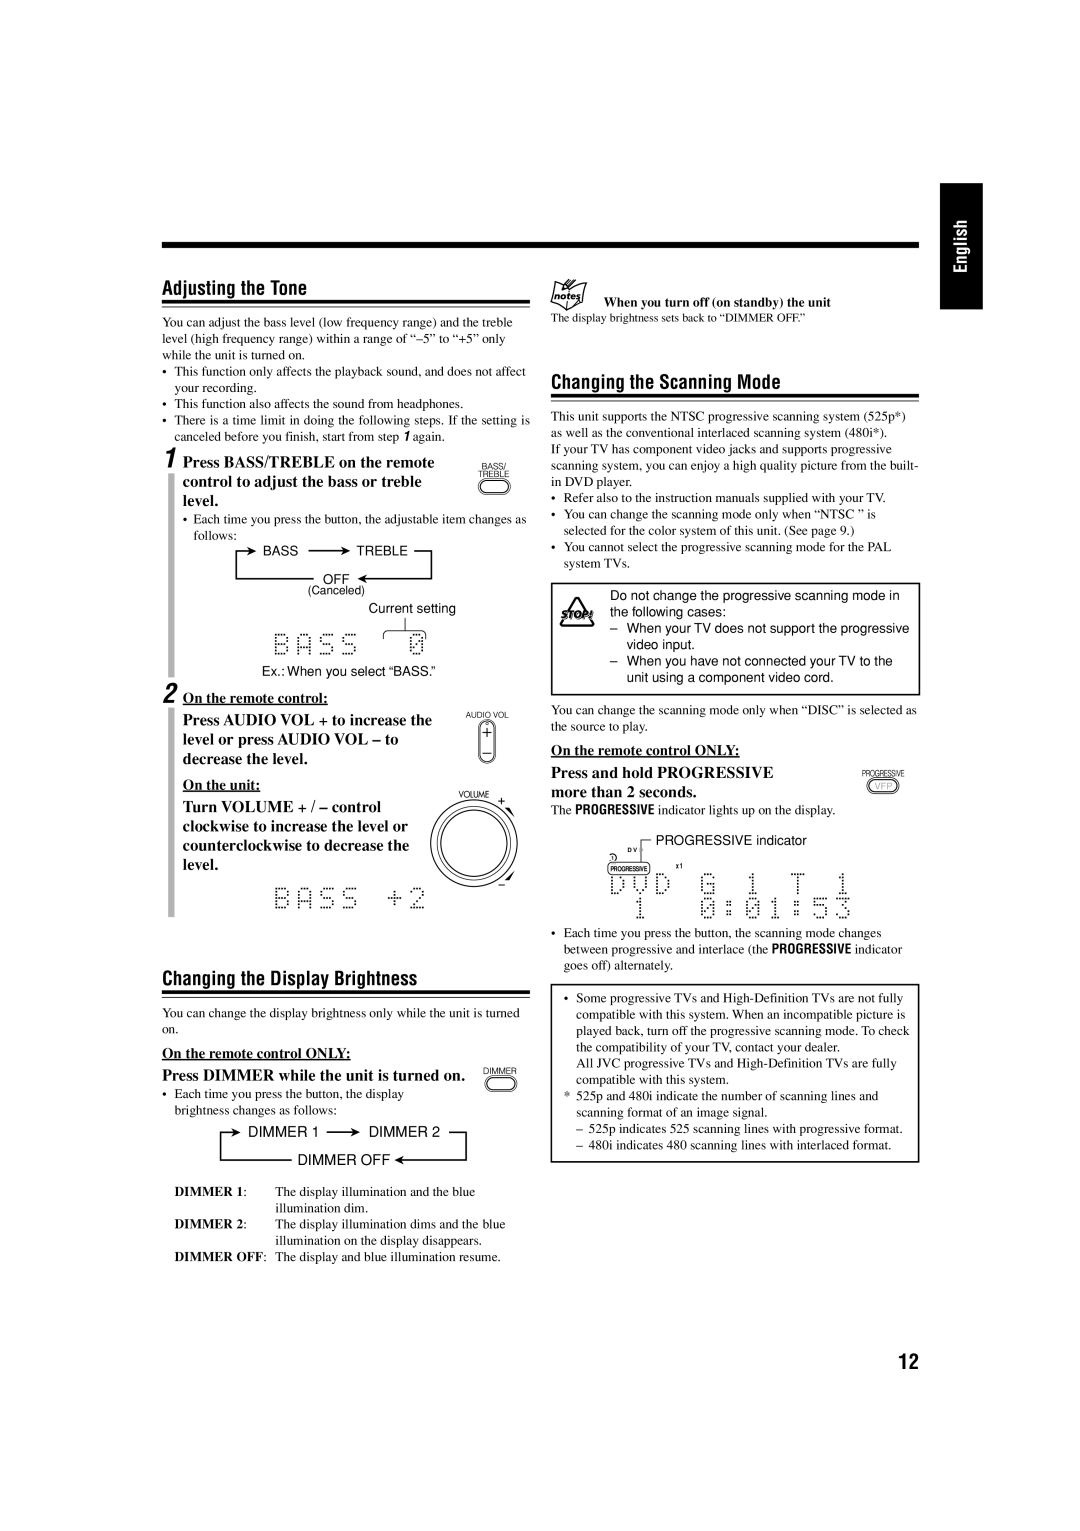
The PROGRESSIVE indicator lights up on the display.
D V D | PROGRESSIVE indicator |
| |
1 | AHBPRO |
PROGRESSIVE | x 1 |
|
•Each time you press the button, the scanning mode changes between progressive and interlace (the PROGRESSIVE indicator goes off) alternately.
•Some progressive TVs and
All JVC progressive TVs and
compatible with this system.
*525p and 480i indicate the number of scanning lines and scanning format of an image signal.
–525p indicates 525 scanning lines with progressive format.
–480i indicates 480 scanning lines with interlaced format.
12