Moving a Track—MOVE
This function allows you to move a track to the position you prefer. It is useful to change the order of the tracks as you like.
Once a track is moved, the tracks and/or the groups are renumbered.
•To stop any time during the editing process below before step 8, press TITLE EDIT.
1 Insert an MD you want to edit into the MD loading slot.
On the remote control ONLY:
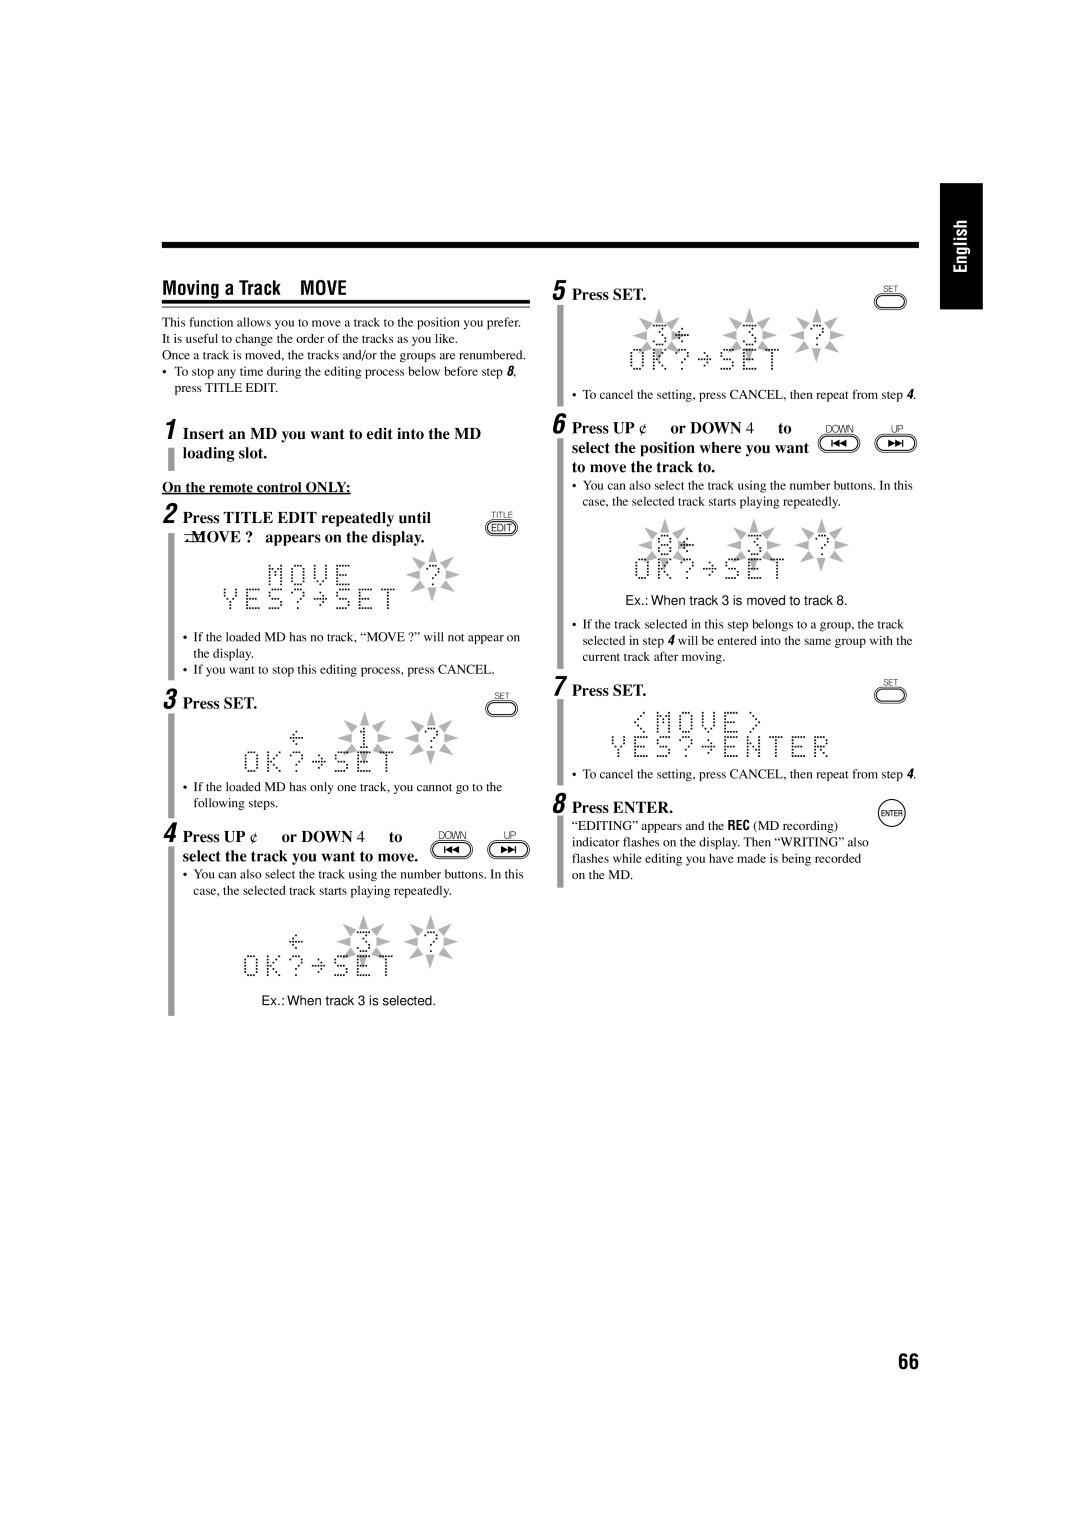
2 Press TITLE EDIT repeatedly until “MOVE ?” appears on the display.
•If the loaded MD has no track, “MOVE ?” will not appear on the display.
•If you want to stop this editing process, press CANCEL.
3 Press SET.
•If the loaded MD has only one track, you cannot go to the following steps.
4 Press UP ¢ or DOWN 4 to select the track you want to move.
•You can also select the track using the number buttons. In this case, the selected track starts playing repeatedly.
Ex.: When track 3 is selected.
English
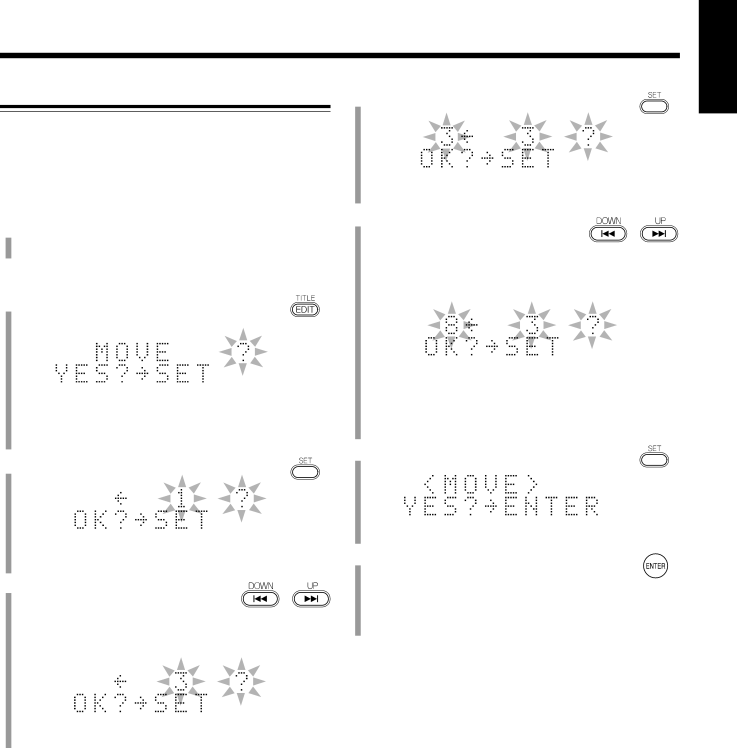
5 Press SET.
•To cancel the setting, press CANCEL, then repeat from step 4.
6 Press UP ¢ or DOWN 4 to select the position where you want to move the track to.
•You can also select the track using the number buttons. In this case, the selected track starts playing repeatedly.
Ex.: When track 3 is moved to track 8.
•If the track selected in this step belongs to a group, the track selected in step 4 will be entered into the same group with the current track after moving.
7 Press SET.
•To cancel the setting, press CANCEL, then repeat from step 4.
8 Press ENTER.
“EDITING” appears and the REC (MD recording) indicator flashes on the display. Then “WRITING” also flashes while editing you have made is being recorded on the MD.
66