English
Using the Timers
There are three timers |
|
| (3) Press cursor 3/2 repeatedly to adjust | ||
Sleep Timer. |
|
| the minute. | ||
• Before using these timers, make sure the |
|
| REC | ||
correctly (see page 10). |
|
| |||
|
|
| |||
• When using the tuner as the source, preset stations in advance (see |
|
|
| ||
page 14). |
|
|
| ||
Using Recording Timer |
|
| Ex.: When you set start time to 11:30. | ||
|
|
|
|
| (4) Press SET. |
With Recording Timer, you can make an unattended recording. |
|
| |||
• You can set Recording Timer whether the unit is turned on or off |
|
| The hour digits of the | ||
(on standby). | 3 Set the | ||||
• To correct a | |||||
CANCEL. |
|
| (1) Press cursor 3/2 repeatedly to | ||
|
| ||||
• To exit from the timer setting during the process, press CLOCK/ |
|
| adjust the hour. | ||
TIMER repeatedly until the source indication appears. |
|
|
| ||
How Recording Timer actually works |
|
|
| ||
The unit automatically turns on, muting the volume, and starts |
|
| (2) Press SET. | ||
recording on the MD or on the tape when the start time comes. |
|
| The minute digits start flashing. | ||
Then, when the |
|
| (3) Press cursor 3/2 repeatedly to | ||
(on standby). |
|
| |||
|
| adjust the minute. | |||
Recording Timer works only once, but the timer settings remain |
|
| |||
|
|
| |||
stored in memory until you reset them or unplug the AC power cord. |
|
| REC | ||
On the remote control ONLY: |
|
|
| ||
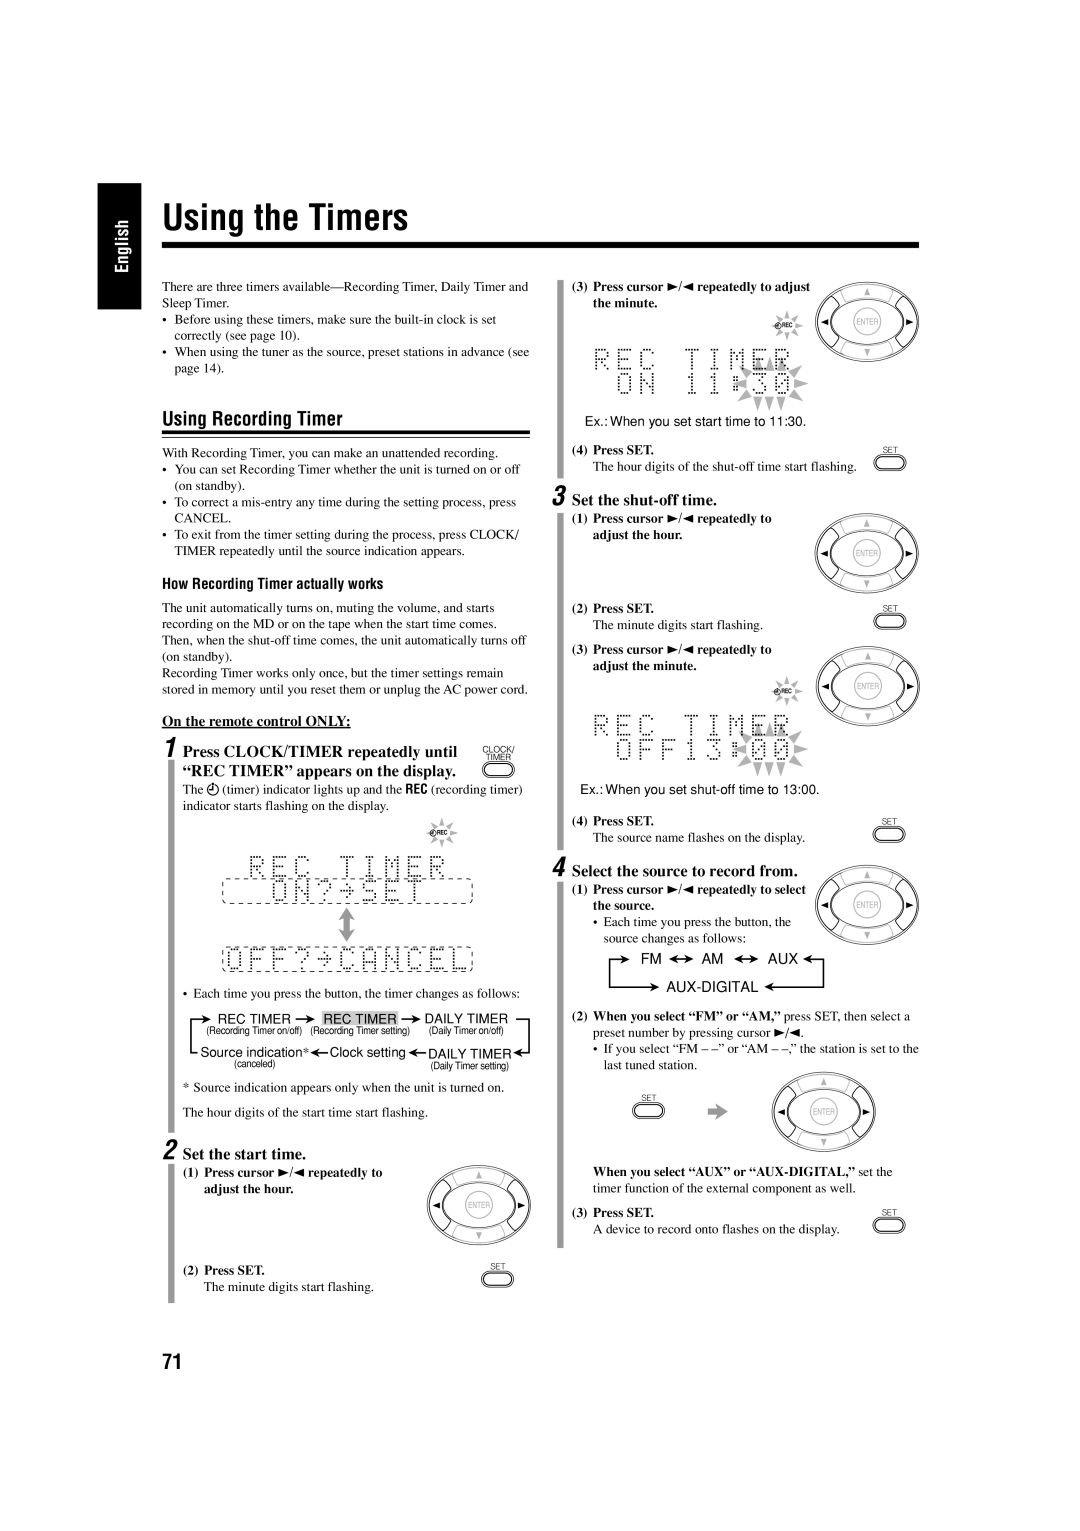
1 Press CLOCK/TIMER repeatedly until |
|
|
|
|
|
|
|
|
| ||
“REC TIMER” appears on the display. |
|
|
| ||
The (timer) indicator lights up and the REC (recording timer) |
|
| Ex.: When you set | ||
indicator starts flashing on the display. |
|
|
| ||
|
|
|
|
| (4) Press SET. |
REC |
|
| The source name flashes on the display. | ||
|
|
|
|
| |
|
|
|
|
|
|
•Each time you press the button, the timer changes as follows:
|
| REC TIMER |
|
|
| REC TIMER |
|
|
| DAILY TIMER | ||
|
|
|
|
|
|
|
| |||||
| (Recording Timer on/off) | (Recording Timer setting) |
| (Daily Timer on/off) | ||||||||
| Source indication* |
|
|
| Clock setting |
|
| DAILY TIMER | ||||
|
|
|
|
|
| |||||||
|
| (canceled) |
|
|
|
|
|
|
|
| (Daily Timer setting) | |
*Source indication appears only when the unit is turned on. The hour digits of the start time start flashing.
2 Set the start time.
(1) Press cursor 3/2 repeatedly to adjust the hour.
(2) Press SET.
The minute digits start flashing.
4 Select the source to record from.
(1) Press cursor 3/2 repeatedly to select the source.
•Each time you press the button, the
source changes as follows:
FM ![]()
![]() AM
AM ![]()
![]() AUX
AUX ![]()

AUX-DIGITAL 
(2)When you select “FM” or “AM,” press SET, then select a preset number by pressing cursor 3/2.
•If you select “FM –
When you select “AUX” or
timer function of the external component as well.
(3) Press SET.
A device to record onto flashes on the display.
71