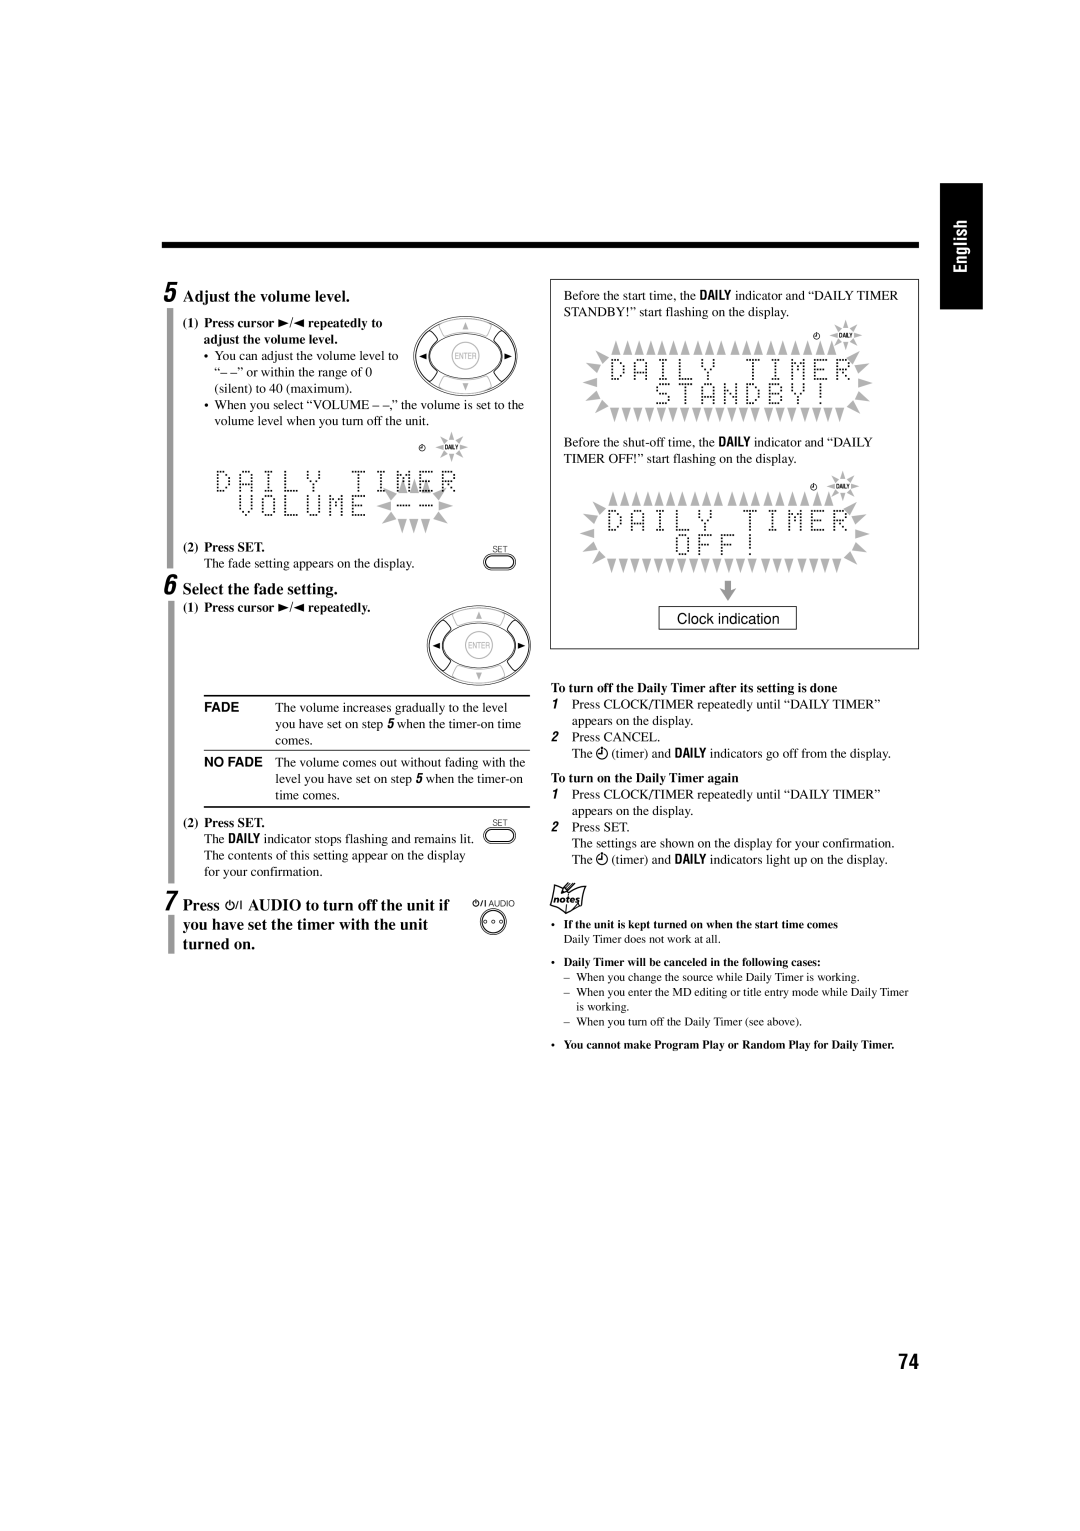
5 Adjust the volume level.
(1) Press cursor 3/2 repeatedly to adjust the volume level.
• You can adjust the volume level to “–
•When you select “VOLUME –
![]() DAILY
DAILY![]()
(2) Press SET.
The fade setting appears on the display.
6 Select the fade setting.
(1)Press cursor 3/2 repeatedly.
FADE The volume increases gradually to the level you have set on step 5 when the
NO FADE The volume comes out without fading with the level you have set on step 5 when the
(2) Press SET.
The DAILY indicator stops flashing and remains lit. The contents of this setting appear on the display for your confirmation.
7 Press ![]() AUDIO to turn off the unit if
AUDIO to turn off the unit if
you have set the timer with the unit turned on.
English
Before the start time, the DAILY indicator and “DAILY TIMER STANDBY!” start flashing on the display.
![]() DAILY
DAILY![]()
Before the
TIMER OFF!” start flashing on the display.
![]() DAILY
DAILY![]()
Clock indication
To turn off the Daily Timer after its setting is done
1Press CLOCK/TIMER repeatedly until “DAILY TIMER” appears on the display.
2Press CANCEL.
The (timer) and DAILY indicators go off from the display.
To turn on the Daily Timer again
1 | Press CLOCK/TIMER repeatedly until “DAILY TIMER” |
| appears on the display. |
2 | Press SET. |
| The settings are shown on the display for your confirmation. |
| The (timer) and DAILY indicators light up on the display. |
•If the unit is kept turned on when the start time comes Daily Timer does not work at all.
•Daily Timer will be canceled in the following cases:
–When you change the source while Daily Timer is working.
–When you enter the MD editing or title entry mode while Daily Timer is working.
–When you turn off the Daily Timer (see above).
•You cannot make Program Play or Random Play for Daily Timer.
74
