To record a single track of a disc (DVD AUDIO/SVCD/VCD/ MP3/CD)/MD during play
On the remote control ONLY:
While playing back a track of a disc or MD you want to record, press TAPE REC.
The playback of the track is stopped, and the same track starts playing from the beginning again. This time, the cassette deck starts recording the track.
•After the track is recorded, both playback and recording stop automatically.
To record from the desired track
Select the track before playback, then press TAPE REC.
To change the information shown on the display
On the remote control ONLY:
Press DISP/CHARA.
•Each time you press the button, the information on the display alternates between the recording indication and the clock indication.
When recording a disc or an MD
•A
record without the blank, press DVD 3 then DVD 8, or MD ![]() twice in step 1, then press TAPE REC.
twice in step 1, then press TAPE REC.
•When the front side of the tape ends in the middle of a track, the recording on the reverse side starts from the beginning of that track (if the reverse
mode is set to ![]()
![]() ).
).
Recording Disc onto a Tape
—Disc-Tape Synchronized Recording
1 Load discs into the 5-DVD changer.
•If the current playing source is not “DISC,” press DVD 3 (or
#¥8 DVD on the unit) then 7 before going to the next step.
•You can make a program (see page 21) or select Random Play (see page 22) if you want. = Go to step 3.
On the remote control ONLY:
2 Press DISC UP or DISC DOWN to select the disc
you want to record, then 7 before going to the next step.
3 Put a recordable cassette into the cassette loading slot.
English
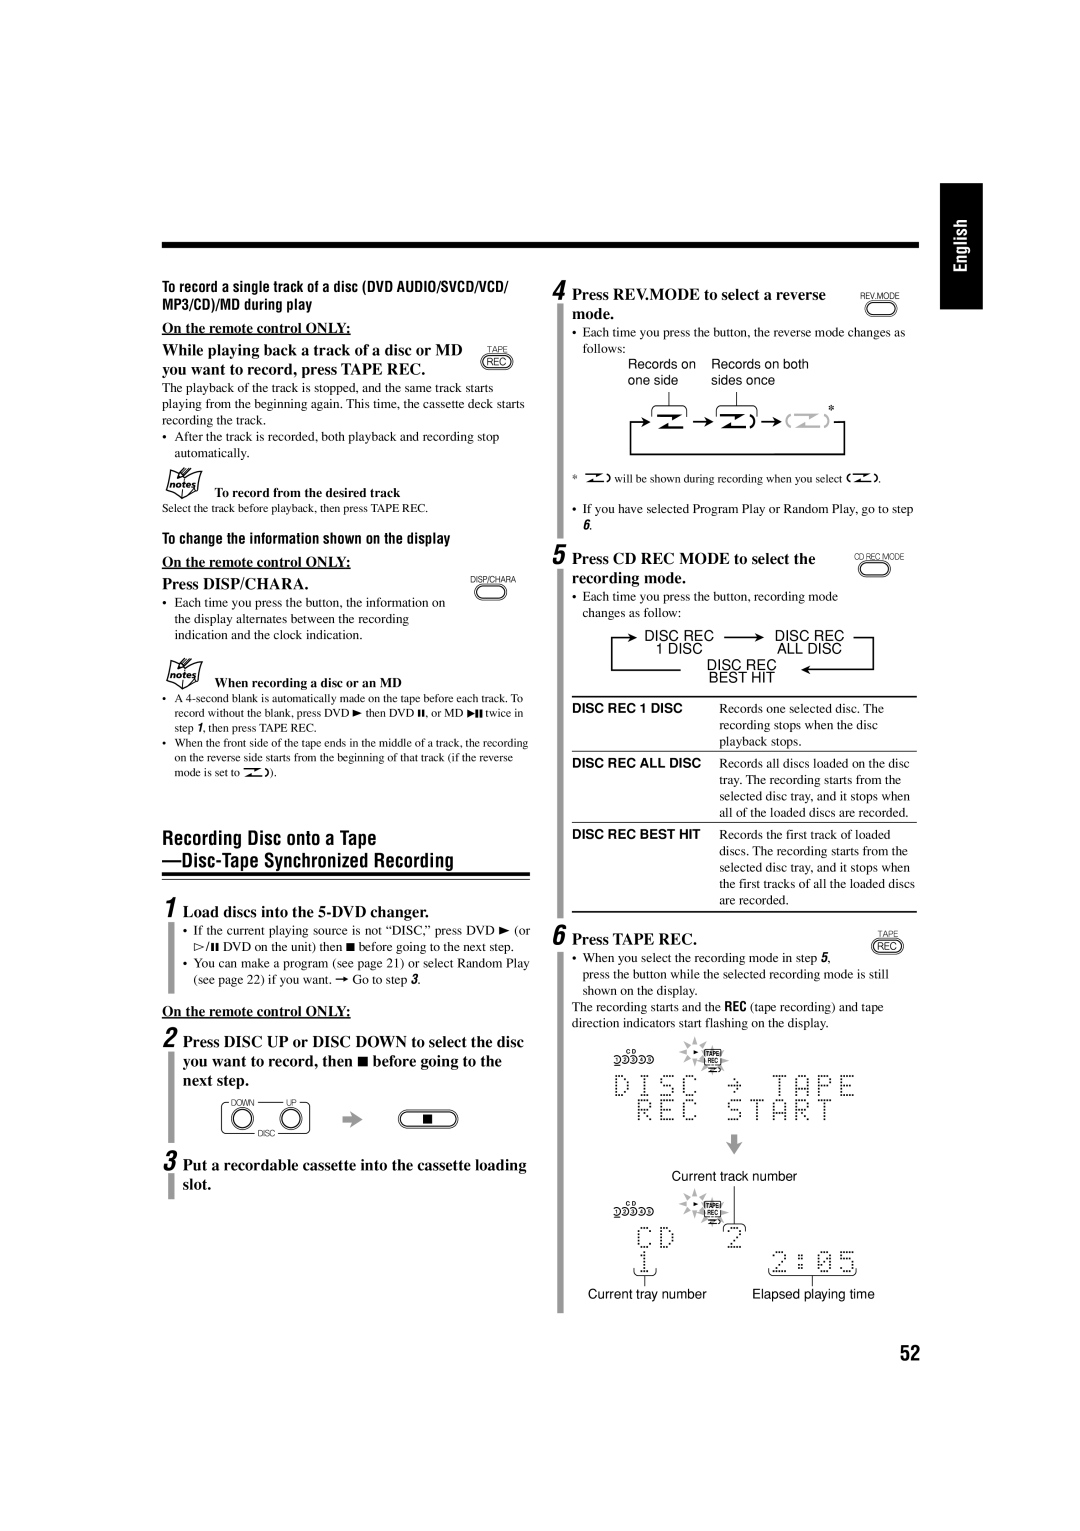
4 Press REV.MODE to select a reverse mode.
•Each time you press the button, the reverse mode changes as
follows:
Records on | Records on both |
one side | sides once |
*
* ![]() will be shown during recording when you select
will be shown during recording when you select ![]() .
.
•If you have selected Program Play or Random Play, go to step
6.
5 Press CD REC MODE to select the recording mode.
•Each time you press the button, recording mode changes as follow:
DISC REC |
| DISC REC |
| ||
1 DISC |
| ALL DISC |
DISC REC
BEST HIT
DISC REC 1 DISC Records one selected disc. The recording stops when the disc playback stops.
DISC REC ALL DISC Records all discs loaded on the disc tray. The recording starts from the selected disc tray, and it stops when all of the loaded discs are recorded.
DISC REC BEST HIT Records the first track of loaded discs. The recording starts from the selected disc tray, and it stops when the first tracks of all the loaded discs are recorded.
6 Press TAPE REC.
•When you select the recording mode in step 5,
press the button while the selected recording mode is still shown on the display.
The recording starts and the REC (tape recording) and tape direction indicators start flashing on the display.
C D | TAPE |
1 2 3 4 5 | REC |
Current track number
C D | TAPE |
1 2 3 4 5 | REC |
Current tray number | Elapsed playing time |
52