English
Using the Timers (continued)
Using Daily Timer
With Daily Timer, you can wake up to your favorite music or radio program.
•You can set Daily Timer whether the unit is turned on or off (on standby).
•To correct a
CANCEL.
•To exit from the timer setting during the process, press CLOCK/ TIMER repeatedly until the source indication appears.
How Daily Timer actually works
The unit automatically turns on, and starts playing the specified source when the
Daily Timer works every day, and the timer settings remain stored in memory until you reset them or unplug the AC power cord.
On the remote control ONLY:
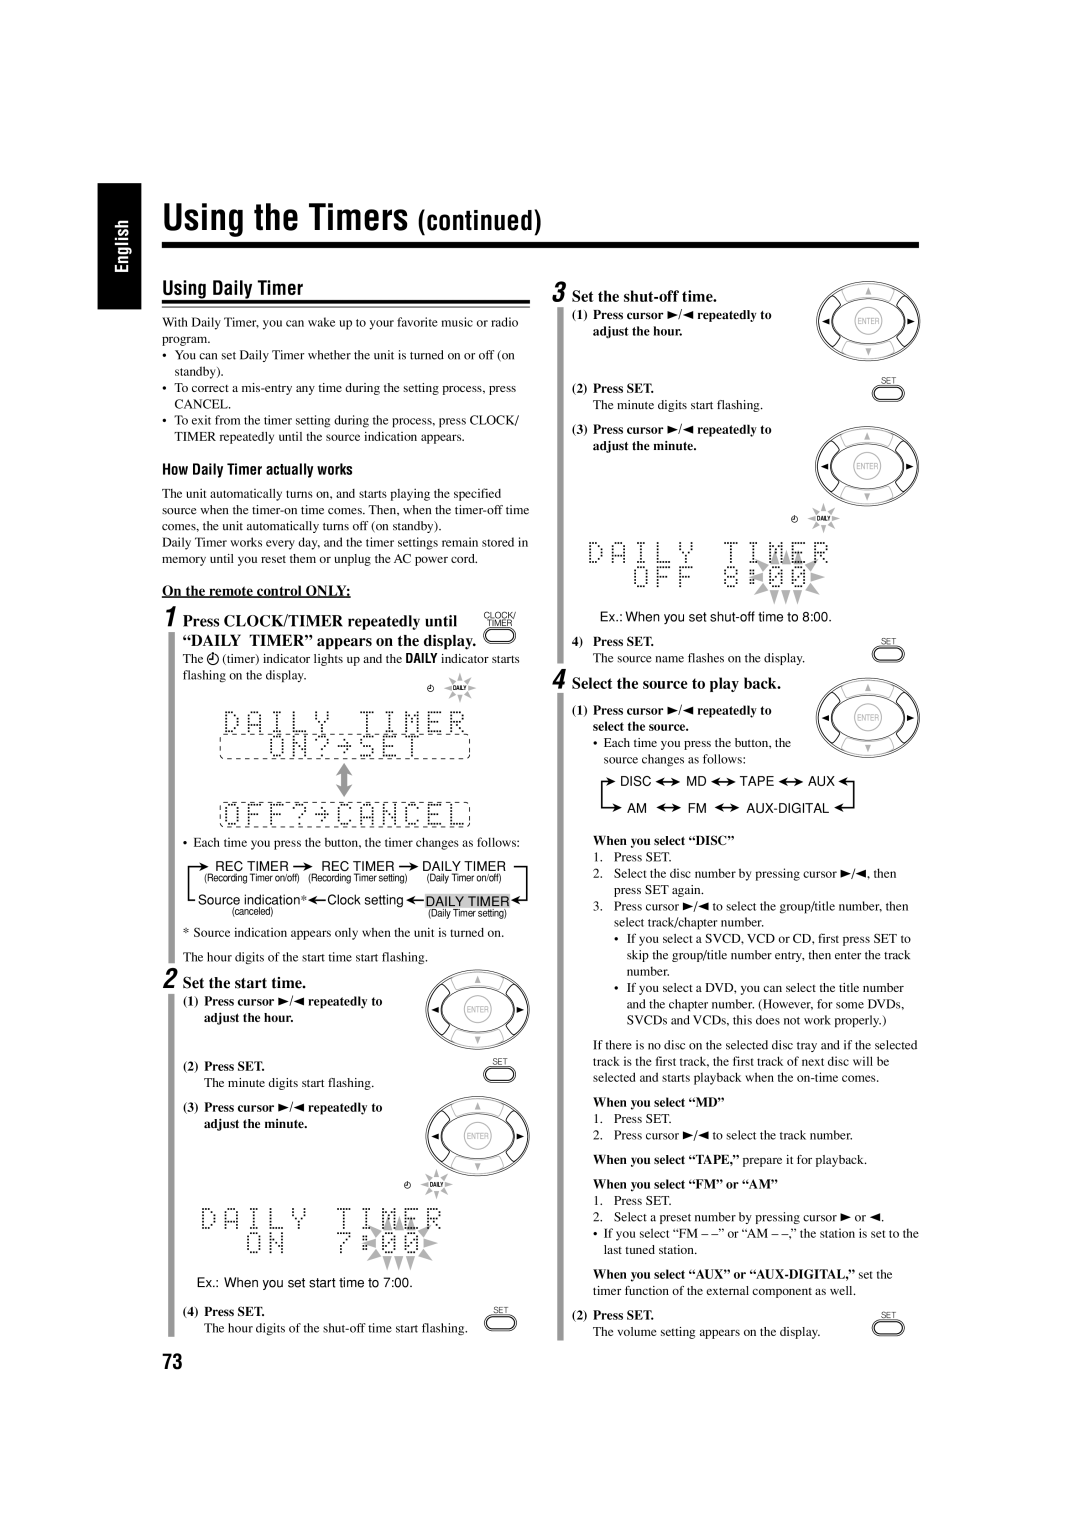
1 Press CLOCK/TIMER repeatedly until ![]()
![]()
![]()
![]() “DAILY TIMER” appears on the display.
“DAILY TIMER” appears on the display. ![]() The
The ![]() (timer) indicator lights up and the DAILY indicator starts flashing on the display.
(timer) indicator lights up and the DAILY indicator starts flashing on the display.![]()
![]() DAILY
DAILY![]()
•Each time you press the button, the timer changes as follows:
|
| REC TIMER |
|
| REC TIMER |
|
| DAILY TIMER | ||
|
|
|
|
|
| |||||
| (Recording Timer on/off) | (Recording Timer setting) |
| (Daily Timer on/off) | ||||||
| Source indication* |
|
| Clock setting |
|
|
| |||
| DAILY TIMER | |||||||||
|
|
|
|
| ||||||
|
| (canceled) |
|
|
|
|
|
| (Daily Timer setting) | |
*Source indication appears only when the unit is turned on. The hour digits of the start time start flashing.
2 Set the start time.
(1)Press cursor 3/2 repeatedly to adjust the hour.
(2) Press SET.
The minute digits start flashing.
(3) Press cursor 3/2 repeatedly to adjust the minute.
![]() DAILY
DAILY![]()
Ex.: When you set start time to 7:00.
(4) Press SET.
The hour digits of the
3 Set the shut-off time.
(1)Press cursor 3/2 repeatedly to adjust the hour.
(2)Press SET.
The minute digits start flashing.
(3)Press cursor 3/2 repeatedly to adjust the minute.
![]() DAILY
DAILY![]()
Ex.: When you set
4) Press SET.
The source name flashes on the display.
4 Select the source to play back.
(1)Press cursor 3/2 repeatedly to select the source.
•Each time you press the button, the source changes as follows:
![]() DISC
DISC ![]()
![]() MD
MD ![]()
![]() TAPE
TAPE ![]()
![]() AUX
AUX ![]()
![]() AM
AM ![]()
![]() FM
FM ![]()
![]()
![]()
When you select “DISC”
1.Press SET.
2.Select the disc number by pressing cursor 3/2, then press SET again.
3.Press cursor 3/2 to select the group/title number, then select track/chapter number.
•If you select a SVCD, VCD or CD, first press SET to skip the group/title number entry, then enter the track number.
•If you select a DVD, you can select the title number and the chapter number. (However, for some DVDs, SVCDs and VCDs, this does not work properly.)
If there is no disc on the selected disc tray and if the selected track is the first track, the first track of next disc will be selected and starts playback when the
When you select “MD”
1.Press SET.
2.Press cursor 3/2 to select the track number.
When you select “TAPE,” prepare it for playback.
When you select “FM” or “AM”
1.Press SET.
2.Select a preset number by pressing cursor 3 or 2.
•If you select “FM –
When you select “AUX” or
timer function of the external component as well.
(2) Press SET.
The volume setting appears on the display.
73