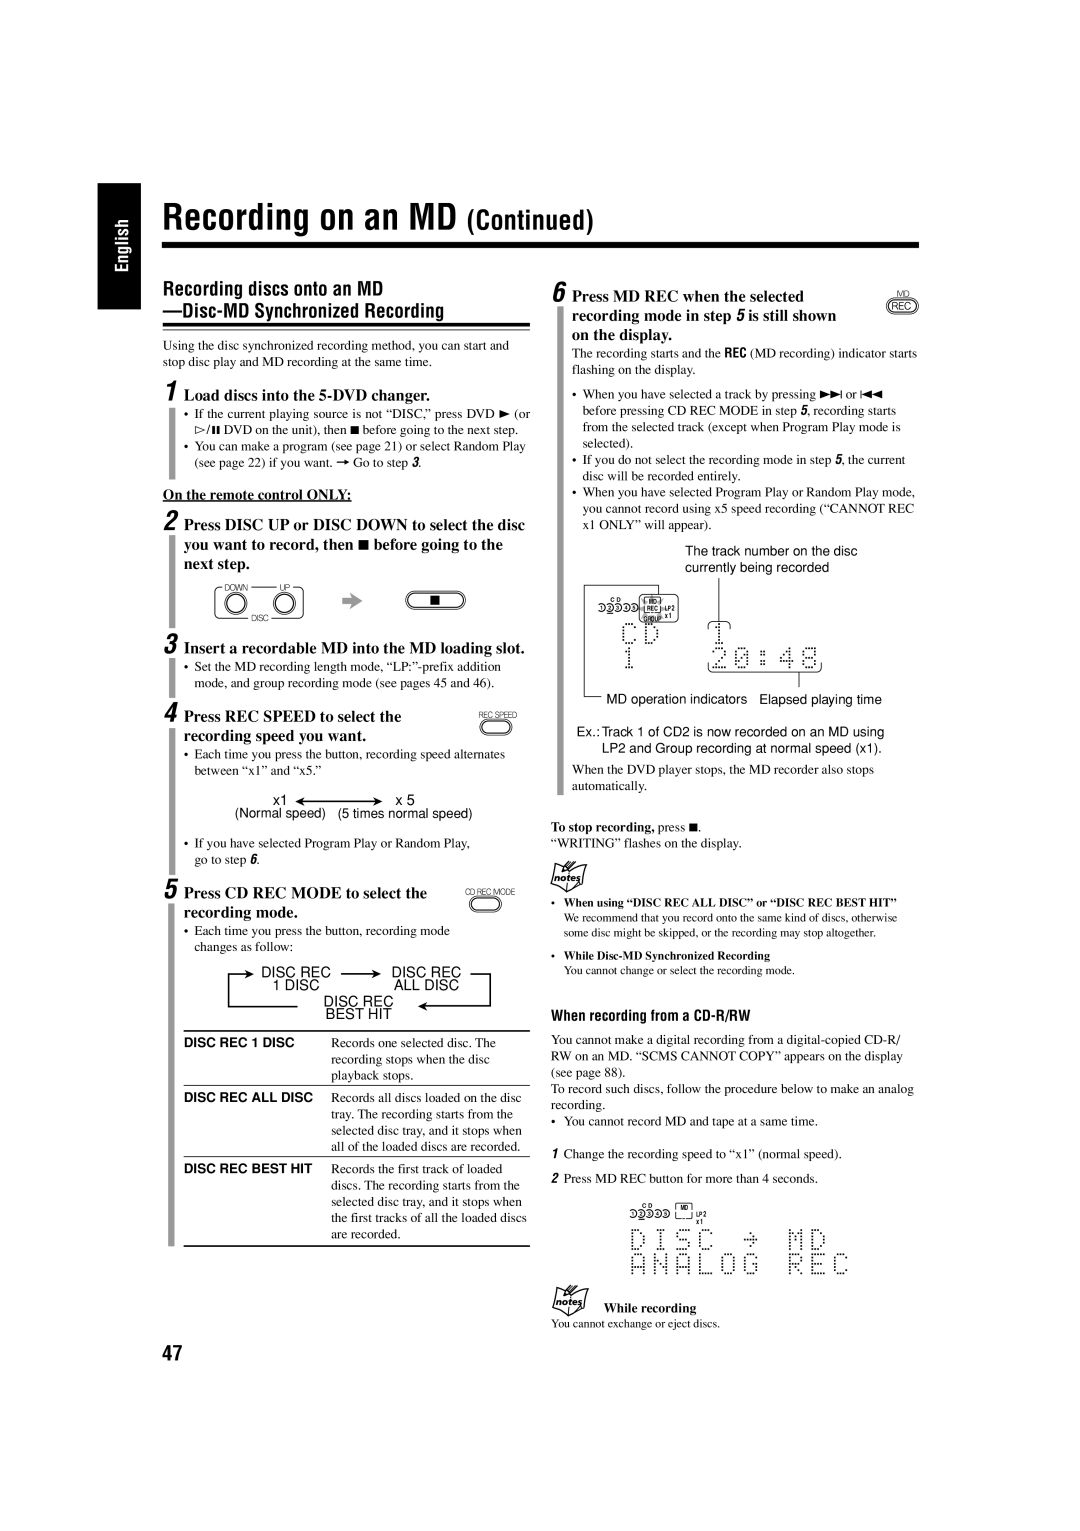
English
Recording on an MD (Continued)
Recording discs onto an MD
—Disc-MD Synchronized Recording
Using the disc synchronized recording method, you can start and stop disc play and MD recording at the same time.
1 Load discs into the 5-DVD changer.
•If the current playing source is not “DISC,” press DVD 3 (or
#¥8 DVD on the unit), then 7 before going to the next step.
•You can make a program (see page 21) or select Random Play (see page 22) if you want. = Go to step 3.
On the remote control ONLY:
2 Press DISC UP or DISC DOWN to select the disc
you want to record, then 7 before going to the next step.
3 Insert a recordable MD into the MD loading slot.
•Set the MD recording length mode,
4 Press REC SPEED to select the recording speed you want.
•Each time you press the button, recording speed alternates between “x1” and “x5.”
x1 ![]()
![]() x 5
x 5
(Normal speed) (5 times normal speed)
6 Press MD REC when the selected recording mode in step 5 is still shown on the display.
The recording starts and the REC (MD recording) indicator starts flashing on the display.
•When you have selected a track by pressing ¢ or 4 before pressing CD REC MODE in step 5, recording starts from the selected track (except when Program Play mode is selected).
•If you do not select the recording mode in step 5, the current disc will be recorded entirely.
•When you have selected Program Play or Random Play mode, you cannot record using x5 speed recording (“CANNOT REC x1 ONLY” will appear).
The track number on the disc currently being recorded
C D | MD |
1 2 3 4 5 | REC LP 2 |
| GROUP x 1 |
MD operation indicators Elapsed playing time
Ex.: Track 1 of CD2 is now recorded on an MD using LP2 and Group recording at normal speed (x1).
When the DVD player stops, the MD recorder also stops automatically.
To stop recording, press 7.
•If you have selected Program Play or Random Play, go to step 6.
5 Press CD REC MODE to select the recording mode.
•Each time you press the button, recording mode changes as follow:
DISC REC |
| DISC REC |
| ||
1 DISC |
| ALL DISC |
DISC REC
BEST HIT
DISC REC 1 DISC Records one selected disc. The recording stops when the disc playback stops.
DISC REC ALL DISC Records all discs loaded on the disc tray. The recording starts from the selected disc tray, and it stops when all of the loaded discs are recorded.
DISC REC BEST HIT Records the first track of loaded discs. The recording starts from the selected disc tray, and it stops when the first tracks of all the loaded discs are recorded.
“WRITING” flashes on the display.
•When using “DISC REC ALL DISC” or “DISC REC BEST HIT” We recommend that you record onto the same kind of discs, otherwise some disc might be skipped, or the recording may stop altogether.
•While
You cannot change or select the recording mode.
When recording from a CD-R/RW
You cannot make a digital recording from a
To record such discs, follow the procedure below to make an analog recording.
•You cannot record MD and tape at a same time.
1Change the recording speed to “x1” (normal speed).
2Press MD REC button for more than 4 seconds.
C D | MD |
1 2 3 4 5 | LP 2 |
| x 1 |
While recording
You cannot exchange or eject discs.
47
