First Installation
Use the buttons here to select the time recording mode:
•Manual or
•Auto (receiver takes time from preset channel)
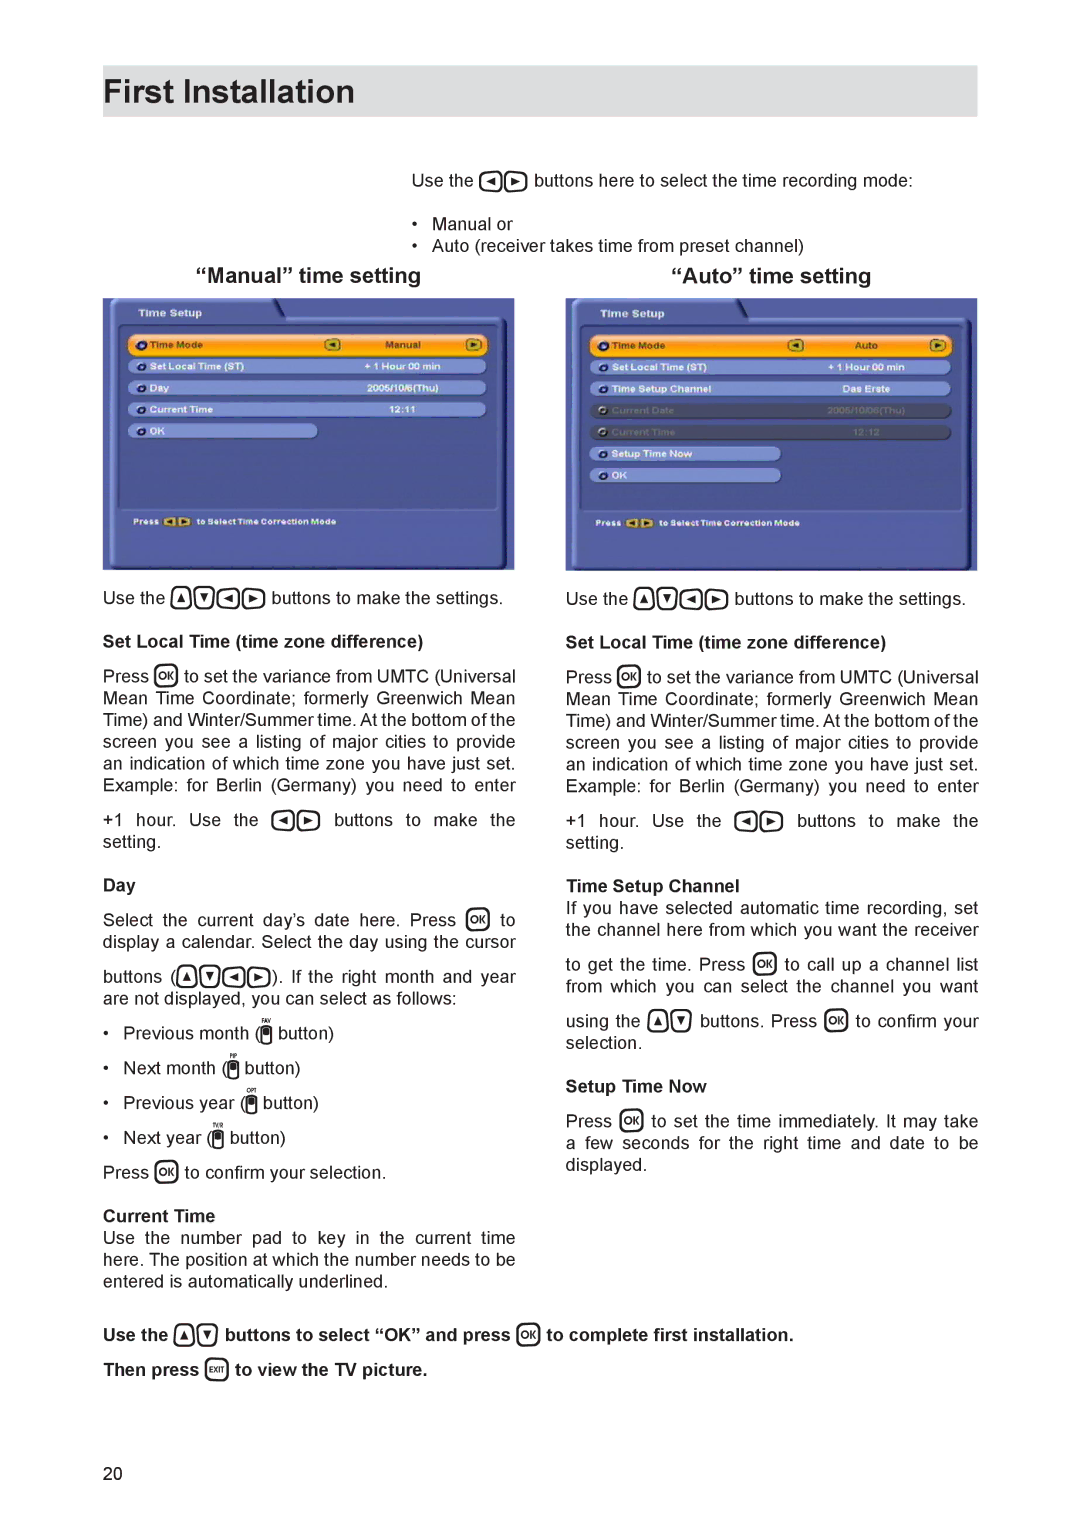
“Manual” time setting | “Auto” time setting |
Use the buttons to make the settings.
Set Local Time (time zone difference)
Press to set the variance from UMTC (Universal Mean Time Coordinate; formerly Greenwich Mean Time) and Winter/Summer time. At the bottom of the screen you see a listing of major cities to provide an indication of which time zone you have just set. Example: for Berlin (Germany) you need to enter
+1 hour. Use the | buttons to make the | +1 hour. Use the buttons to make the | |
setting. |
| setting. | |
Day |
| Time Setup Channel | |
Select the current | day’s date here. Press to | If you have selected automatic time recording, set | |
the channel here from which you want the receiver | |||
display a calendar. Select the day using the cursor | |||
to get the time. Press to call up a channel list | |||
buttons (). If the right month and year | |||
from which you can select the channel you want | |||
are not displayed, you can select as follows: | |||
using the buttons. Press to confirm your | |||
• Previous month ( button) | |||
selection. | |||
• Next month ( button) | |||
Setup Time Now | |||
• Previous year ( button) | |||
Press to set the time immediately. It may take | |||
• Next year ( button) | |||
a few seconds for the right time and date to be | |||
Press to confirm your selection. | displayed. | ||
Current Time
Use the number pad to key in the current time here. The position at which the number needs to be entered is automatically underlined.
Use the buttons to select “OK” and press to complete first installation. Then press to view the TV picture.
20