Installation Menu
DiSEqC™ Switch:
Use the buttons to make your selection. - 1 of 4: for the first satellite of the tuner
- 2 of 4: for the second satellite of the tuner
- 3 of 4: for the third satellite of the tuner
- 4 of 4: for the fourth satellite of the tuner
- Mini A:
- Mini B:
- Disable: If your reception system is not DiSEqC™ compatible and only one satellite per tuner is selected.
Transponder:
Use the buttons to scroll through transponders on the selected satellite. At the bottom right you will see the signal strength of the transponder on the two tuners, enabling you to check that the satellite configuration you just set up is OK.
Save:
Once you have made all the settings, use the buttons to select “Save” and press to save the data.
Tuner 2 Setup
Settings are made as detailed for tuner 1.
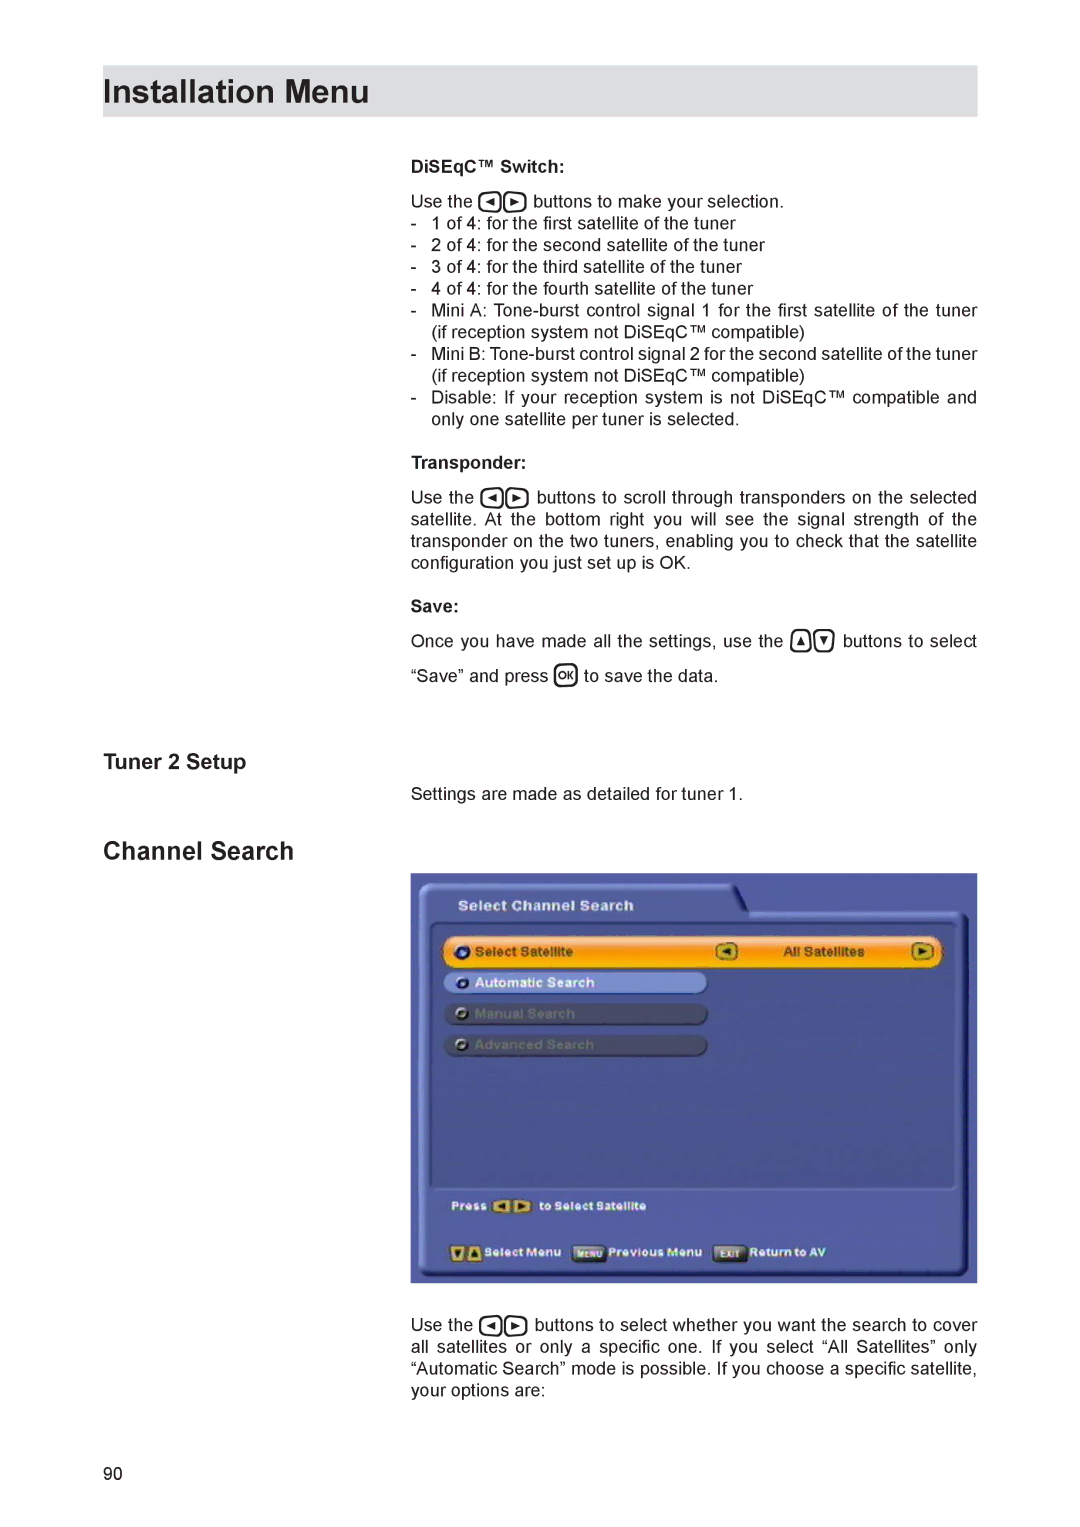
Channel Search
Use the buttons to select whether you want the search to cover all satellites or only a specific one. If you select “All Satellites” only “Automatic Search” mode is possible. If you choose a specific satellite, your options are:
90