7520 specifications
The Kodak 7520 is a versatile and innovative all-in-one printer that caters to the needs of both home users and small businesses. It combines functionality with reliable performance, making it a popular choice in the competitive landscape of multifunction printers.One of the standout features of the Kodak 7520 is its impressive print quality. It utilizes a 4-color ink system, which allows it to deliver vivid colors and sharp text. Users can expect high-resolution prints, making it suitable for everything from everyday documents to cherished family photos. The printer supports borderless printing, which enhances the quality of photo prints by utilizing the entire sheet of paper, thus eliminating any white borders that might detract from the final product.
The Kodak 7520 boasts an array of connectivity options to make printing as convenient as possible. It supports both wireless and wired connections, allowing users to print directly from their smartphones, tablets, and laptops. This compatibility extends to popular cloud services, providing easy access to files stored online. The inclusion of Wi-Fi Direct technology means that users can connect their devices to the printer without needing a network, further simplifying the printing process.
In terms of scanning, copying, and faxing capabilities, the Kodak 7520 does not disappoint. It features an automatic document feeder (ADF), which makes it easy to handle multi-page documents quickly. The flatbed scanner provides flexibility, enabling users to scan books, reports, and various media, providing high-resolution scans that can be easily saved or shared.
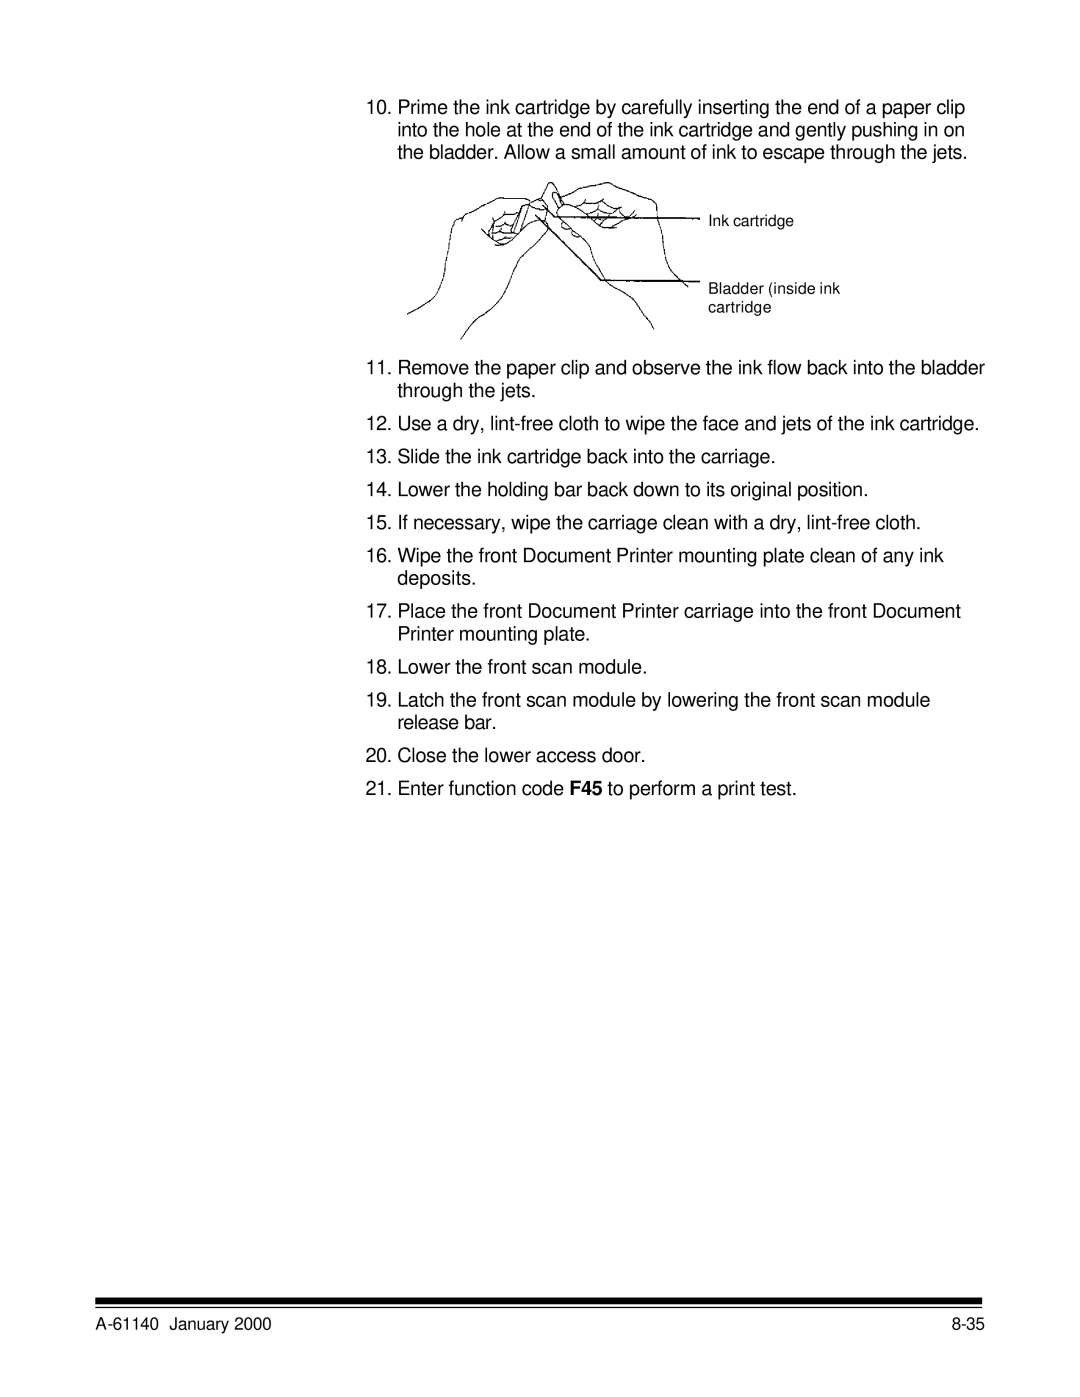
Cost-efficiency is another notable aspect of the Kodak 7520. The printer uses individual ink cartridges, allowing users to replace only the color that runs out, rather than having to replace an entire set. This feature, coupled with the printer's high-yield ink options, contributes to lower printing costs over time.
The Kodak 7520 is also designed with user-friendliness in mind. Its intuitive touchscreen interface simplifies navigation through various functions, making it accessible even for those who are not particularly tech-savvy. Regular software updates ensure that users benefit from the latest improvements and features.
In conclusion, the Kodak 7520 stands out with its blend of high-quality prints, multifaceted functionality, and cost efficiency. Whether for personal or professional use, this printer is engineered to meet a wide range of printing, scanning, copying, and faxing needs, making it a valuable addition to any workspace. Its commitment to quality and ease-of-use positions it as a reliable choice in today’s printing market.

