6: Tunnel Settings
To Configure Tunnel Packing Mode Settings
Using Web Manager
To configure the Packing mode for a specific tunnel, click Tunnel in the menu and select Tunnel 1
Using CLI
To enter the Tunnel command level: config
Using XML
Include in your file: <configgroup name = "Tunnel Packing" instance = "1">
Accept Mode
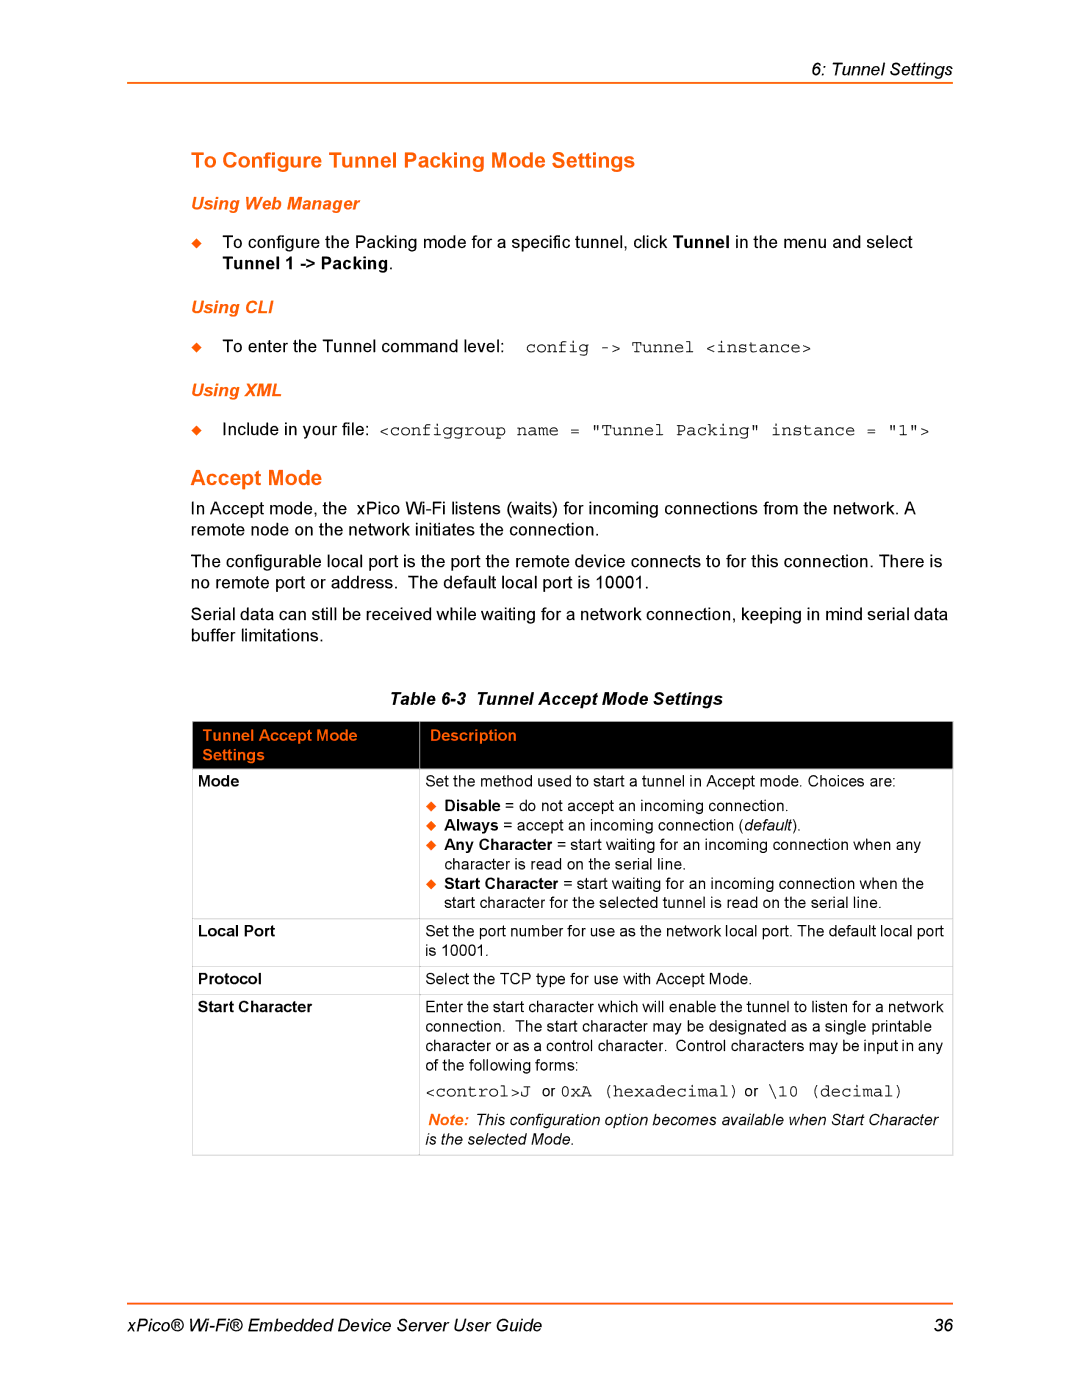
In Accept mode, the xPico
The configurable local port is the port the remote device connects to for this connection. There is no remote port or address. The default local port is 10001.
Serial data can still be received while waiting for a network connection, keeping in mind serial data buffer limitations.
| Table | |
|
|
|
Tunnel Accept Mode |
| Description |
Settings |
|
|
Mode |
| Set the method used to start a tunnel in Accept mode. Choices are: |
|
| Disable = do not accept an incoming connection. |
|
| Always = accept an incoming connection (default). |
|
| Any Character = start waiting for an incoming connection when any |
|
| character is read on the serial line. |
|
| Start Character = start waiting for an incoming connection when the |
|
| start character for the selected tunnel is read on the serial line. |
|
|
|
Local Port |
| Set the port number for use as the network local port. The default local port |
|
| is 10001. |
|
|
|
Protocol |
| Select the TCP type for use with Accept Mode. |
|
|
|
Start Character |
| Enter the start character which will enable the tunnel to listen for a network |
|
| connection. The start character may be designated as a single printable |
|
| character or as a control character. Control characters may be input in any |
|
| of the following forms: |
|
| <control>J or 0xA (hexadecimal) or \10 (decimal) |
|
| Note: This configuration option becomes available when Start Character |
|
| is the selected Mode. |
|
|
|
xPico® | 36 |
