11: Monitor
The Monitor feature can be used to query and capture desired information during an xPico
Monitor Settings
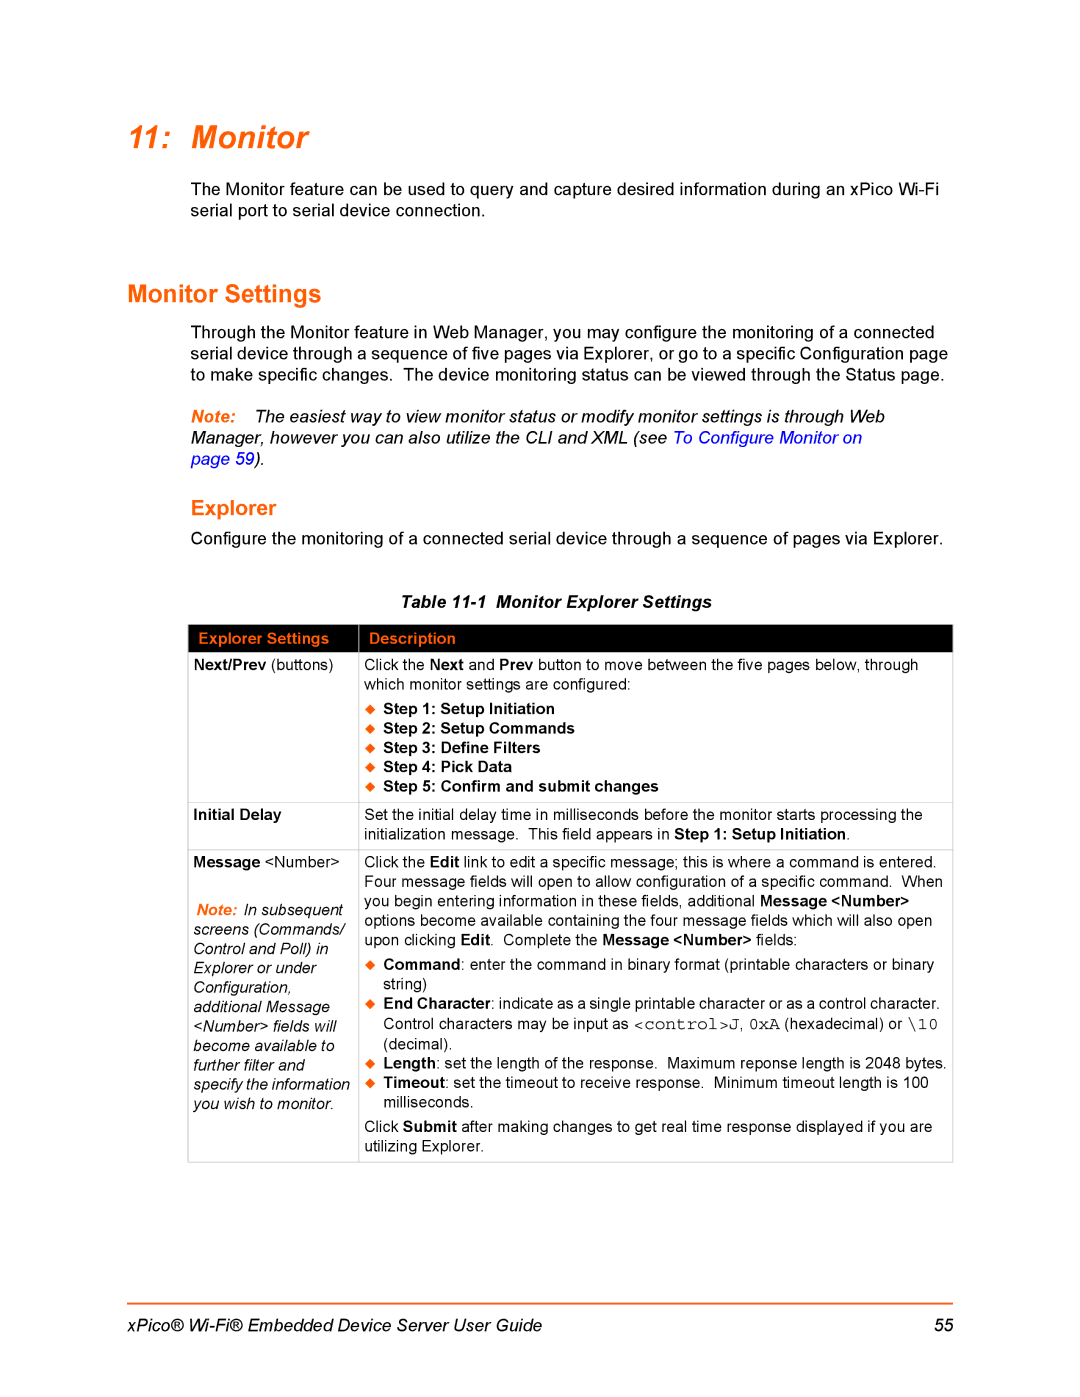
Through the Monitor feature in Web Manager, you may configure the monitoring of a connected serial device through a sequence of five pages via Explorer, or go to a specific Configuration page to make specific changes. The device monitoring status can be viewed through the Status page.
Note: The easiest way to view monitor status or modify monitor settings is through Web Manager, however you can also utilize the CLI and XML (see To Configure Monitor on page 59).
Explorer
Configure the monitoring of a connected serial device through a sequence of pages via Explorer.
| Table | |
|
| |
Explorer Settings | Description | |
Next/Prev (buttons) | Click the Next and Prev button to move between the five pages below, through | |
| which monitor settings are configured: | |
| Step 1: Setup Initiation | |
| Step 2: Setup Commands | |
| Step 3: Define Filters | |
| Step 4: Pick Data | |
| Step 5: Confirm and submit changes | |
|
| |
Initial Delay | Set the initial delay time in milliseconds before the monitor starts processing the | |
| initialization message. This field appears in Step 1: Setup Initiation. | |
|
| |
Message <Number> | Click the Edit link to edit a specific message; this is where a command is entered. | |
| Four message fields will open to allow configuration of a specific command. When | |
Note: In subsequent | you begin entering information in these fields, additional Message <Number> | |
options become available containing the four message fields which will also open | ||
screens (Commands/ | ||
upon clicking Edit. Complete the Message <Number> fields: | ||
Control and Poll) in | ||
Command: enter the command in binary format (printable characters or binary | ||
Explorer or under | ||
Configuration, | string) | |
additional Message | End Character: indicate as a single printable character or as a control character. | |
<Number> fields will | Control characters may be input as <control>J, 0xA (hexadecimal) or \10 | |
become available to | (decimal). | |
further filter and | Length: set the length of the response. Maximum reponse length is 2048 bytes. | |
specify the information | Timeout: set the timeout to receive response. Minimum timeout length is 100 | |
you wish to monitor. | milliseconds. | |
| Click Submit after making changes to get real time response displayed if you are | |
| utilizing Explorer. | |
|
|
xPico® | 55 |
