10: Advanced Settings
XML Import and XML Export
The xPico
Note: The xPico
To ensure optimal performance when configuring and managing the device using XML, it is required that serial port flow control is enabled. This maybe hardware or soft flow control. Lantronix recommends the use of hardware flow control to ensure the best throughput.
To Import or Export XML Configuration
1.Connect the xPico
-A null modem cable for line 1.
-A USB cable for line 2. The USB driver will automatically install into your PC.
2.Configure command line on line and select hardware or software flow control.
Note: If you are using line 2, select software flow control as hardware flow control is not supported.
3.Open a terminal emulator from the PC, e.g., Tera Term version 4.58.
4.Select the Com port or USB serial port and set the serial settings, on the terminal emulator, to match the appropriate line on the device server.
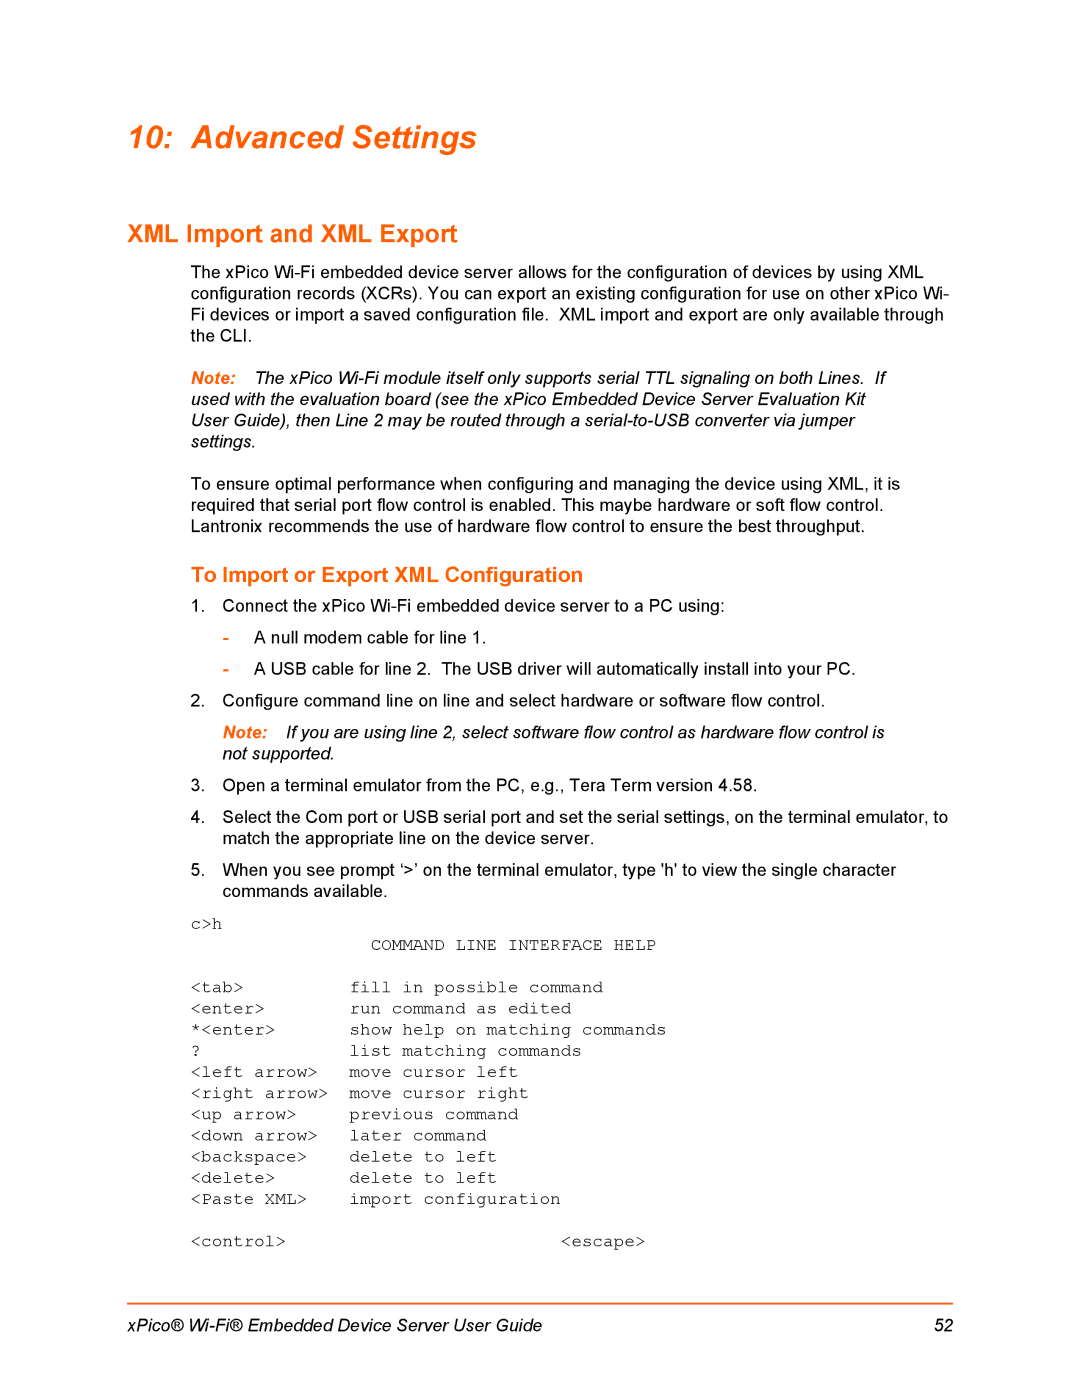
5.When you see prompt ‘>’ on the terminal emulator, type 'h' to view the single character commands available.
c>h
| COMMAND LINE INTERFACE HELP |
<tab> | fill in possible command |
<enter> | run command as edited |
*<enter> | show help on matching commands |
? | list matching commands |
<left arrow> | move cursor left |
<right arrow> | move cursor right |
<up arrow> | previous command |
<down arrow> | later command |
<backspace> | delete to left |
<delete> | delete to left |
<Paste XML> | import configuration |
<control> | <escape> |
xPico® | 52 |
