11: Monitor
Access the configuration options displayed in Table
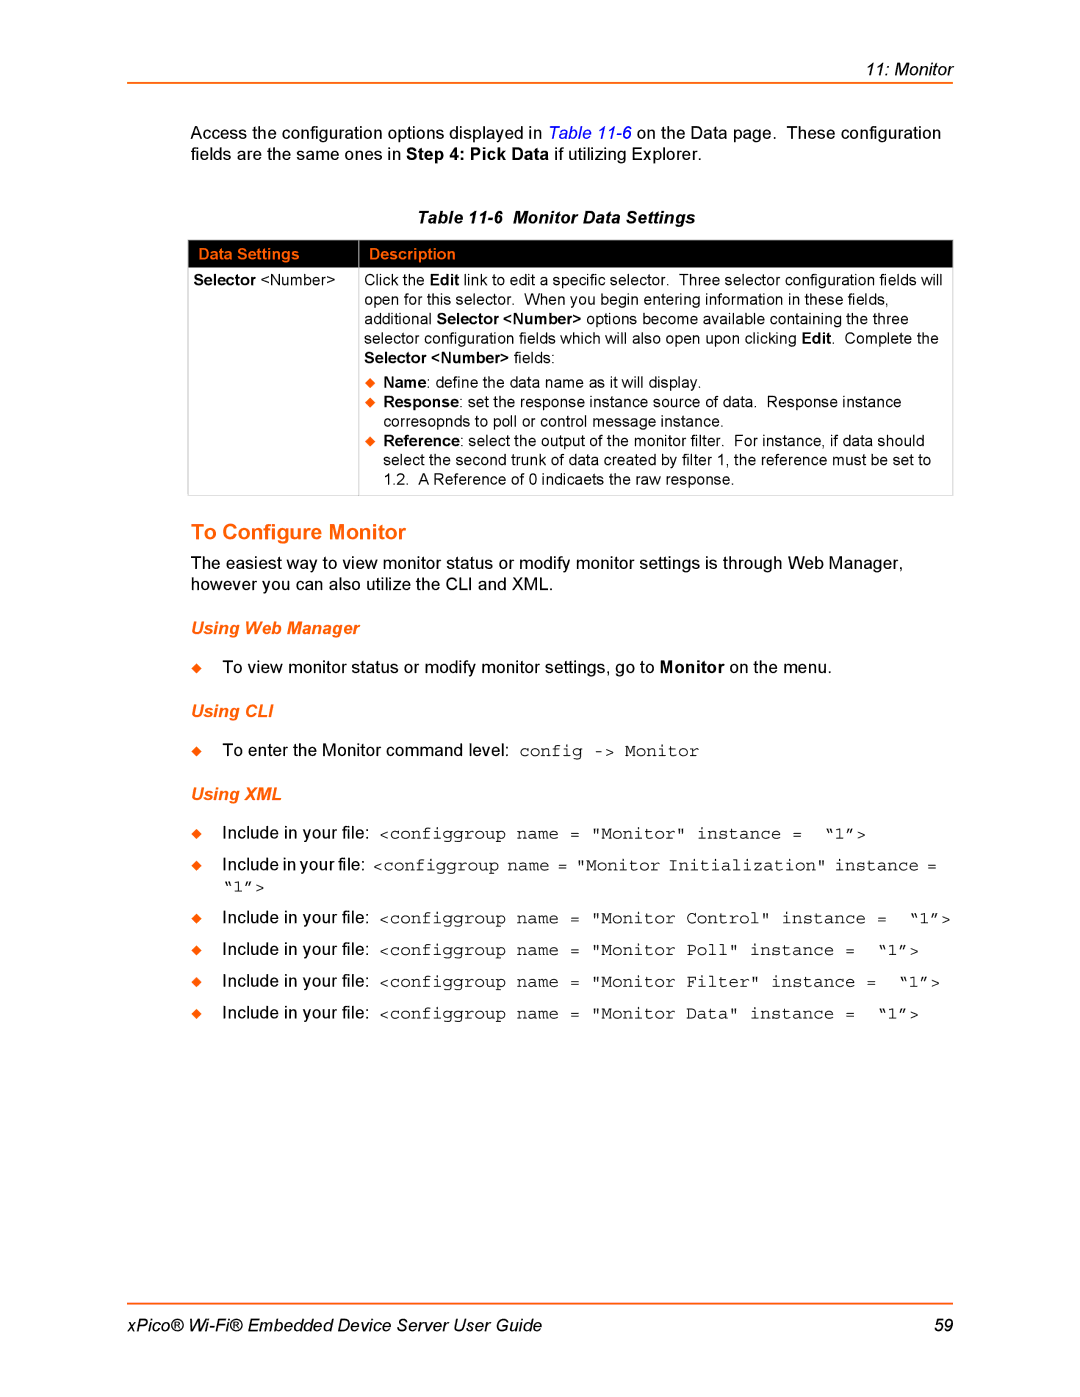
| Table |
|
|
Data Settings | Description |
Selector <Number> | Click the Edit link to edit a specific selector. Three selector configuration fields will |
| open for this selector. When you begin entering information in these fields, |
| additional Selector <Number> options become available containing the three |
| selector configuration fields which will also open upon clicking Edit. Complete the |
| Selector <Number> fields: |
| Name: define the data name as it will display. |
| Response: set the response instance source of data. Response instance |
| corresopnds to poll or control message instance. |
| Reference: select the output of the monitor filter. For instance, if data should |
| select the second trunk of data created by filter 1, the reference must be set to |
| 1.2. A Reference of 0 indicaets the raw response. |
|
|
To Configure Monitor
The easiest way to view monitor status or modify monitor settings is through Web Manager, however you can also utilize the CLI and XML.
Using Web Manager
To view monitor status or modify monitor settings, go to Monitor on the menu.
Using CLI
To enter the Monitor command level: config
Using XML
Include in your file: <configgroup name = "Monitor" instance = “1”>
Include in your file: <configgroup name = "Monitor Initialization" instance = “1”>
| Include in your file: | <configgroup name = "Monitor Control" instance | = “1”> | |||||
| Include in your file: | <configgroup name = "Monitor Poll" instance | = | “1”> | ||||
| Include in your file: | <configgroup | name | = | "Monitor | Filter" instance = | “1”> | |
| Include in your file: | <configgroup | name | = | "Monitor | Data" instance | = | “1”> |
xPico® | 59 |