ProSafe Gigabit 8 Port VPN Firewall FVS318G Reference Manual
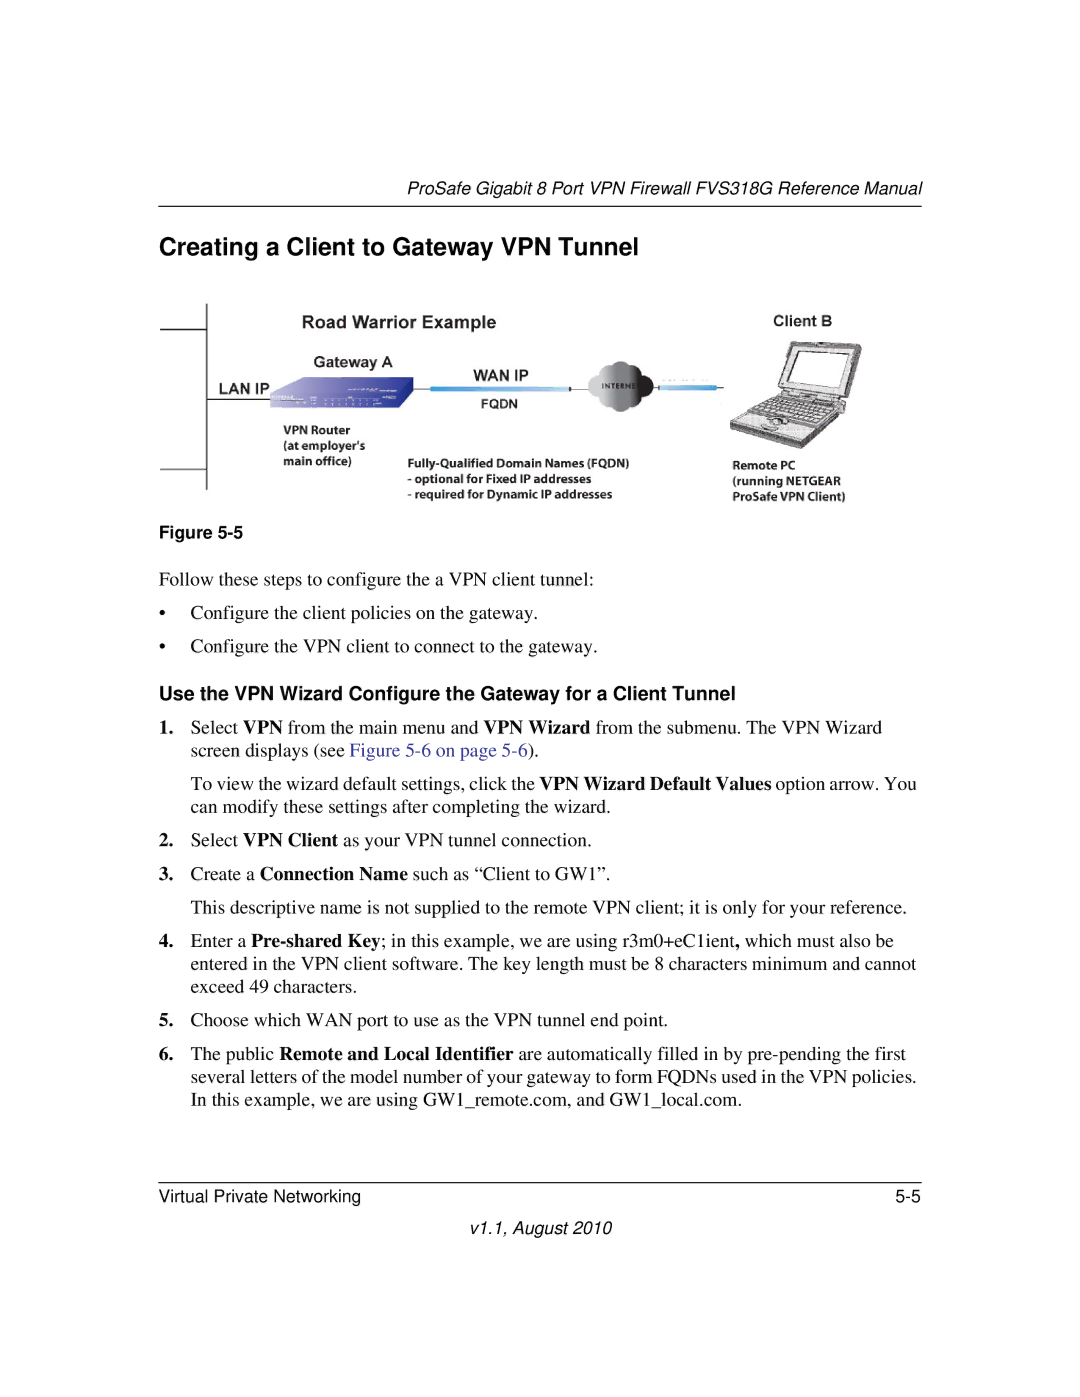
Creating a Client to Gateway VPN Tunnel
Figure
Follow these steps to configure the a VPN client tunnel:
•Configure the client policies on the gateway.
•Configure the VPN client to connect to the gateway.
Use the VPN Wizard Configure the Gateway for a Client Tunnel
1.Select VPN from the main menu and VPN Wizard from the submenu. The VPN Wizard screen displays (see Figure
To view the wizard default settings, click the VPN Wizard Default Values option arrow. You can modify these settings after completing the wizard.
2.Select VPN Client as your VPN tunnel connection.
3.Create a Connection Name such as “Client to GW1”.
This descriptive name is not supplied to the remote VPN client; it is only for your reference.
4.Enter a
5.Choose which WAN port to use as the VPN tunnel end point.
6.The public Remote and Local Identifier are automatically filled in by
Virtual Private Networking |