Chapter 3 Configuring Voice Service and Voicemail
Using the Wizard to Configure ITSP Voice Services and Voicemail
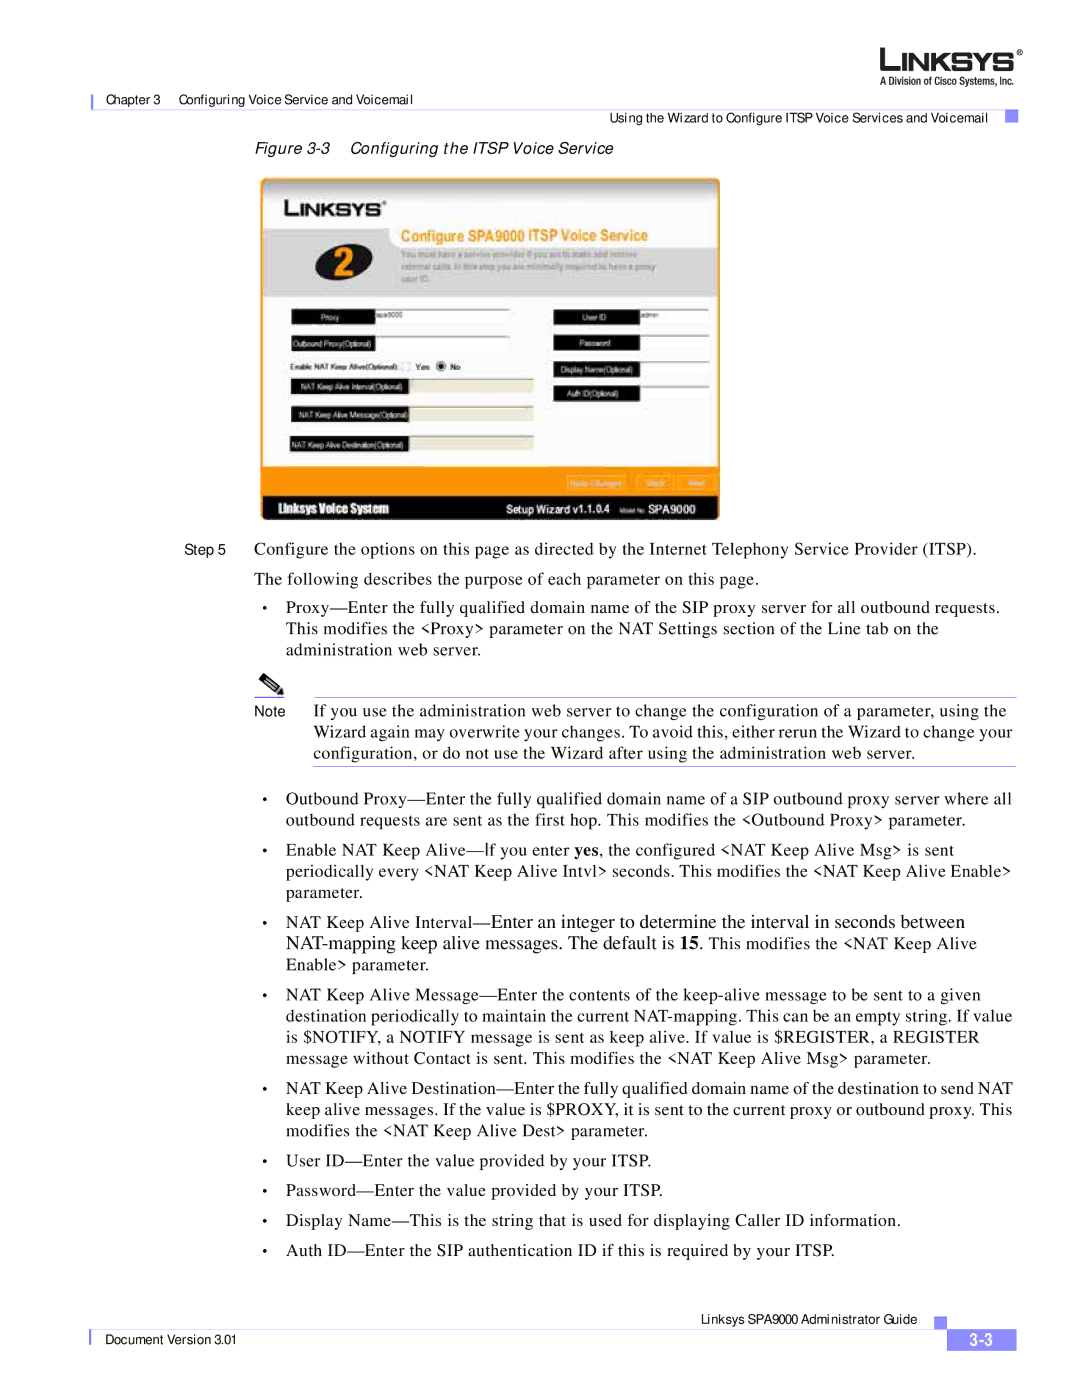
Figure 3-3 Configuring the ITSP Voice Service
Step 5 Configure the options on this page as directed by the Internet Telephony Service Provider (ITSP). The following describes the purpose of each parameter on this page.
•Proxy—Enter the fully qualified domain name of the SIP proxy server for all outbound requests. This modifies the <Proxy> parameter on the NAT Settings section of the Line tab on the administration web server.
Note If you use the administration web server to change the configuration of a parameter, using the Wizard again may overwrite your changes. To avoid this, either rerun the Wizard to change your configuration, or do not use the Wizard after using the administration web server.
•Outbound Proxy—Enter the fully qualified domain name of a SIP outbound proxy server where all outbound requests are sent as the first hop. This modifies the <Outbound Proxy> parameter.
•Enable NAT Keep Alive—If you enter yes, the configured <NAT Keep Alive Msg> is sent periodically every <NAT Keep Alive Intvl> seconds. This modifies the <NAT Keep Alive Enable> parameter.
•NAT Keep Alive Interval—Enter an integer to determine the interval in seconds between NAT-mapping keep alive messages. The default is 15. This modifies the <NAT Keep Alive Enable> parameter.
•NAT Keep Alive Message—Enter the contents of the keep-alive message to be sent to a given destination periodically to maintain the current NAT-mapping. This can be an empty string. If value is $NOTIFY, a NOTIFY message is sent as keep alive. If value is $REGISTER, a REGISTER message without Contact is sent. This modifies the <NAT Keep Alive Msg> parameter.
•NAT Keep Alive Destination—Enter the fully qualified domain name of the destination to send NAT keep alive messages. If the value is $PROXY, it is sent to the current proxy or outbound proxy. This modifies the <NAT Keep Alive Dest> parameter.
•User ID—Enter the value provided by your ITSP.
•Password—Enter the value provided by your ITSP.
•Display Name—This is the string that is used for displaying Caller ID information.
•Auth ID—Enter the SIP authentication ID if this is required by your ITSP.
| | Linksys SPA9000 Administrator Guide | | |
| | |
| Document Version 3.01 | | | 3-3 | |
| | | |