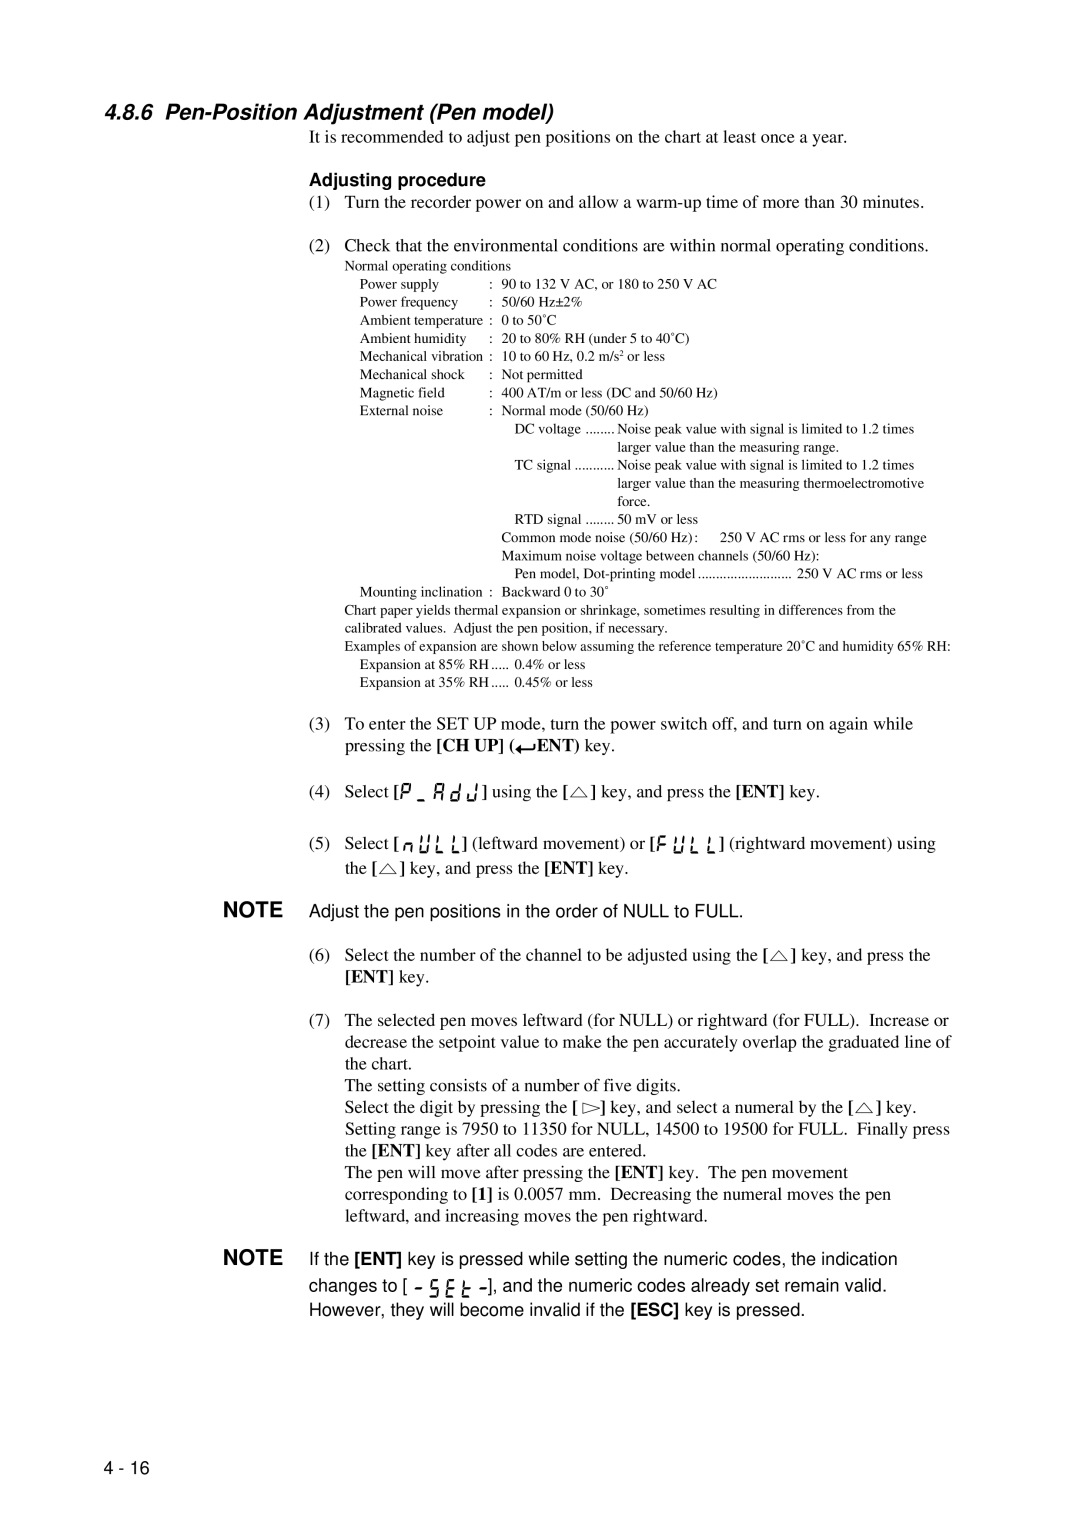
4.8.6 Pen-Position Adjustment (Pen model)
It is recommended to adjust pen positions on the chart at least once a year.
Adjusting procedure
(1)Turn the recorder power on and allow a
(2)Check that the environmental conditions are within normal operating conditions.
Normal operating conditions
Power supply | : | 90 to 132 V AC, or 180 to 250 V AC |
Power frequency | : | 50/60 Hz±2% |
Ambient temperature : | 0 to 50˚C | |
Ambient humidity | : | 20 to 80% RH (under 5 to 40˚C) |
Mechanical vibration : | 10 to 60 Hz, 0.2 m/s2 or less | |
Mechanical shock | : | Not permitted |
Magnetic field | : | 400 AT/m or less (DC and 50/60 Hz) |
External noise | : | Normal mode (50/60 Hz) |
DC voltage ........ Noise peak value with signal is limited to 1.2 times
larger value than the measuring range.
TC signal ........... Noise peak value with signal is limited to 1.2 times
larger value than the measuring thermoelectromotive force.
RTD signal ........ 50 mV or less
Common mode noise (50/60 Hz) : 250 V AC rms or less for any range Maximum noise voltage between channels (50/60 Hz):
Pen model,
Mounting inclination : Backward 0 to 30˚
Chart paper yields thermal expansion or shrinkage, sometimes resulting in differences from the calibrated values. Adjust the pen position, if necessary.
Examples of expansion are shown below assuming the reference temperature 20˚C and humidity 65% RH: Expansion at 85% RH ..... 0.4% or less
Expansion at 35% RH ..... 0.45% or less
(3)To enter the SET UP mode, turn the power switch off, and turn on again while pressing the [CH UP] (![]() ENT) key.
ENT) key.
(4) Select [ | ] using the [ ] key, and press the [ENT] key. |
(5)Select [ ![]()
![]()
![]()
![]()
![]()
![]() ] (leftward movement) or [
] (leftward movement) or [![]()
![]()
![]()
![]()
![]()
![]() ] (rightward movement) using the [
] (rightward movement) using the [![]() ] key, and press the [ENT] key.
] key, and press the [ENT] key.
NOTE Adjust the pen positions in the order of NULL to FULL.
(6)Select the number of the channel to be adjusted using the [![]() ] key, and press the [ENT] key.
] key, and press the [ENT] key.
(7)The selected pen moves leftward (for NULL) or rightward (for FULL). Increase or decrease the setpoint value to make the pen accurately overlap the graduated line of the chart.
The setting consists of a number of five digits.
Select the digit by pressing the [ ![]() ] key, and select a numeral by the [
] key, and select a numeral by the [![]() ] key. Setting range is 7950 to 11350 for NULL, 14500 to 19500 for FULL. Finally press the [ENT] key after all codes are entered.
] key. Setting range is 7950 to 11350 for NULL, 14500 to 19500 for FULL. Finally press the [ENT] key after all codes are entered.
The pen will move after pressing the [ENT] key. The pen movement corresponding to [1] is 0.0057 mm. Decreasing the numeral moves the pen leftward, and increasing moves the pen rightward.
NOTE If the [ENT] key is pressed while setting the numeric codes, the indication
changes to [ ![]()
![]()
![]()
![]()
![]() ], and the numeric codes already set remain valid. However, they will become invalid if the [ESC] key is pressed.
], and the numeric codes already set remain valid. However, they will become invalid if the [ESC] key is pressed.
4 - 16
