April 17
Table of Contents
Service-Programming Modems
Integrator’s Reference Manual
Table of Contents
80-99208-1 Rev. D
Integrator’s Reference Manual
Integrating GSP-1620 Modems Into OEM Products
80-99208-1 Rev. D Vii
Viii
Troubleshooting Globalstar Background
Specification Summary
List of Figures
Figure A-1 Globalstar Coverage Availability
Integrator’s Reference Manual Xii
List of Tables
80-99208-1 Rev. D Xiii
Integrator’s Reference Manual Xiv
Revision History
Version Release Date
Integrator’s Reference Manual Xvi
About this Manual
Who Should Use This Manual
80-99208-1 Rev. D Xvii
How This Manual Is Organized
Xviii
Notational Conventions
Convention Description
Abbreviations and Acronyms
Miniature Coaxial Connector
Ground or Signal Common
Internet Service Provider
Full-Duplex
Ring Indicator
Position Location Service
Public Switched Telephone Network
Received Line Signal Detector
Related Documentation
This equipment
Electrical shock or burns
Avoid damage to the modem
Xxiv
Getting Started
If you want to Go to
GSP-1620 Modem Overview
Typical Modem Scada Applications
Getting Started
Typical GSP-1620 Modem Applications
DCE
Typical Modem Scada Application Using Asynchronous Data
Conceptual Diagram of GSP-1620 Modem
Conceptual Overview
What’s in the Modem Integrator’s Kit?
Kit Component
What You May Need in Addition to the Kit
Integrator’s Reference Manual
Quick Bench SET-UP
Quick Tour of the Modem
Connecting Hardware Components
Illustration shows the connectors and components you will
Compare the GSP-1620 modem to -1. This
Quick Bench Set-Up
Simplified Top View of GSP-1620 Modem
Connecting the Modem Cables
Connecting the Modem Interface Cable
Cable -2to the interface port on the modem
Connect the DB-25 modem connector on the interface
Do not connect power yet
Quick Bench Set-Up Steps
Connecting Antenna Cables
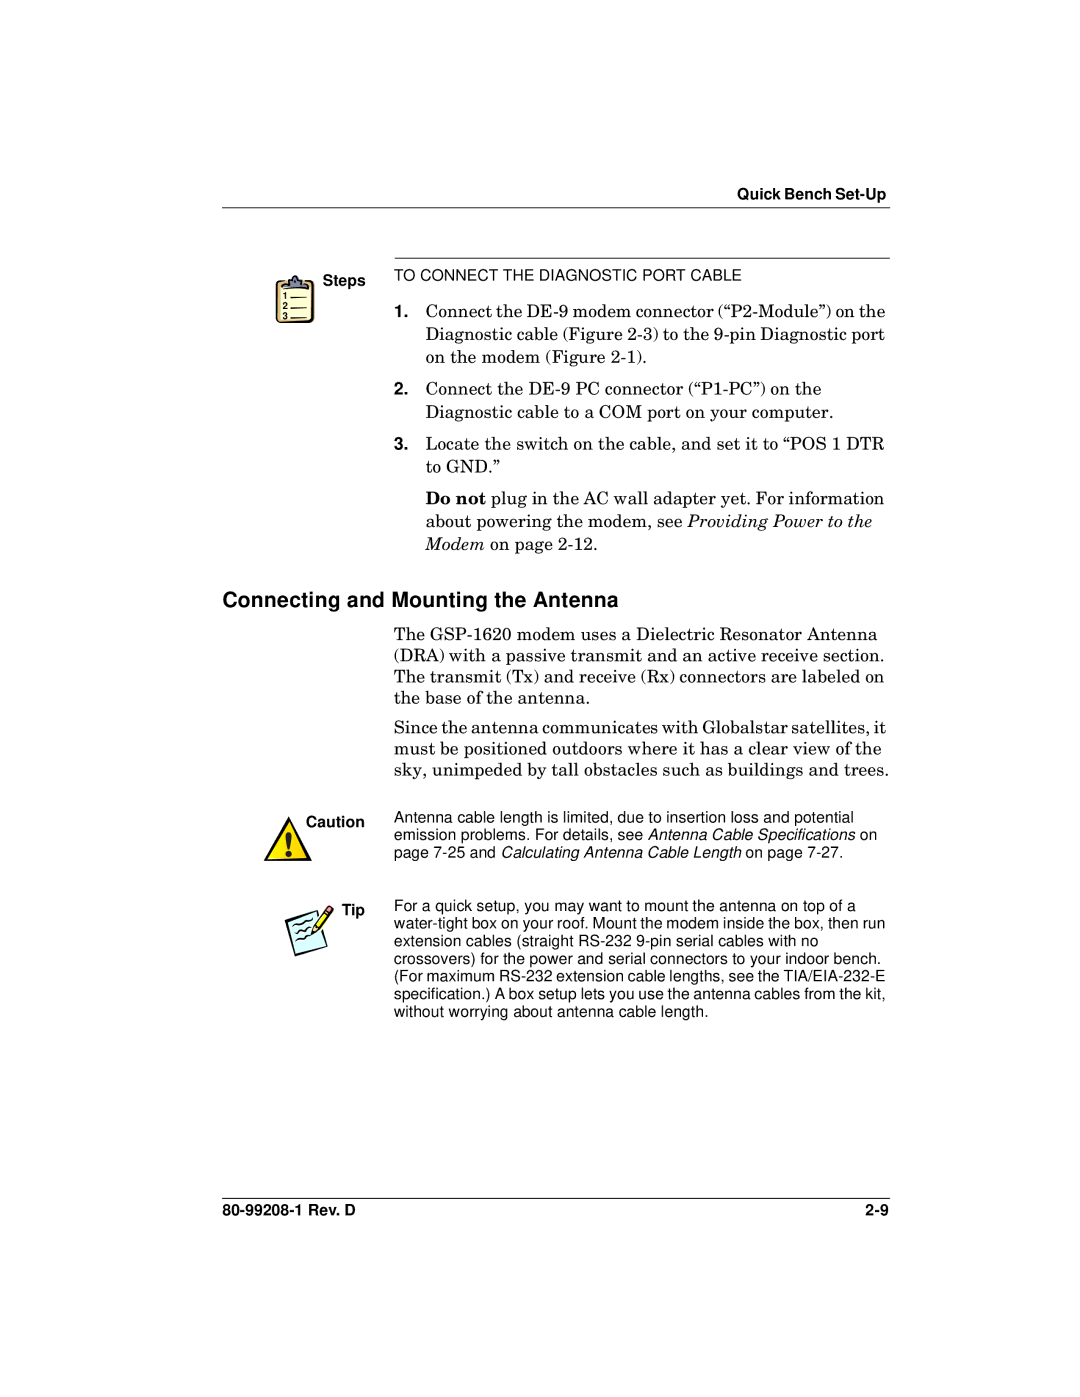
Connecting the Diagnostic Cable
DTR Switch Positions
Position Switch Label Effect
Connecting and Mounting the Antenna
Antenna Base Showing Connectors
Mounting the Modem
Grounding the System
Providing Power to the Modem
Since you will be using the AC adapter instead of a DC
Locate the DC Power red and SIG GND black
Connectors. Then electrically isolate each connector by
Power supply, it is important to isolate the DC power
Integrator’s Reference Manual Steps
Setting Up HyperTerminal to Talk to the Modem
Testing the Modem Setup
Connect button
HyperTerminal window
Baud rate of 9600. Be sure HyperTerminal is configured
Look at the Status bar at the bottom
It should read 9600 8-N-1. The Control port has a fixed
Ground the Reset lead for at least five seconds to reset
Resetting or Powering Off the Modem
Locate the Reset lead yellow
Modem
Cause ESD damage to the modem and also presents a danger
Electrical shock
Where to Go Next
To do this Go to
SERVICE-PROGRAMMING Modems
Utpst Overview
Using the Utpst
Connect the Diagnostic cable to the Diagnostic port on
Modem and to an available COM port on your PC, as
Service-Programming Modems
Guide 80-98225-1 in your kit for detailed information
Re-programming Default Parameters
Service Programming Parameters You Must Set
Globalstar NAM dialog
Service Providers dialog
Upgrading Modem Software
Bulk Service-Programming Options
Bulk-Programming Modems
Programming Option For More Information
Most software upgrades are application upgrades. Upgrading
Boot block software contains a minimal set
Functionality needed to boot the modem get it started
Boot block software is rarely required
Making Simple Data Calls
Checking Modem Status
Physically or by clicking the Disconnect button in a
Whether the modem has registered with the Gateway,
Make sure that the Control port is disconnected, either
HyperTerminal session connected to it
Making Simple Packet Data Calls
Making Simple Data Calls
Making a Call from the Data Port
Entering Online-Command Mode
Steps Tip
Integrator’s Reference Manual
Developing Modem Applications
Recommended Development Tools
Scada Application Components
Developing Modem Applications
DCE DTE Application Components
Packet/Asynchronous Data Overview
Packet vs. Asynchronous Data
Packet Data Asynchronous Data
Modem Application Scenarios
Integrator’s Reference Manual
Working with Modem Features
Using Data and Control Ports
Data and Control Port Configurations
Port Signal Lines
Data Port Control Port
Port Arbitration Behavior
Integrator’s Reference Manual Port Arbitration Behavior
Control Data Port Port Behavior Port Active
Developing Modem Applications
Port Arbitration Behavior
AT Command Processing Modes
Ports Affected by AT Commands
Developing Modem Applications Steps
Ports Affected by AT Commands
Port Command Applies To
Integrator’s Reference Manual Nomenclature for Table
Developing Modem Applications Ports Affected by AT Commands
Port Activation DTR Changes during Operation
Globalstar Satellite Service
Port Use During Power On and Power Off
Short Messaging Service SMS
SMS Alerts
Reverse Link Modem Transmit 1610.73 to 1625.49 MHz
SMS AT Commands
Using SMS for Mobile-Terminated Calls
SMS Message Field Information
Globalstar Service Alerts
Service Status Message
Using Packet Data
Position Location Determination
Data Rate and Throughput
Networking Software and PPP Sessions
Interoperability with Different Operating Systems
IP Addressing for the GSP-1620 Modem
Dynamic IP Addressing
Virtual Private Network Service
Fixed IP Addressing
Finding IP Addresses
Dormant Mode Service
Value +CTA on
Mobile-Originated Packet Data Calls
Mobile-Terminated Packet Data Calls
Answering Calls Using the Data Port Only
Roaming and Packet Data Service
Answering Calls Using the Data and Control Ports
Using Asynchronous Data
So on. For details, see , AT Command Reference
Like most modems, the GSP-1620 modem allows you to
Customize asynchronous data connections, data compression
Mobile-Originated Asynchronous Data Calls
Mobile-Terminated Asynchronous Data Calls
Accessing Packet Data Over an Asynchronous Connection
Roaming and Asynchronous Data Service
Typical Modem Initialization Strings
Sample Typical Modem Initialization Strings
Change from Online to
Integrator’s Reference Manual
AT Command Reference
AT Command Quick Reference Tables
Operational AT Commands
AT Command Reference Operational AT Commands
Integrator’s Reference Manual Operational AT Commands
+IPR
$QCSMSP
Non-Operational AT Commands
Command Line Format
AT Commands Overview
Command Alphabet
AT Command Reference
Basic AT Commands
Command Syntax
Results Returned
Command Echo E
OK or Error see -3 on page 6-9 for details
Get Info
None
Power-On/Reset Default Values
Monitor Speaker Loudness L
Integrator’s Reference Manual Valid Values
Values
Monitor Speaker Mode M
Select Pulse Dialing P
Syntax Description
Result Code Suppression Q
Select Tone Dialing T
DCE Response Format
Result Code Selection Command
Integrator’s Reference Manual Values
Reset to Default Configuration Z
AT Command Reference Values
DCE Received Line Signal Detector Behavior &C
DTE Data Terminal Ready Behavior &D
Set to Factory-Defined Configuration &F
AT Command Reference Valid Values
Basic Action Commands
Answer Incoming Call a
Integrator’s Reference Manual Results Returned
Repeat Last Command a
Result Code Description
Valid dial string modifiers are
Dial D
Originates a call if the dial string is valid
Valid Dial Strings
Dial String Values
Result Codes Description
Hook Control H
Asynchronous data calls returns no
Return to Online Data Mode O
Returns the modem to Online mode from Online-Command mode
See -3 on page 6-9 for details
Common Result Codes for S-Register Commands
Basic S-Registers
Result Condition
Command Line Termination Character S3
Automatic Answer S0
See -4 on page 6-24 for result code details
Response Formatting Character S4
Command Line Editing Character S5
Missing Parameter Default Values 80-99208-1 Rev. D
Pause Before Blind Dialing Time S6
Connection Completion Timeout S7
Integrator’s Reference Manual Power-On/Reset Default Values
Carrier Detect Threshold Timeout S9
Comma Dial Modifier Time S8
Carrier Loss to Disconnect Timeout S10
Silent Retry Timeout S777
Globalstar-Specific S-Register Extensions
Dtmf Tone Duration and Spacing S11
Extended Configuration AT Commands
Missing Parameter Default Values
Set Forward MUX Option +CMUX
Set Rm Interface Protocol +CRM
Get Modem User Terminal ESN +GSN
This parameter is read only
Set Character Framing +ICF
No parity is actual configuration
Set Local Flow Control +IFC
For format 3 parity value is ignored
DCEbyDTE
Set Rm Interface Command Baud Rate +IPR
AT Command Reference Valid Values rate
Online-Command Mode Commands
Change from Online to Online-Command Mode +++
Asynchronous Data through Gateway IWF Commands
Set Remote Config String +CFG
Data Compression Control Command +DS
Maxdict 512-65535maxstring
Parameters are recognized and have
Error Control Selection Command +ES
Integrator’s Reference Manual
Modulation Selection Command +MS
AT Command Reference Missing Parameter Default Values
Dormant Mode Commands
Set Dormant Mode Timeout Value +CTA
Packet No Dial $QCPKND
SMS Commands
SMS Move/Delete $QCSMSM
Default Values
Power-On Default
SMS Print $QCSMSP
Default Value Power-On Default
See Table
Format Field Definitions
Field Name Description
SMS Lock $QCSMSL on page 6-56 for
This field represents the SMS message
Default Value
SMS Lock $QCSMSL
Default Value Power-On Default Results Returned
SMS Alert $QCSMSA
SMS Info Command Field Definitions, on
SMS Info $QCSMSI
Error Log Services Commands
Retrieve Error Log $QCERR
Returns the modem’s error log and build information
Clear Error Log $QCCLR
Clears the error log
Service Status Commands
Service Alert $QCSA
Service Status $QCSTATUS
Roamingyesno
AT Command Reference Modem Status Information
Special Calls and Services Commands
Time of Day $QCTOD
Integrator’s Reference Manual Modem Status Information
AT Command Reference Description
Position Location Service $QCPLS
Time of Day $QCTOD on
Markov Statistics $QCMSTATS
Rm interface baud rate set by the +IPR command, as
Set Mode $QCMODE
This command sets the modem’s call mode. It does not affect
Described on
Protocol Stack Modification Commands
TCP Stack Changes $QCTCP
Command parser for the missing optional parameters
Valid Values tcpmod
1500Upper bound for the transmit MSS
Use Van Jacobsen Header Compression $QCVJ
If an illegal value is detected
Integrating GSP-1620 Modems Into OEM Products
Integrating Modems into Products
Modem Mechanical Description
Modem Board Layout
Integrating GSP-1620 Modems into OEM Products
GSP-1620 Modem Board Layout Top View
GSP-1620 Modem Board Layout Side/ Bottom Views
Modem Antenna Connectors
Modem Dimensions and Weight
Data and Control Ports
DTR/DSR Signal and Power On/Off
Changing Data and Control Port Configuration
Control Port Signals
Data Port Signals
DB-25 Data and Control Port Pinouts
Integrator’s Reference Manual Interface Connector Pinouts
Cpdsr
Diagnostic Port
Diagnostic cable includes a switch box that controls
Diagnostic Port Pinouts
Integrator’s Reference Manual Diagnostic Port Pinouts
Pin Signal Name Direction Description Number User Modem
DC Power
Power Consumption
Surge Protection
EMI Filtering
Modem DC Power Consumption Estimates at 12 V DC
Power-On
DC power consumption of the ODU antenna’s receive section
Mode Minimum Typical Maximum
Power-Off
Hard Power Reset
Grounding
Modem Mounting Guidelines
Qualcomm Mark on OEM Enclosures
Integrated Product Regulatory Labeling
Qualcomm Mark for OEM Enclosures
Modem Antenna Specifications
Mounting Antennas On-Site
Modem
Antenna Dimensions and Weight
Antenna Depiction
DRA Top and Side Views
Antenna Cable Specifications
DRA Bottom View and Mounting Hole Locations
Suggested RF Cable and Connector Suppliers Volex Inc
Times Microwave
Calculating Antenna Cable Length
Mounting Antennas at the Field Site
Finding a Good Antenna Location
Securing Antenna Cables
Mounting and Sealing Antennas on Flat Surfaces
Mounting and Sealing Antennas on Poles
Mounting Multiple Antennas
GSP-1620 Modem Environments
Environmental Specifications
Temperature/Humidity
Operational
GSP-1620 Modem Temperature/Humidity Envelope
Thermal Radiation
Altitude
Vibration
10 100 1000 10000 Frequency Hz
Swept Sine Vibration Definition
Acoustic Noise
Digital Data Connector Durability
Mechanical Shock
Applied Forces
Materials
RF Connector Durability
Dielectric Resonator Antenna DRA Environments
Shipping
10. DRA Temperature/Humidity Envelope
Icing/Freezing Rain/Snow
11. DRA Random Vibration Spectrum
RF Connector Durability
Integrator’s Reference Manual
Troubleshooting
Troubleshooting Modem Problems
Problem Possible Solutions
Integrator’s Reference Manual Troubleshooting Modem Problems
Globalstar Background
Dacom
Space Segment
Ground Segment
Coverage
Globalstar Background
Carriers
Distributors and OEMs for User Terminals
Integrator’s Reference Manual
RF CERTIFICATION/RESTRICTIONS
Certification
Federal Communications Commission FCC
European R&TTE Directive 1999/5/EC
Radio Astronomy Zones
RF Restrictions
Radio Frequency Exposure Restrictions
GPS Interference Elimination
Electronic Device Restrictions
Pacemakers
Hearing Aids
Other Medical Devices
Integrator’s Reference Manual
Warranty
Integrator’s Reference Manual
Qualcomm Globalstar Customer Service
Product Support
Technical Support Information
Order Fulfillment Information
Contacting Qualcomm Customer Service
Website Information
Product Support
Status.techsupport@qualcomm.com
Contact information
Gstechsupport@qualcomm.com
Status.rma@qualcomm.com
Following email address is available to all customers
Gs.modules.info@qualcomm.com
Integrator’s Reference Manual
Specification Summary
Table E-1. Specification Summary GSP-1620 Modem
FCC
Parameter TX Specification RX Specification
Lhcp
SMA F
Index
Mounting 2-10
80-99208-1 Rev. D Index-1
AT&D2 5-10
AT$QCSTATUS 4-2, 4-5, 5-20, 5-26
AT&C0 5-25 AT&D 5-15, 5-29
Index-2
10, 5-13
ATH 4-5, 5-10, 5-11, 5-12, 5-25 32, 5-36
25, 5-26
Auto-answer5-6, 5-28, 5-29, 6-25 Autodeletion 6-54, 6-56
Connect 6-15, 6-19, 6-21
Number 4-3 State 4-3 Type 4-3
108 108/2 5-12, 6-16 109 6-16
5-4
J3 2-6, 7-3 J7 2-6, 7-3
20, 7-32
80-99208-1 Rev. D Index-5
DSR 5-8, 7-8, 7-9 asserted 5-16, 7-7 DTE 1-5, 5-7
Dormant mode 5-5, 5-25, 5-29, 6-22, 6-23, 6-48
Cable 2-7
DTR 5-8, 5-10, 5-28, 7-8, 7-14 asserted 2-7, 5-9, 5-16
37, 7-13
Antenna 7-35, E-2 modem 7-30, E-2
FCC 7-16, 7-18, 7-21, B-2
Full duplex 1-5, 5-16, 5-22
Server 5-4, 5-6, 5-23, 5-24, 5-30, 5-33
Signal 7-10, 7-11
Loops 2-11
Index-8
12, 5-27
Ice 7-29
5-24
5-3
Host 5-4 IWF 5-30, 6-14, 6-18, 6-27, 6-28, 6-29, 6-30
2-2
Index-10
Rings2-11
ODU 1-7
OEMs 1-1, A-5
Ospl 7-20, 7-34, E-2
16, E-1
Active 5-9
7-12
E-1 Pstn 1-2, 5-3, 5-4, 6-42
RFR 5-8
Rx connector 2-6, 2-9, 7-22 RxD 5-8, 7-8, 7-9
Lead 2-18
Ring 5-28, 5-29, 5-33, 6-21
Alerts 5-17
Index-14
4-5
80-99208-1 Rev. D Index-15
Antenna 7-23, E-1, E-4 modem 7-6, E-1
Tx connector 2-6, 2-9, 7-22 TxD 5-8, 7-8, 7-9
VPN 5-5
Index-16