adhesive backing is designed for only a single pass through the machine.
•Do not use labels that are separating from the backing sheet or are wrinkled, bubbled or otherwise damaged.
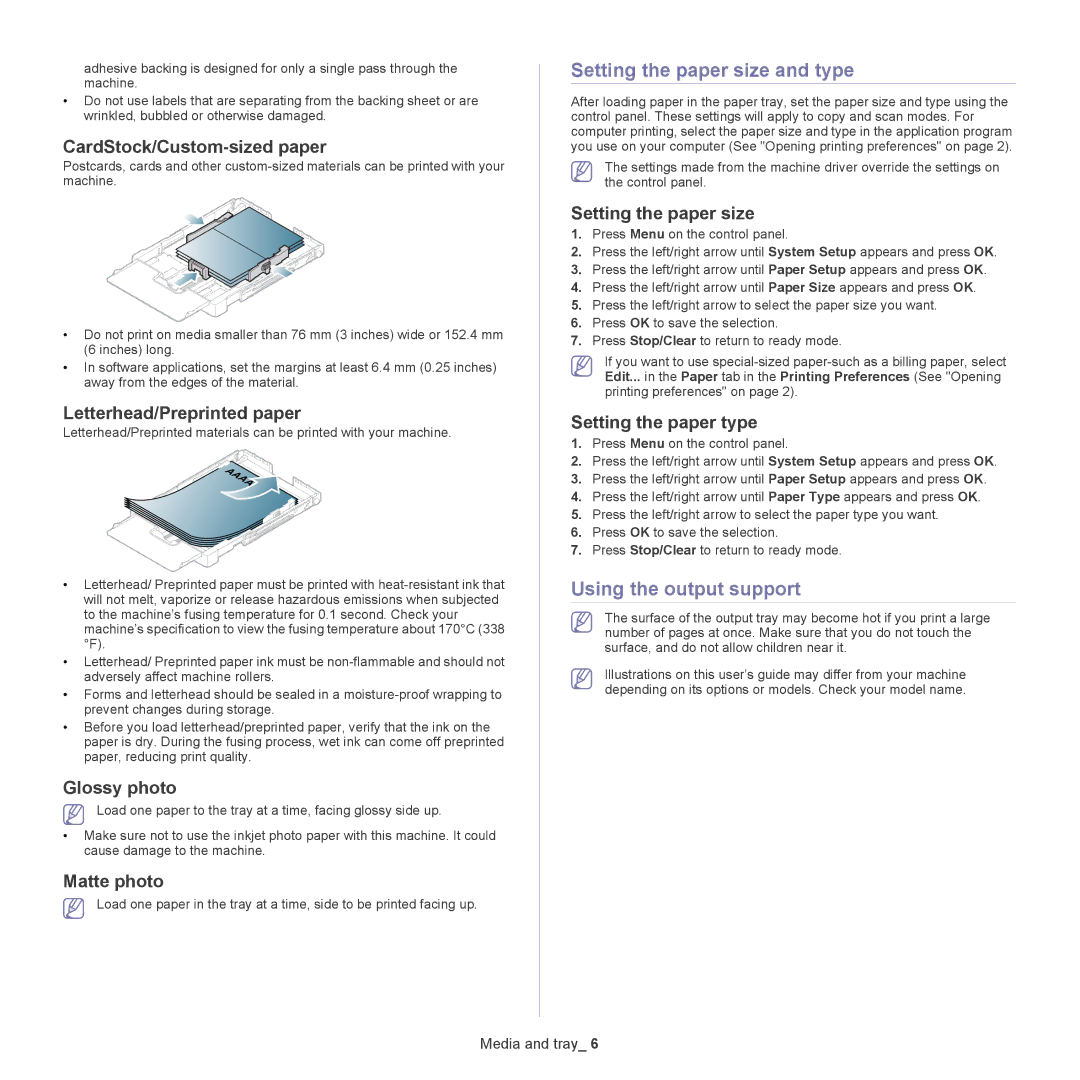
CardStock/Custom-sized paper
Postcards, cards and other
•Do not print on media smaller than 76 mm (3 inches) wide or 152.4 mm (6 inches) long.
•In software applications, set the margins at least 6.4 mm (0.25 inches) away from the edges of the material.
Letterhead/Preprinted paper
Letterhead/Preprinted materials can be printed with your machine.
•Letterhead/ Preprinted paper must be printed with
•Letterhead/ Preprinted paper ink must be
•Forms and letterhead should be sealed in a
•Before you load letterhead/preprinted paper, verify that the ink on the paper is dry. During the fusing process, wet ink can come off preprinted paper, reducing print quality.
Glossy photo
Load one paper to the tray at a time, facing glossy side up.
•Make sure not to use the inkjet photo paper with this machine. It could cause damage to the machine.
Matte photo
Load one paper in the tray at a time, side to be printed facing up.
Setting the paper size and type
After loading paper in the paper tray, set the paper size and type using the control panel. These settings will apply to copy and scan modes. For computer printing, select the paper size and type in the application program you use on your computer (See "Opening printing preferences" on page 2).
The settings made from the machine driver override the settings on the control panel.
Setting the paper size
1.Press Menu on the control panel.
2.Press the left/right arrow until System Setup appears and press OK.
3.Press the left/right arrow until Paper Setup appears and press OK.
4.Press the left/right arrow until Paper Size appears and press OK.
5.Press the left/right arrow to select the paper size you want.
6.Press OK to save the selection.
7.Press Stop/Clear to return to ready mode.
If you want to use
Setting the paper type
1.Press Menu on the control panel.
2.Press the left/right arrow until System Setup appears and press OK.
3.Press the left/right arrow until Paper Setup appears and press OK.
4.Press the left/right arrow until Paper Type appears and press OK.
5.Press the left/right arrow to select the paper type you want.
6.Press OK to save the selection.
7.Press Stop/Clear to return to ready mode.
Using the output support
The surface of the output tray may become hot if you print a large number of pages at once. Make sure that you do not touch the surface, and do not allow children near it.
Illustrations on this user’s guide may differ from your machine depending on its options or models. Check your model name.