7Insert the Billboard into the holder bracket, fix to PTV with the 2 screws.
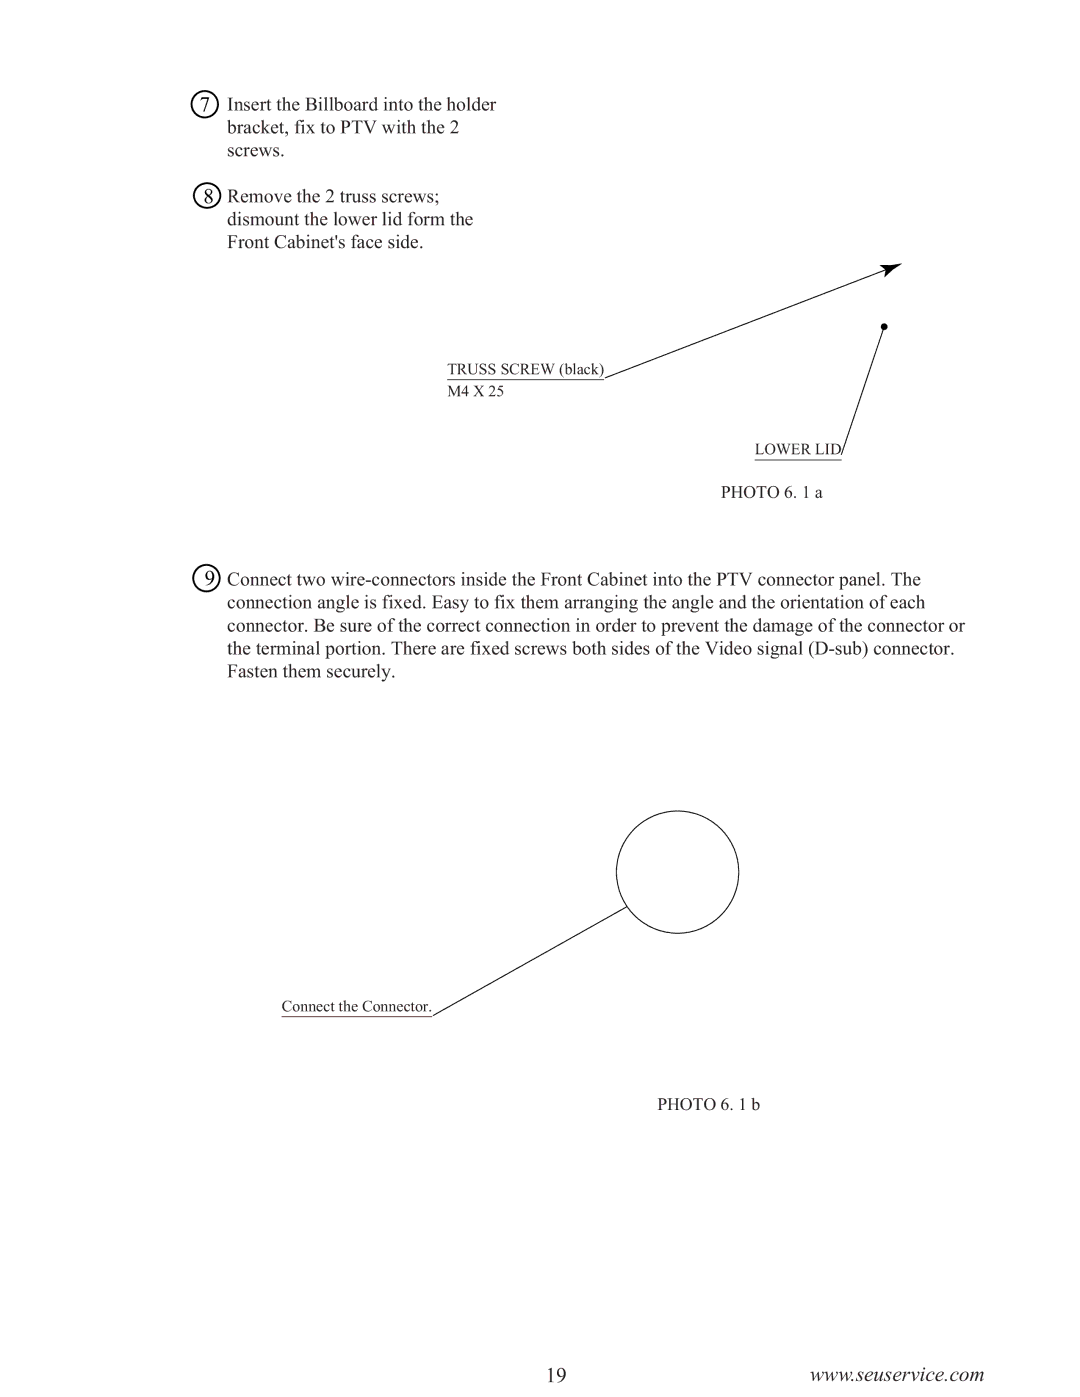
8Remove the 2 truss screws; dismount the lower lid form the Front Cabinet's face side.
TRUSS SCREW (black)
M4 X 25
LOWER LID
PHOTO 6. 1 a
9Connect two wire-connectors inside the Front Cabinet into the PTV connector panel. The connection angle is fixed. Easy to fix them arranging the angle and the orientation of each connector. Be sure of the correct connection in order to prevent the damage of the connector or the terminal portion. There are fixed screws both sides of the Video signal (D-sub) connector. Fasten them securely.
Connect the Connector.
PHOTO 6. 1 b

