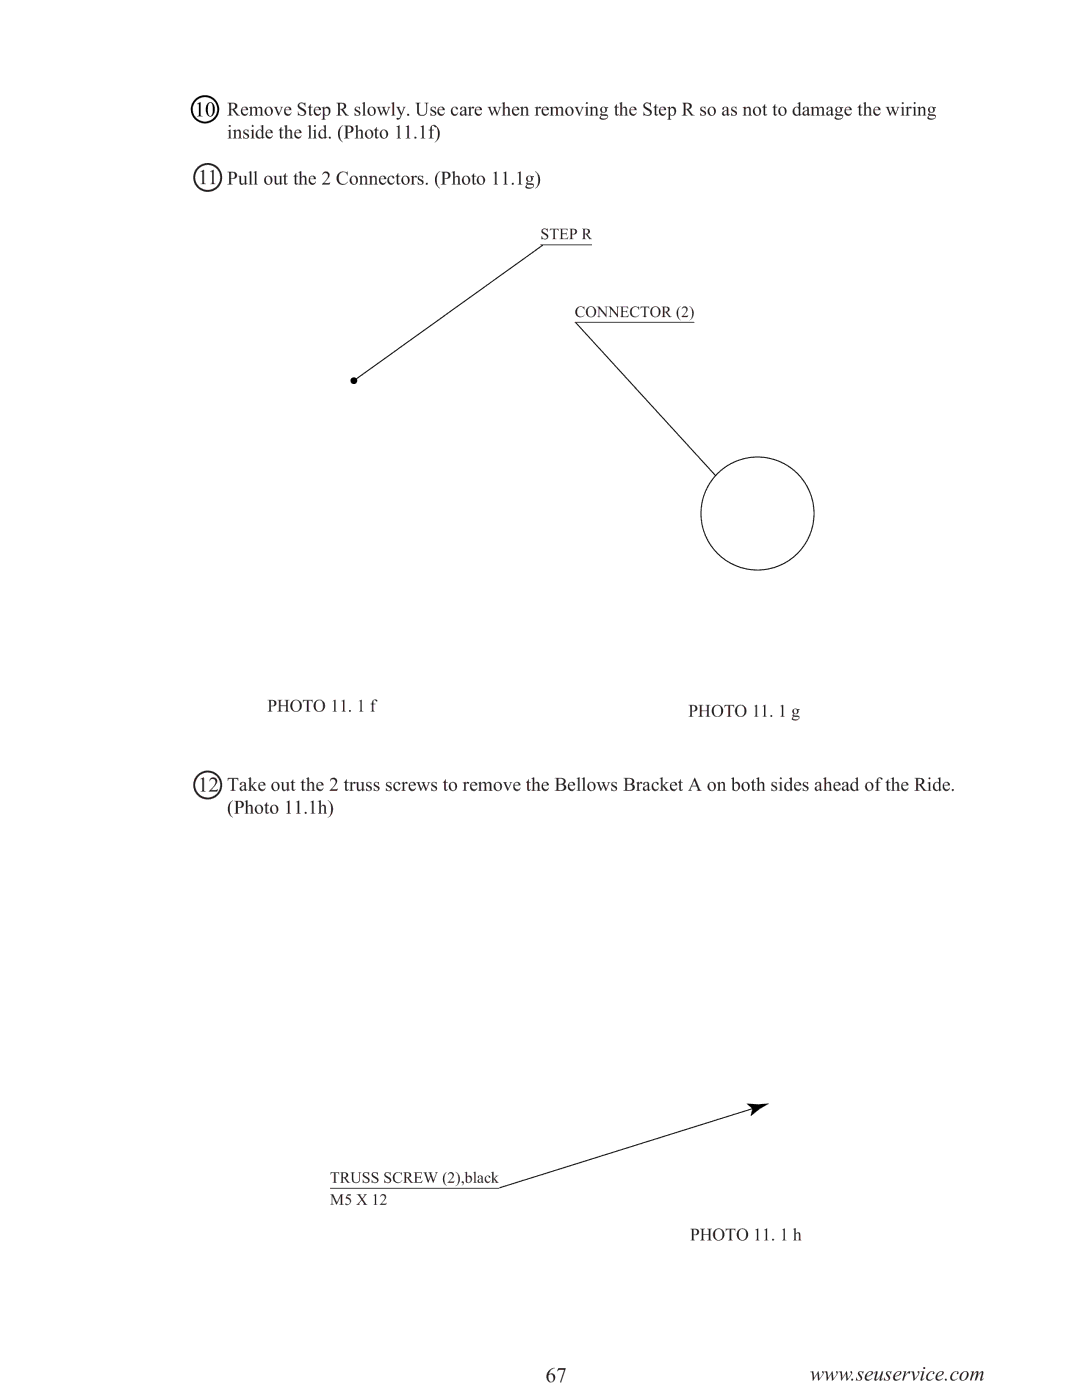
10Remove Step R slowly. Use care when removing the Step R so as not to damage the wiring inside the lid. (Photo 11.1f)
11Pull out the 2 Connectors. (Photo 11.1g)
STEP R
CONNECTOR (2)
PHOTO 11. 1 f | PHOTO 11. 1 g |
|
12Take out the 2 truss screws to remove the Bellows Bracket A on both sides ahead of the Ride. (Photo 11.1h)
TRUSS SCREW (2),black
M5 X 12
PHOTO 11. 1 h
67www.seuservice.com