3.2.1 Upgrading Firmware by PROM Replacement
Before starting, be certain that you have a properly grounded antistatic surface and a grounding strap to prevent damaging the C4 components during disassembly and reassembly.
Remove the C4 from its cabinet or rack, then remove the EEPROM chip that contains the firmware and replace it with a new one containing the updated firmware. Firmware
EEPROMs are available from Sigma Systems. There is a charge for firmware EEPROMs.
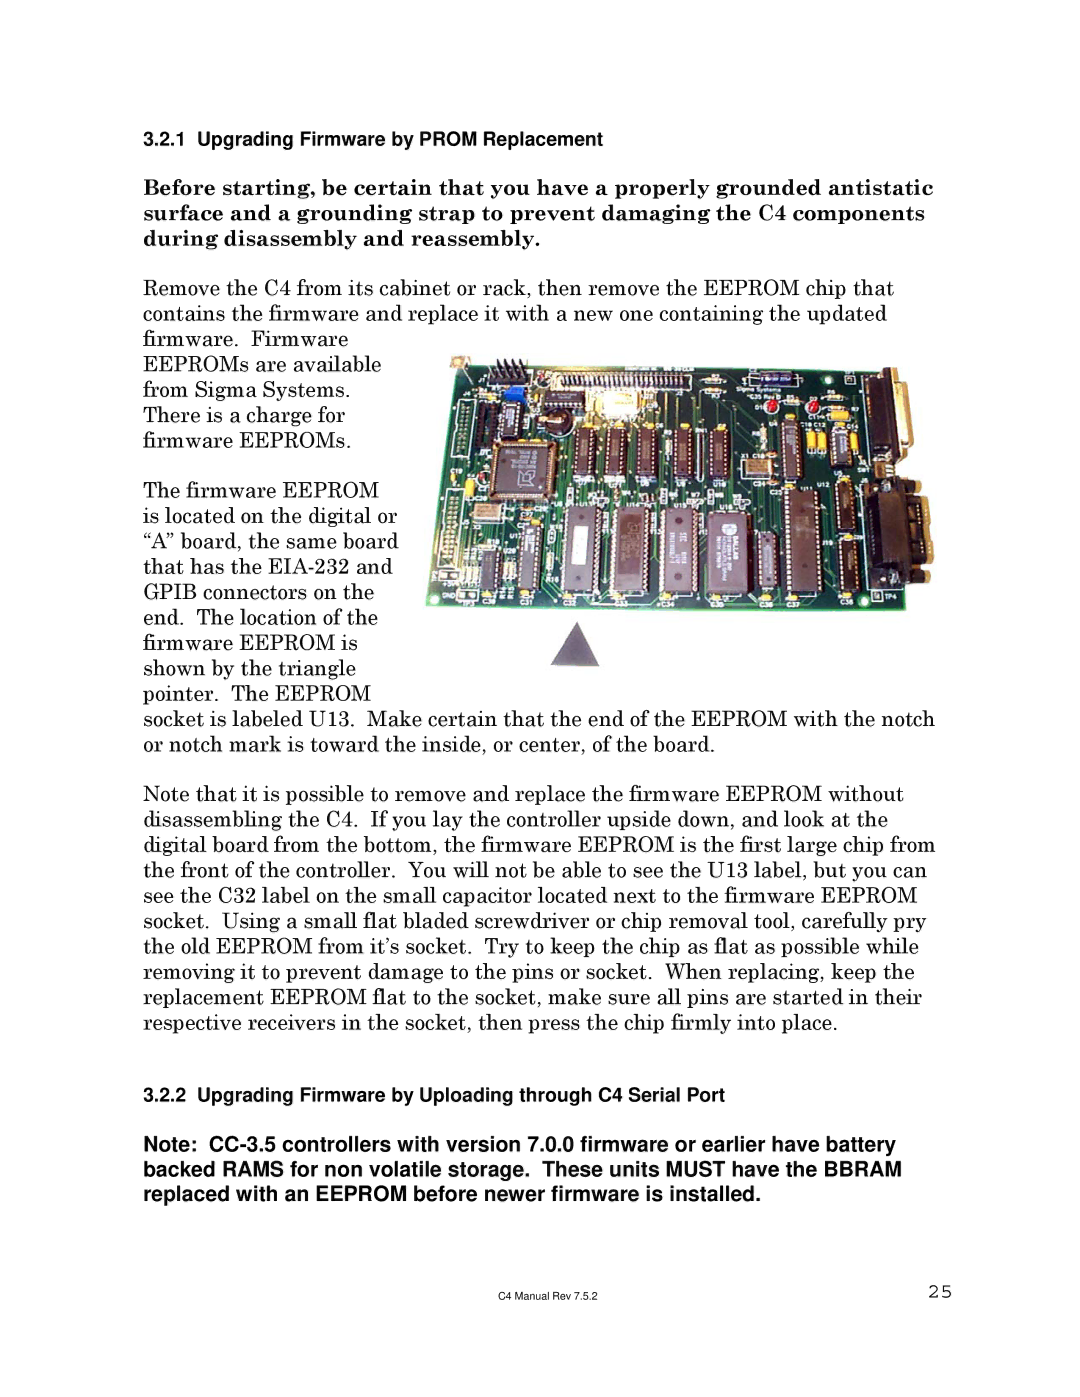
The firmware EEPROM is located on the digital or “A” board, the same board that has the
socket is labeled U13. Make certain that the end of the EEPROM with the notch or notch mark is toward the inside, or center, of the board.
Note that it is possible to remove and replace the firmware EEPROM without disassembling the C4. If you lay the controller upside down, and look at the digital board from the bottom, the firmware EEPROM is the first large chip from the front of the controller. You will not be able to see the U13 label, but you can see the C32 label on the small capacitor located next to the firmware EEPROM socket. Using a small flat bladed screwdriver or chip removal tool, carefully pry the old EEPROM from it’s socket. Try to keep the chip as flat as possible while removing it to prevent damage to the pins or socket. When replacing, keep the replacement EEPROM flat to the socket, make sure all pins are started in their respective receivers in the socket, then press the chip firmly into place.
3.2.2 Upgrading Firmware by Uploading through C4 Serial Port
Note:
C4 Manual Rev 7.5.2 | 25 |