Case B: A WPS-compatible Wi-Fi router with PIN input

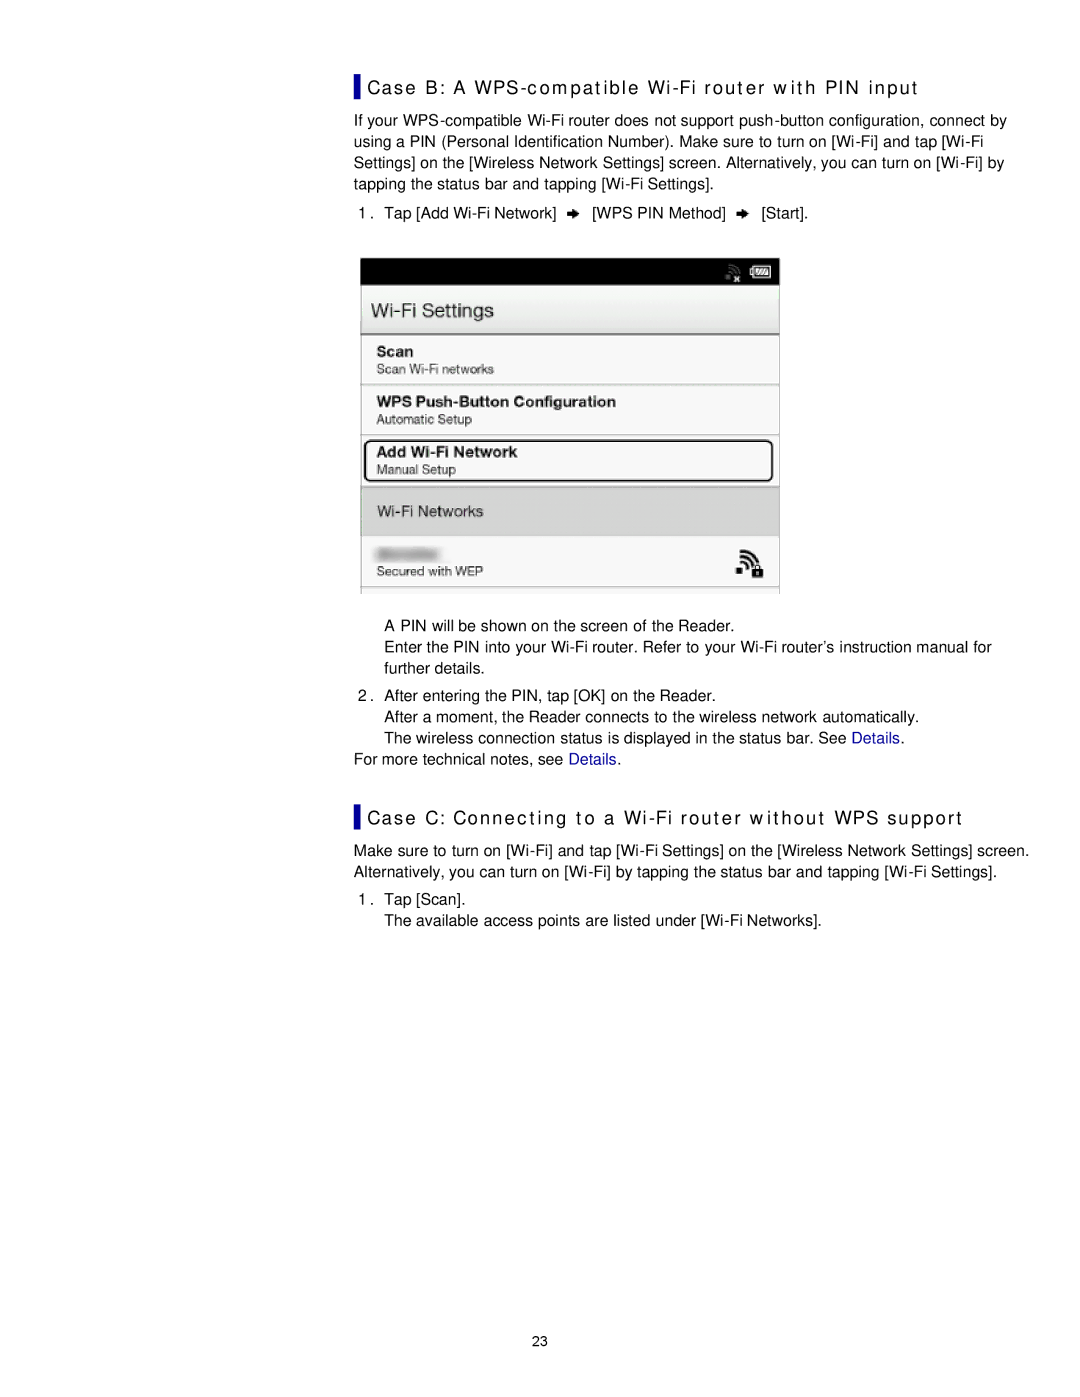
If your WPS-compatible Wi-Fi router does not support push-button configuration, connect by using a PIN (Personal Identification Number). Make sure to turn on [Wi-Fi] and tap [Wi-Fi Settings] on the [Wireless Network Settings] screen. Alternatively, you can turn on [Wi-Fi] by tapping the status bar and tapping [Wi-Fi Settings].

1.Tap [Add Wi-Fi Network] [WPS PIN Method] [Start].

A PIN will be shown on the screen of the Reader.

Enter the PIN into your Wi-Fi router. Refer to your Wi-Fi router’s instruction manual for further details.

2.After entering the PIN, tap [OK] on the Reader.

After a moment, the Reader connects to the wireless network automatically.

The wireless connection status is displayed in the status bar. See Details. For more technical notes, see Details.

Case C: Connecting to a Wi-Fi router without WPS support

Make sure to turn on [Wi-Fi] and tap [Wi-Fi Settings] on the [Wireless Network Settings] screen. Alternatively, you can turn on [Wi-Fi] by tapping the status bar and tapping [Wi-Fi Settings].

1.Tap [Scan].

The available access points are listed under [Wi-Fi Networks].

23

Page 23
Image 23
Sony PRS-T2 Case B a WPS-compatible Wi-Fi router with PIN input, Case C Connecting to a Wi-Fi router without WPS support