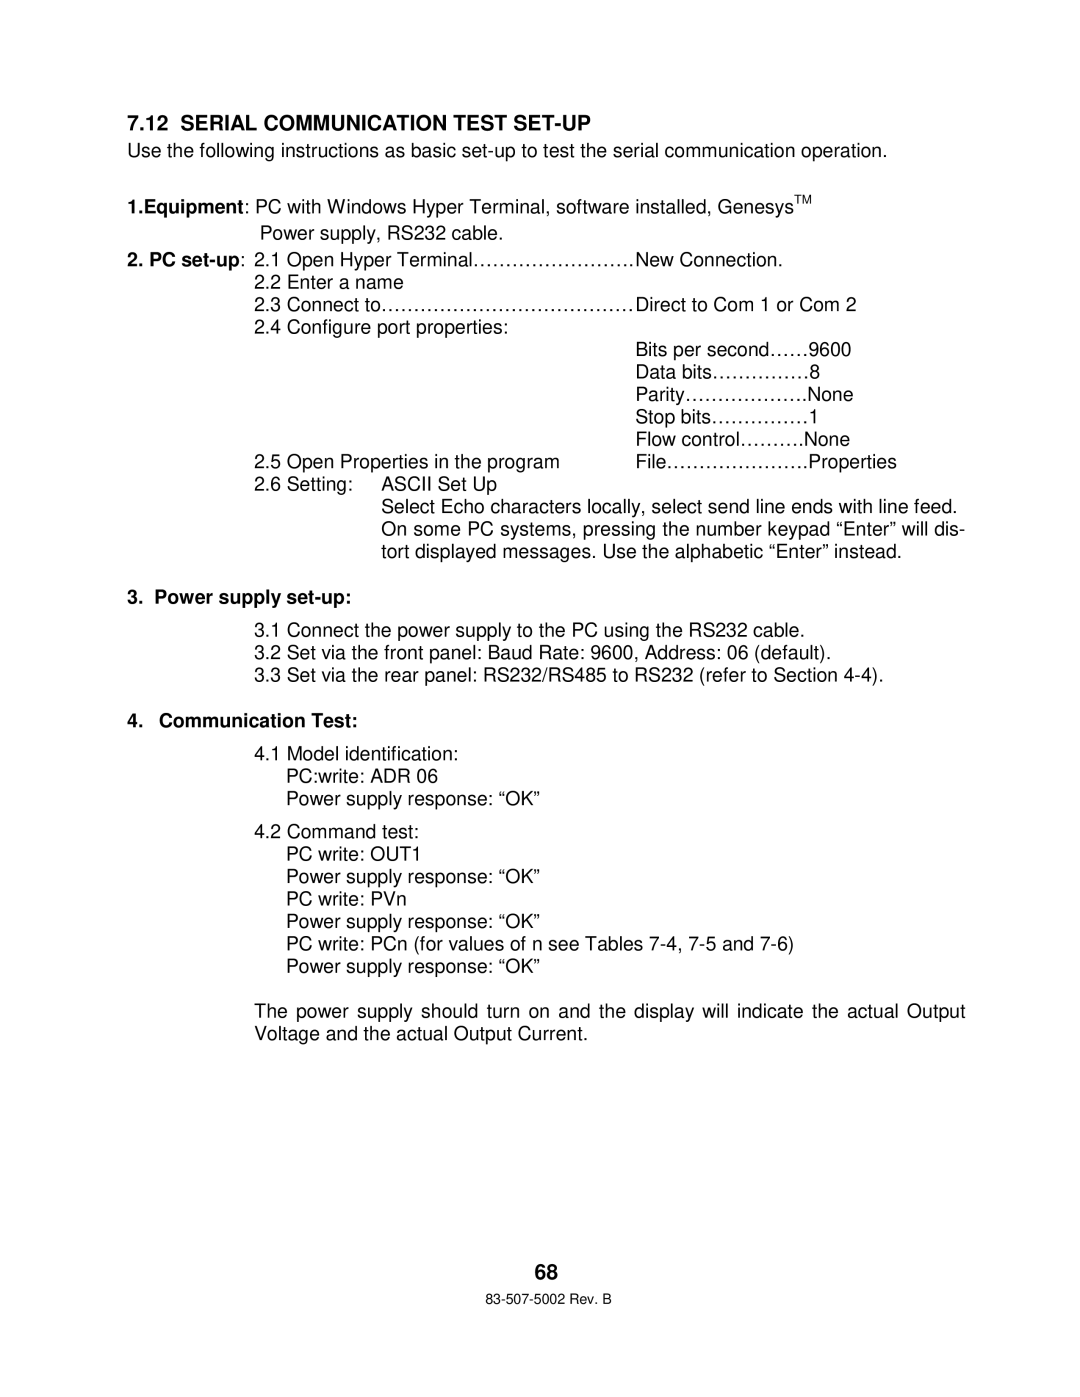
7.12 SERIAL COMMUNICATION TEST SET-UP
Use the following instructions as basic
1.Equipment: PC with Windows Hyper Terminal, software installed, GenesysTM Power supply, RS232 cable.
2.PC
2.2 | Enter a name |
|
2.3 Connect to………………………… | ……… Direct to Com 1 or Com 2 | |
2.4 | Configure port properties: |
|
|
| Bits per second……9600 |
|
| Data bits……………8 |
|
| Parity……………….None |
|
| Stop bits……………1 |
|
| Flow control……….None |
2.5 | Open Properties in the program | File………………….Pro perties |
2.6 | Setting: ASCII Set Up |
|
Select Echo characters locally, select send line ends with line feed. On some PC systems, pressing the number keypad “Enter” will dis- tort displayed messages. Use the alphabetic “Enter” instead.
3.Power supply set-up:
3.1Connect the power supply to the PC using the RS232 cable.
3.2Set via the front panel: Baud Rate: 9600, Address: 06 (default).
3.3Set via the rear panel: RS232/RS485 to RS232 (refer to Section
4.Communication Test:
4.1Model identification: PC:write: ADR 06
Power supply response: “OK”
4.2Command test: PC write: OUT1
Power supply response: “OK”
PC write: PVn
Power supply response: “OK”
PC write: PCn (for values of n see Tables
Power supply response: “OK”
The power supply should turn on and the display will indicate the actual Output Voltage and the actual Output Current.
68
