NOTE: • You can specify the fax number for the destination only when the optional Fax unit is installed.
4.Click [OK].
• Entered recipient is added in the Recipient List page.
5.Repeat step 2 to 4 to add all additional recipients that you require.
SUPPLEMENT: • You can remove the contacts that you added in the recipient list before submitting the destination settings.
P.47 "Removing the contacts from the recipient list"
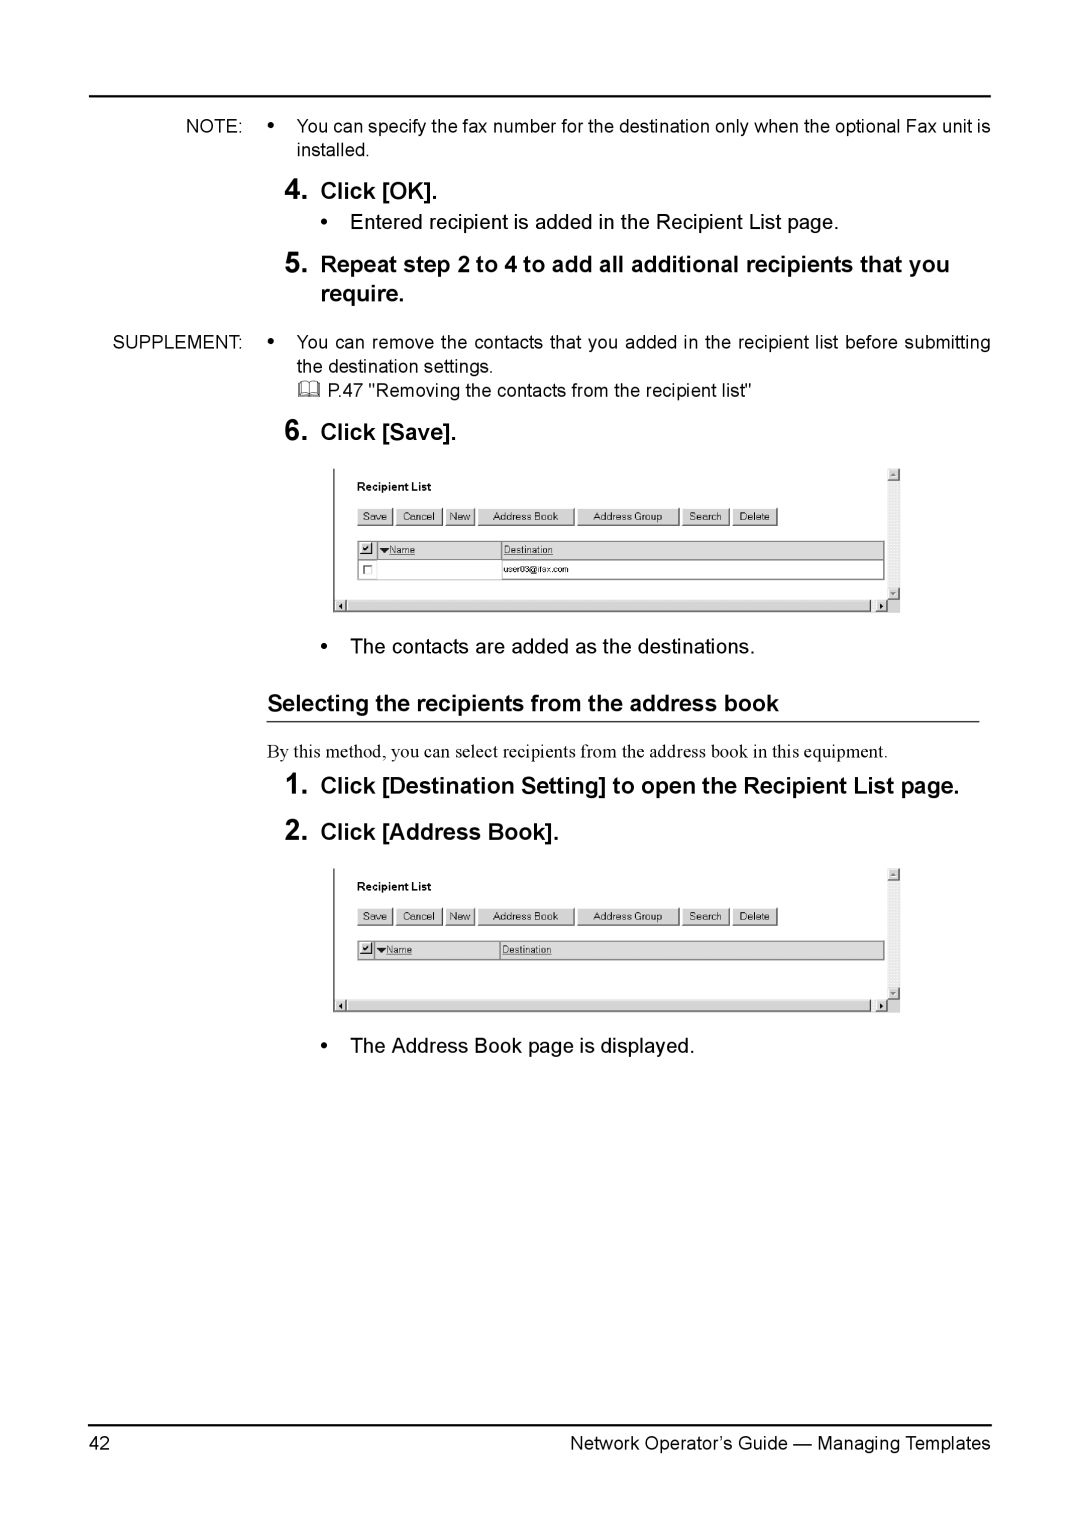
6.Click [Save].
•The contacts are added as the destinations.
Selecting the recipients from the address book
By this method, you can select recipients from the address book in this equipment.
1.
2.
Click [Destination Setting] to open the Recipient List page.
Click [Address Book].
•The Address Book page is displayed.
42 | Network Operator’s Guide — Managing Templates |
