50 | 3 System upgrade |
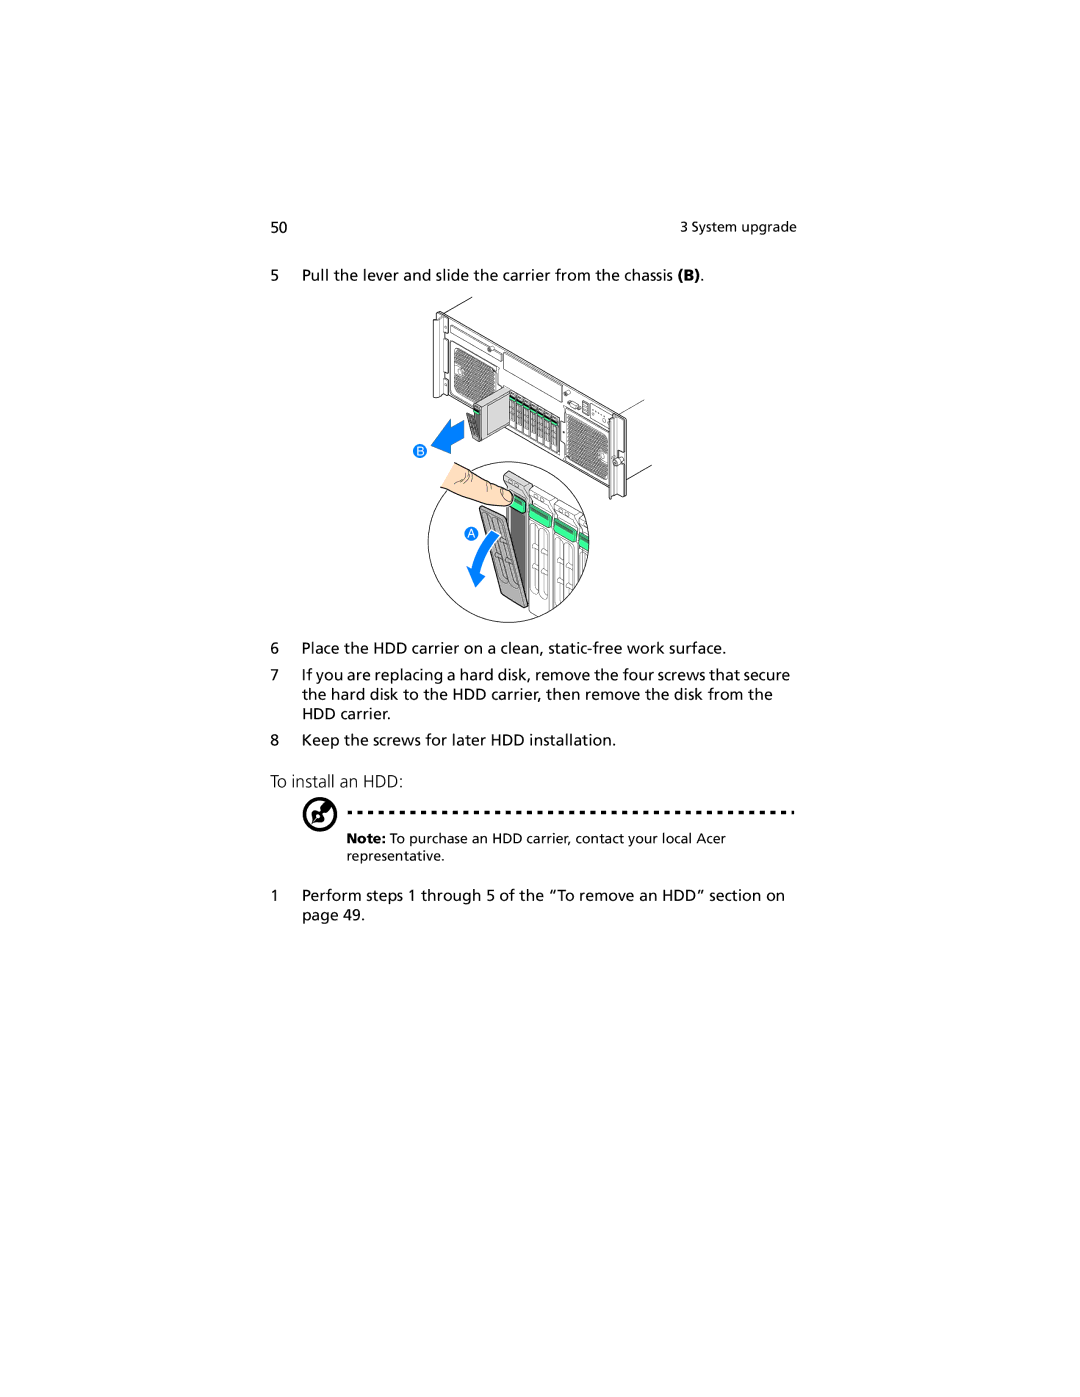
5 Pull the lever and slide the carrier from the chassis (B).
B
A
6Place the HDD carrier on a clean,
7If you are replacing a hard disk, remove the four screws that secure the hard disk to the HDD carrier, then remove the disk from the HDD carrier.
8Keep the screws for later HDD installation.
To install an HDD:
Note: To purchase an HDD carrier, contact your local Acer representative.
1Perform steps 1 through 5 of the “To remove an HDD” section on page 49.
